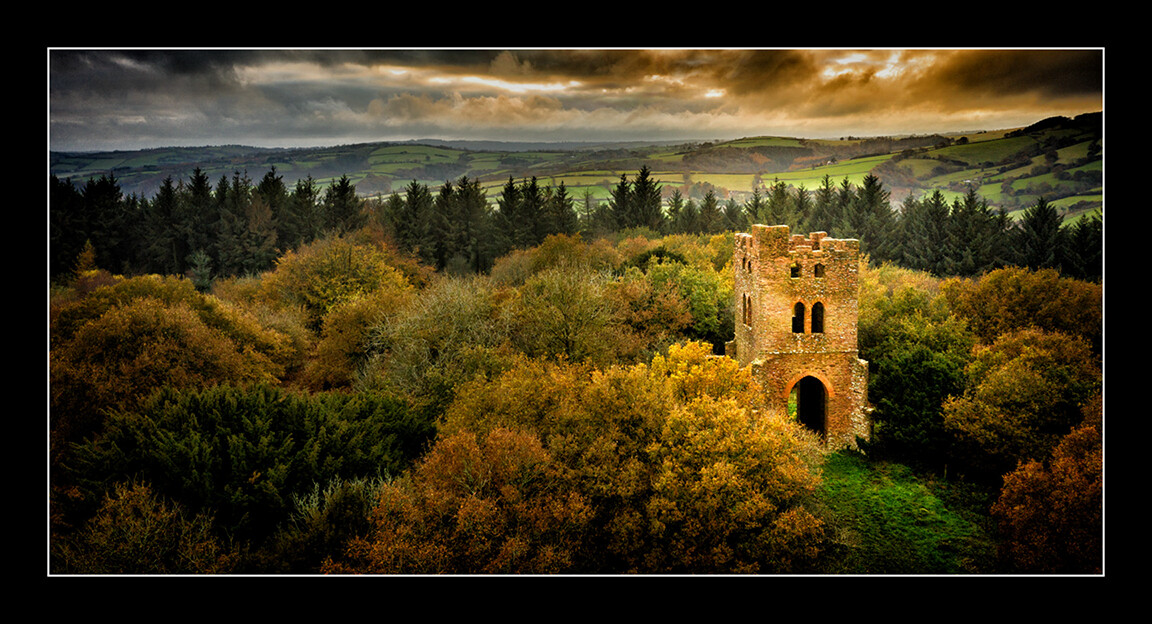
A quick look at my edit for anyone who is interested. Above image is the initial adjustments in Lightroom.
I changed the white balance to Temp 6500 Tint +25 to warm up the the image slightly.
I pulled the highlights back to -100, shadows to +80, left the whites at 0 and blacks pulled back to -25.
I then opened the image in Photoshop. I sometimes use the HSL palette to adjust colour & saturation, but not this time, preferring to do it on Photoshop.
Once in PS I zoom in to 100% and scan across the image for anything I want to remove, in this case I took out the wooden frame in the doorway and the red barriers using the Spot Healing Brush (keyboard shortcut J) and the Clone Stamp Tool (shortcut S). I then cropped the image to remove the very bright white area of the sky. Also gives a more pleasing pano look to the image.
It’s then on to exposure adjustment. I used the Magic Wand Tool (shortcut W) to select the sky, just click on part of it, if it doesn’t select all of it hold Shift (I’m on a pc) and you’ll see a + symbol. Just keep clicking the bits of sky till it’s all selected. It’s important to feather a selection to smooth it out SELECT>MODIFY>FEATHER or (shift +F6). I set it to around 150. Once the sky is selected I use Levels (CTRL + L) to make adjustments, pulling down the blacks & midtones to darken the sky.
I then invert my selection to make adjustments to the rest of the image SELECT>INVERSE (SHIFT+CTRL+ I). Using Levels again to adjust the contrast of the selected ground area.
Final part is colour. Under IMAGE>ADJUST menu you will find the Vibrance, Hue/Saturation and Selective Colour options. I mainly use the Selective Colour to make adjustments to the individual colours within a scene.
Final part for me is usually a vignette and a frame. In this case I wanted to draw the eye to the tower so using the Elliptical Marquee Tool (shortcut M) I drew a circle around the tower, feathered it to about 300, inverted the selection then using EDIT>FILL (Shift + F5) filled it with 25% black. I then used the Burn Tool (shortcut O) to darken down the edges of the image.
All in this took about 10/15mins, actually took longer to write this all out lol. You will find in Photoshop that there are usually two or three different ways to do the same thing. Using keyboard shortcuts does make editing a lot faster.
Finished Image.