Having never used ND filters before, I’ve watched a couple of tutorials on YouTube, mainly this one though:
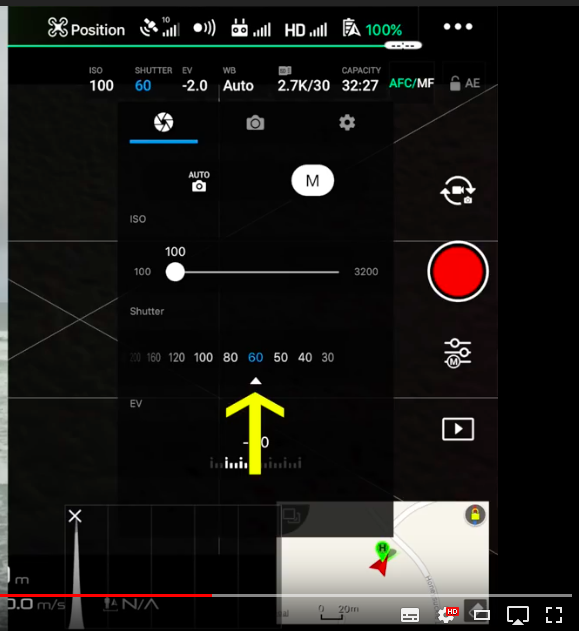
I get the part about setting the shutter speed to be double the frame rate, so if I’m shooting at 30fps I want to manually lower my shutter speed to 60. Or if I’m shooting at 25fps I should lower my shutter speed to 50.
The 180 degree shutter rule (shutter speed twice the frame rate) is constant. You need the ND to help you achieve this because you can’t alter the aperture (and even if you could with any sunlight you would likely still need an ND).
So if it’s cloudy you might dippfind the ND4 appropriate, slightly sunny the pan the ND8, a nice clear sunny day then the ND16 etc. At 30 FPS keep the shutter speed around 1/60, but remember this is a guide which you can tweak a little
There will be times when in the air the ND is isn’t strong enough and thus you either land and increase or increase shutter speed to 1/80, 1/100 etc, or the ND is too strong and you land and reduce or bump the ISO from 100 to 200… it’s never perfect up there, or it is until you turn the Mavic round out of the sun or into the sun. Of course so long as you aren’t too over/under exposed post processing can help recover your video…
In the UK ND8 will probably be your go to filter. ND16 on the rarer sunny days and some miserable days you won’t need one.
It’s hard to get double the frame rate so at 24fps I aim to keep within 1/50 to 1/100 + ISO 100… If I need to go out with this I land and change the filter.
It might seem exposed well but when you change direction or cloud cover changes it becomes over or under exposed.
If you haven’t already, switch on over exposure warning, that’s the zebra lines on the screen.
Your looking for a minimal amount of zebra lines on the bright areas. If you start to see it getting over exposed (more lines), increase your shutter speed with the dial, and reduce if it gets too dark.
I try and check exposure at key points in flight and change if needed. So if your flying into sun, check your exposure, flying away check it again etc.
It all becomes second nature.
Before I fly I set camera to manual, 1/60 shutter and 100 ISO.
It will probably be well over exposed. Hold up the ND8 to the lens and see how it looks, still over exposed (zebra lines) try the next one up. Eventually you will know exactly what to put on just by looking at the sky.
It’s a lot of guessing and changing at first but you will quickly get hang of it.
I have the cinema series.
ND8 I use most, ND16 on bright days and have used the 32 when flying into a low sun but obviously no good for filming the opposite direction.
Zebra lines will help a lot with showing you when/where you are clipping the highlights and keeping an eye on the exposure meter will also be helpful especially for under exposure which may not be as obvious as over (with the zebras).
Also bear in mind that NDs are there to help get the right shutter speed to get a pleasing amount of motion blur - which you may or may not need. E.g if you are flying low/close to things, panning or flying fast then you will likely want it so should stick with or close to the 180 rule. If not then you can be a bit more relaxed or even use auto which can do a decent job under the right circumstances
Finally, if you are stuck in the air (lazy to land) and finding you can’t slow the shutter enough without clipping things you could (depending upon your requirements) switch from say 4k at 24 FPS to 1080p at 48 FPS allowing you to switch from 1/50 to 1/100 shutter…
Unless you are looking to just reduce the shutter speed to introduce some intentional motion blur, e.g. if you were photographing a waterfall (although you would want to do this in a calm day so the drone was steady) and wanted the flow of water to have that nice white dreamy look…