It has been around 3/4 weeks now since I decided I was going to get a full FPV set up, and I wanted to share the results.
Whether anyone cares, whether it’s a story for someone to read whilst flicking through the forum, or actually, whether someone who is thinking of jumping into this - costs, equipment people don’t mention, trials and tribulations and honestly, the best fun I’ve had entering a hobby.. EVER!!
I’d be interested in hearing the thoughts from others, opinions and information sharing - good or bad.
I will start by saying a massive thank you to everyone who has commented, shared opinions and supported decisions and generally gave advice on my previous posts 
RIght.
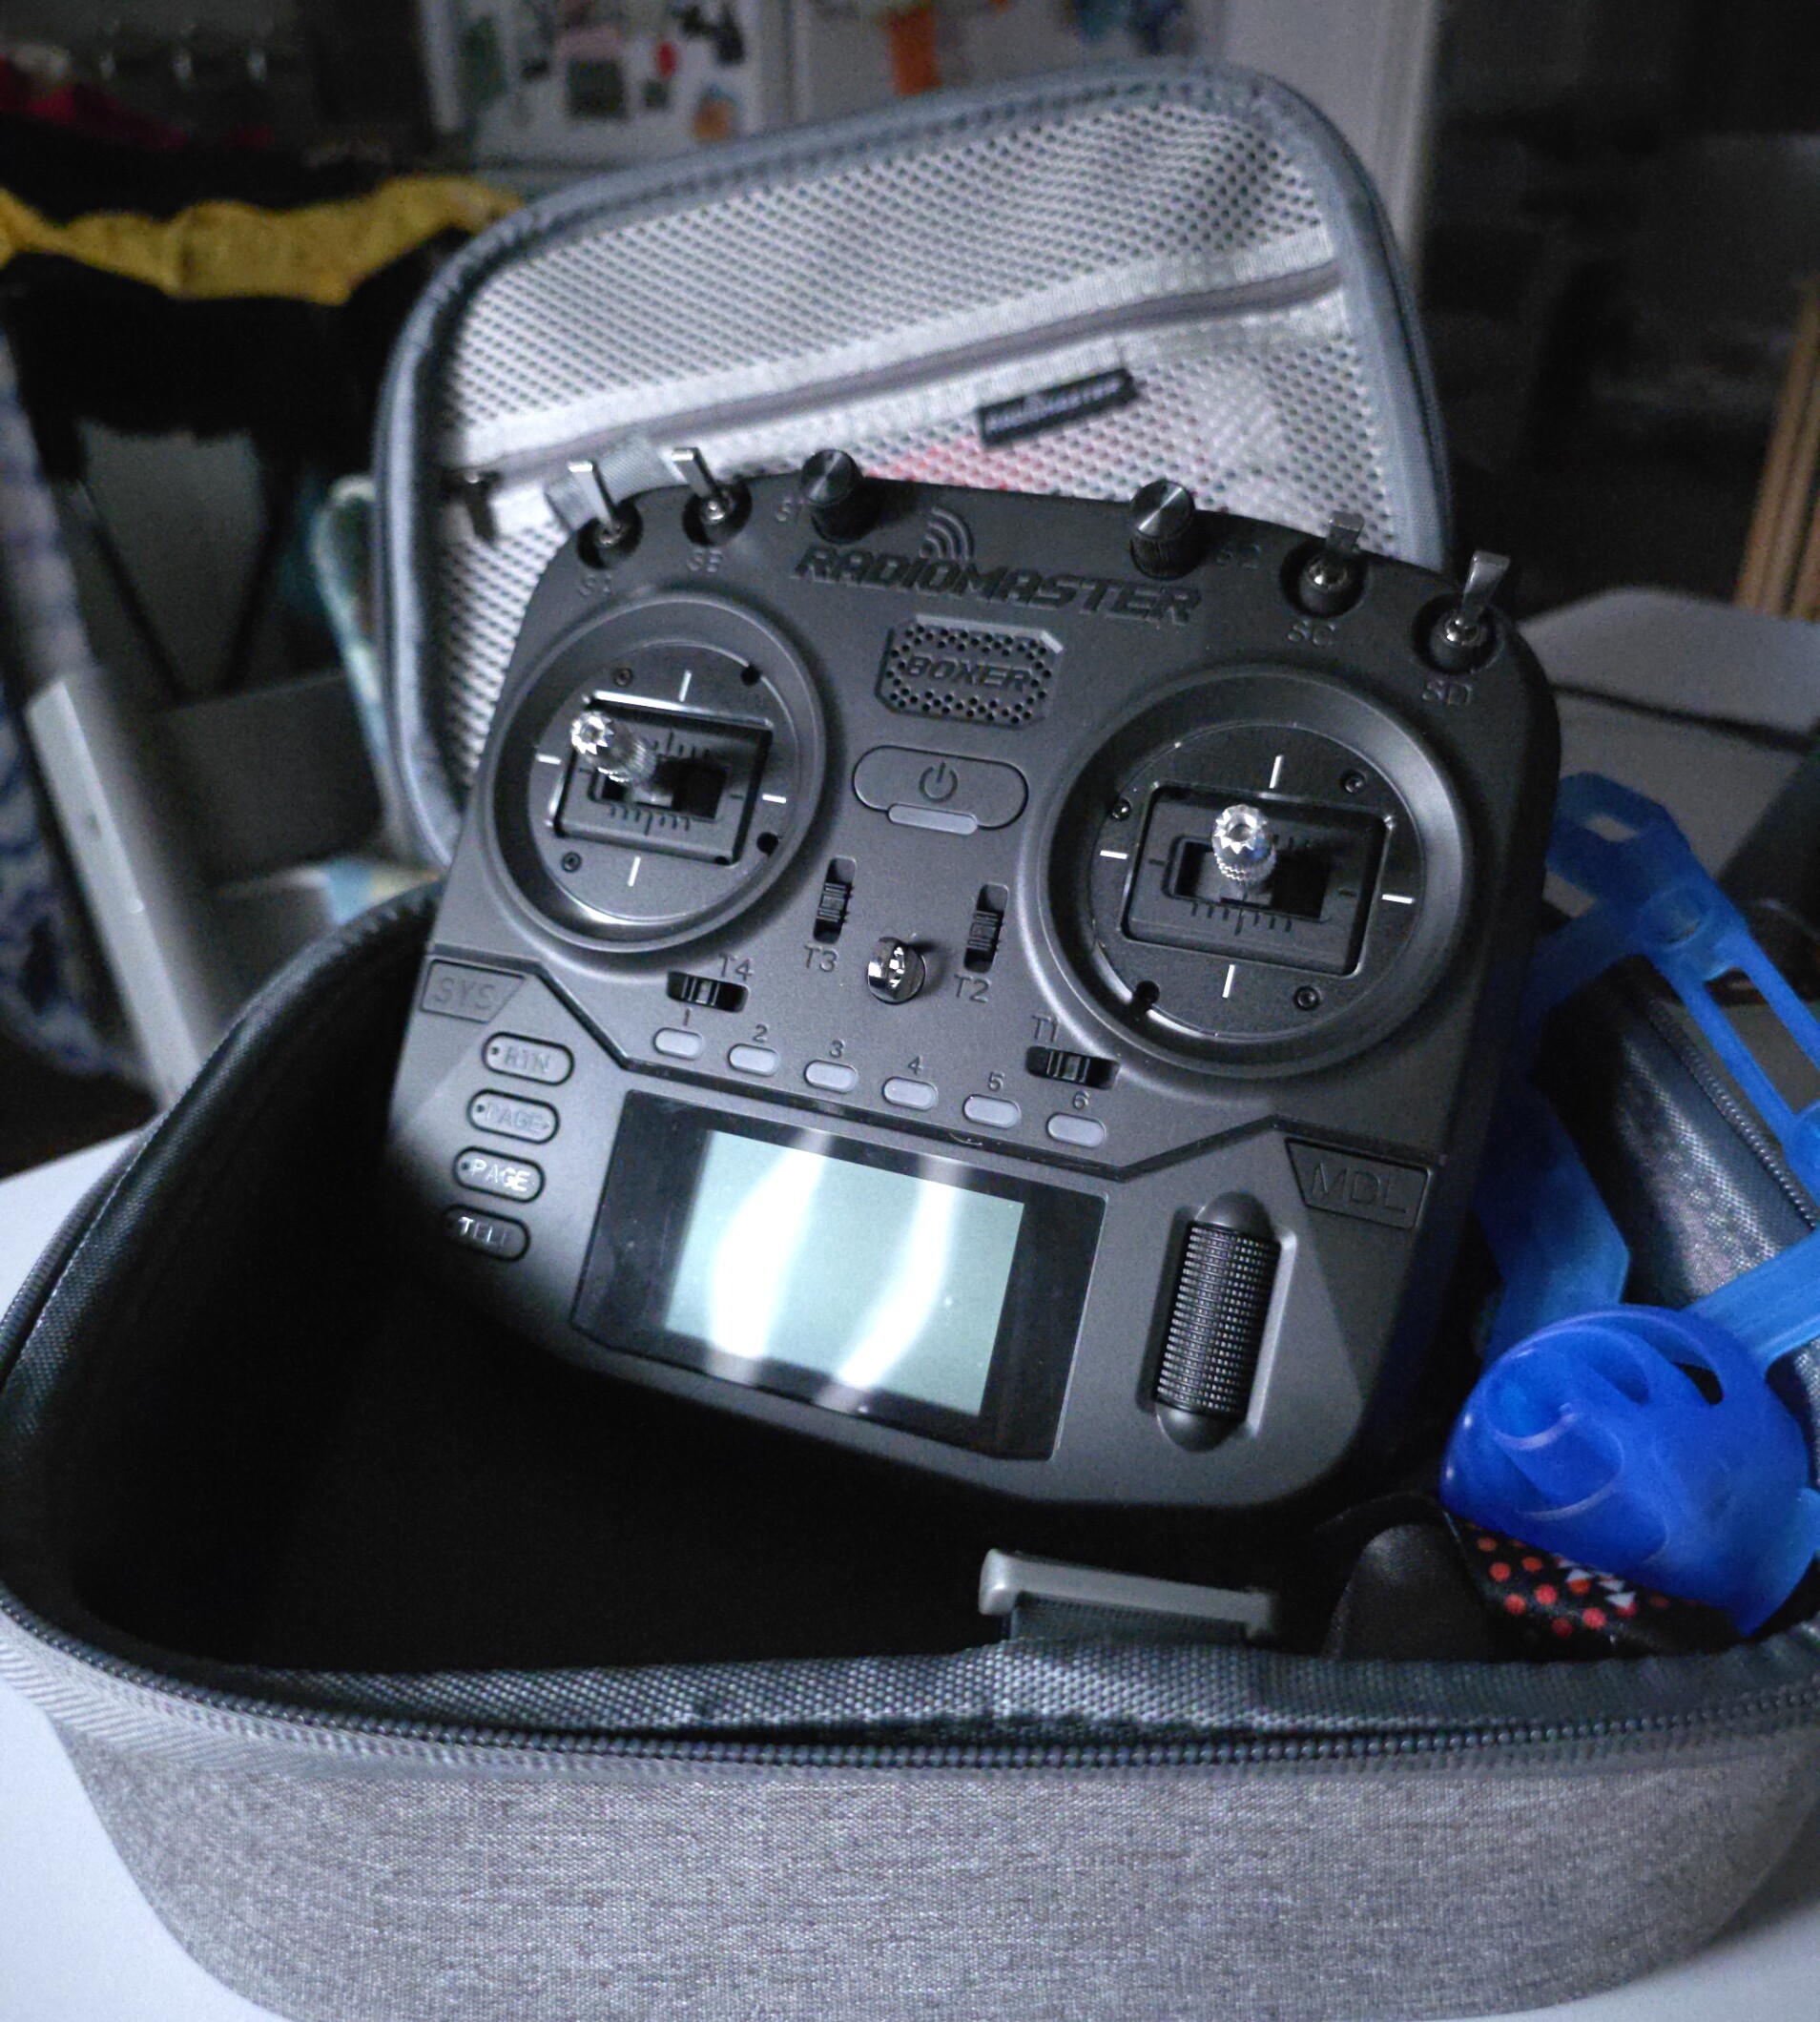
I chose my radio first. Had to be ELRS and has to be something that would last me but more importantly, grow with me and be used with other quads in the future. Buy once kinda deal.
RadioMaster Boxer ELRS £140 - have seen on Instagram that the price of some of the radio master equipment is rising due to a shortage of hardware and parts.
Wicked Radio, god bless Joshua Bardwell’s YouTube channel! 
The radio and its batteries arrived along with the goggles and lipo battery charger.
Perfect really, because I was straight onto the laptop, downloading LiftOff, LiftOff Micro drones and Uncrashed - Lift Off has become brilliant in getting used to Arco mode flying, and I’ve spent hours on this sim. I am still getting used to flying. So much going on; every little input has dramatic effects.
I have managed to get the radio up, modes, assigning sounds to button inputs, calibrate gimbals, set up bandwidths and power outputs relevant to what I’m flying, but also understanding how to change it and when, depending on particular flights.
The goggles.
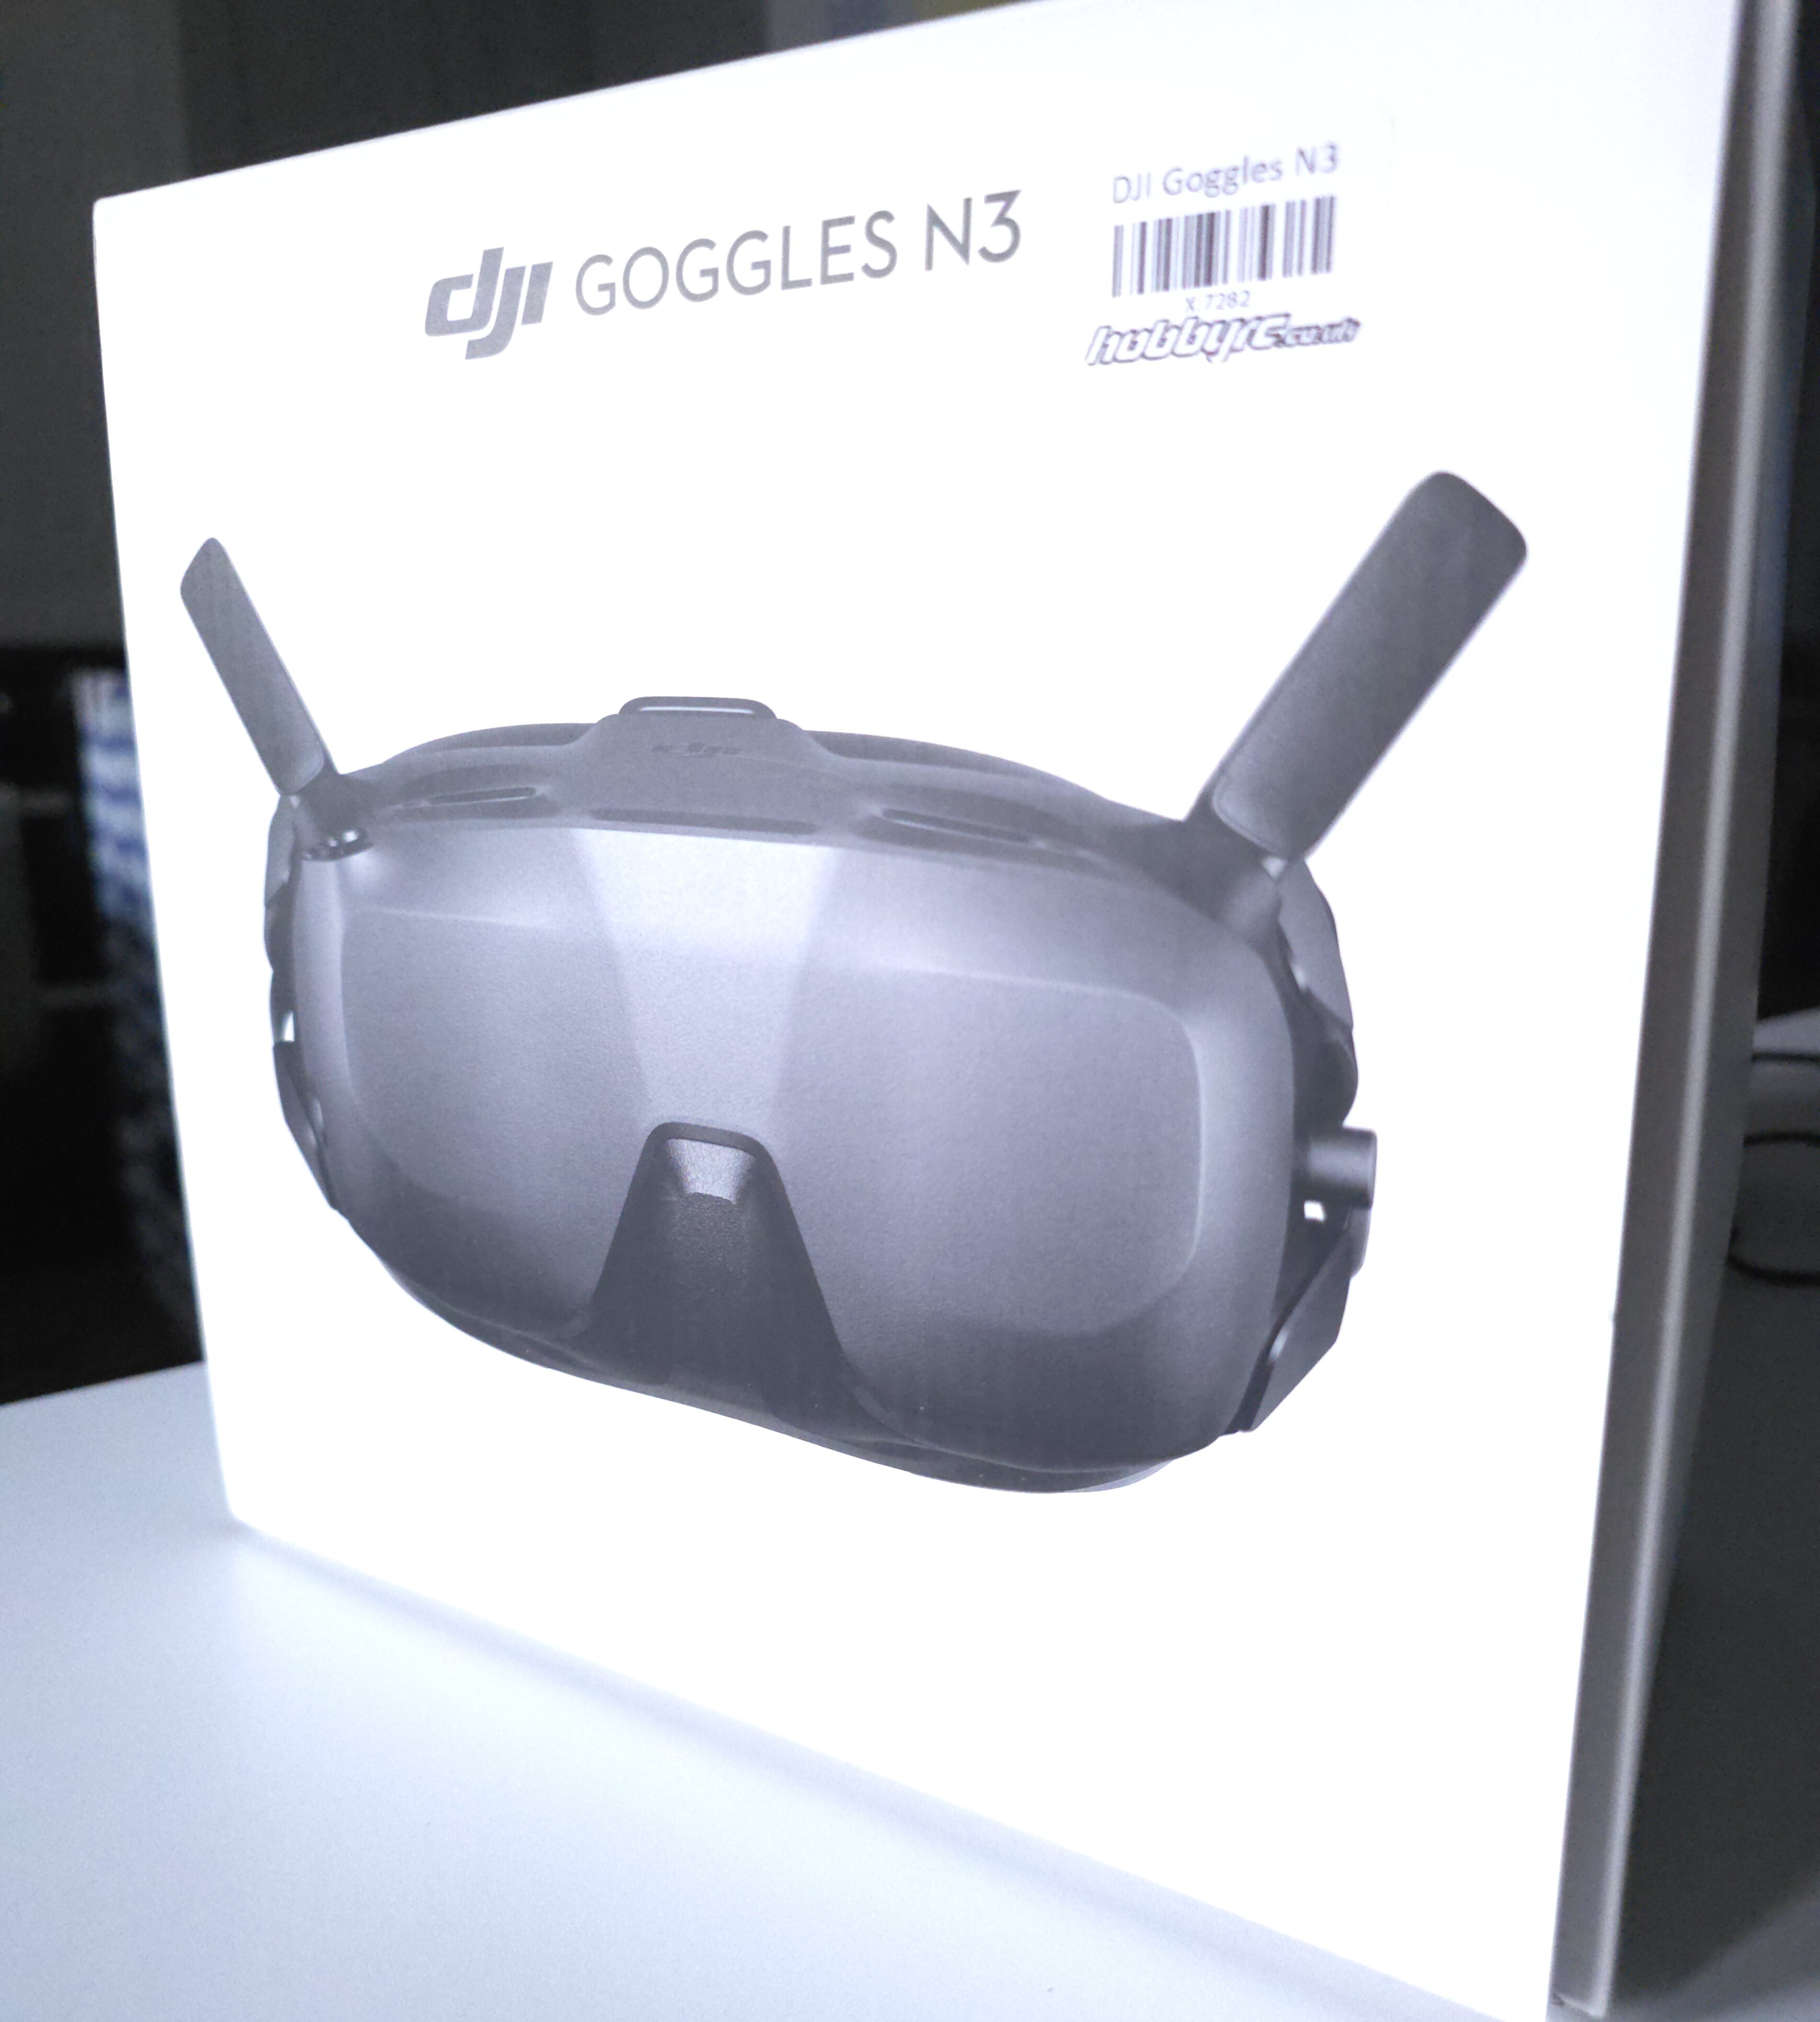
Chose the DJI goggles N3.
Honestly, toss up between these and the Goggles 3. As you may know the goggles 3 are around £550-£600 and the N3 Goggles are £250. I didn’t see the need at the moment for the features the pricer model would give me and after a lot of back and forth went for the N3. I always knew I’d be flying digital - using a DJI air unit in the drone, so these seemed the obvious purchase.
Easy setup, activated and firmware update using the DJI assistant 2 app. Remember to turn the OTD wired connection on, otherwise you’ll be using a phone app to do this - this took me a minute to work out!
Lets talk drone
As above. Had to have an ELRS unit and had to be HD/digital. I read about the DJI 04 unit lite and pro and decided I wanted the pro out of the 2.
Next was size, cinewhoop or 5"? The choice between just these sizes was because I didn’t want to go larger, wanted something I could spin and have fun with, but mainly cinematic profile.
I looked at tiny whoops, but didnt want to get into analog. Yet. Side note, have been looking at the tiny whoops with 04 units in them…! One for a little down the road me thinks!
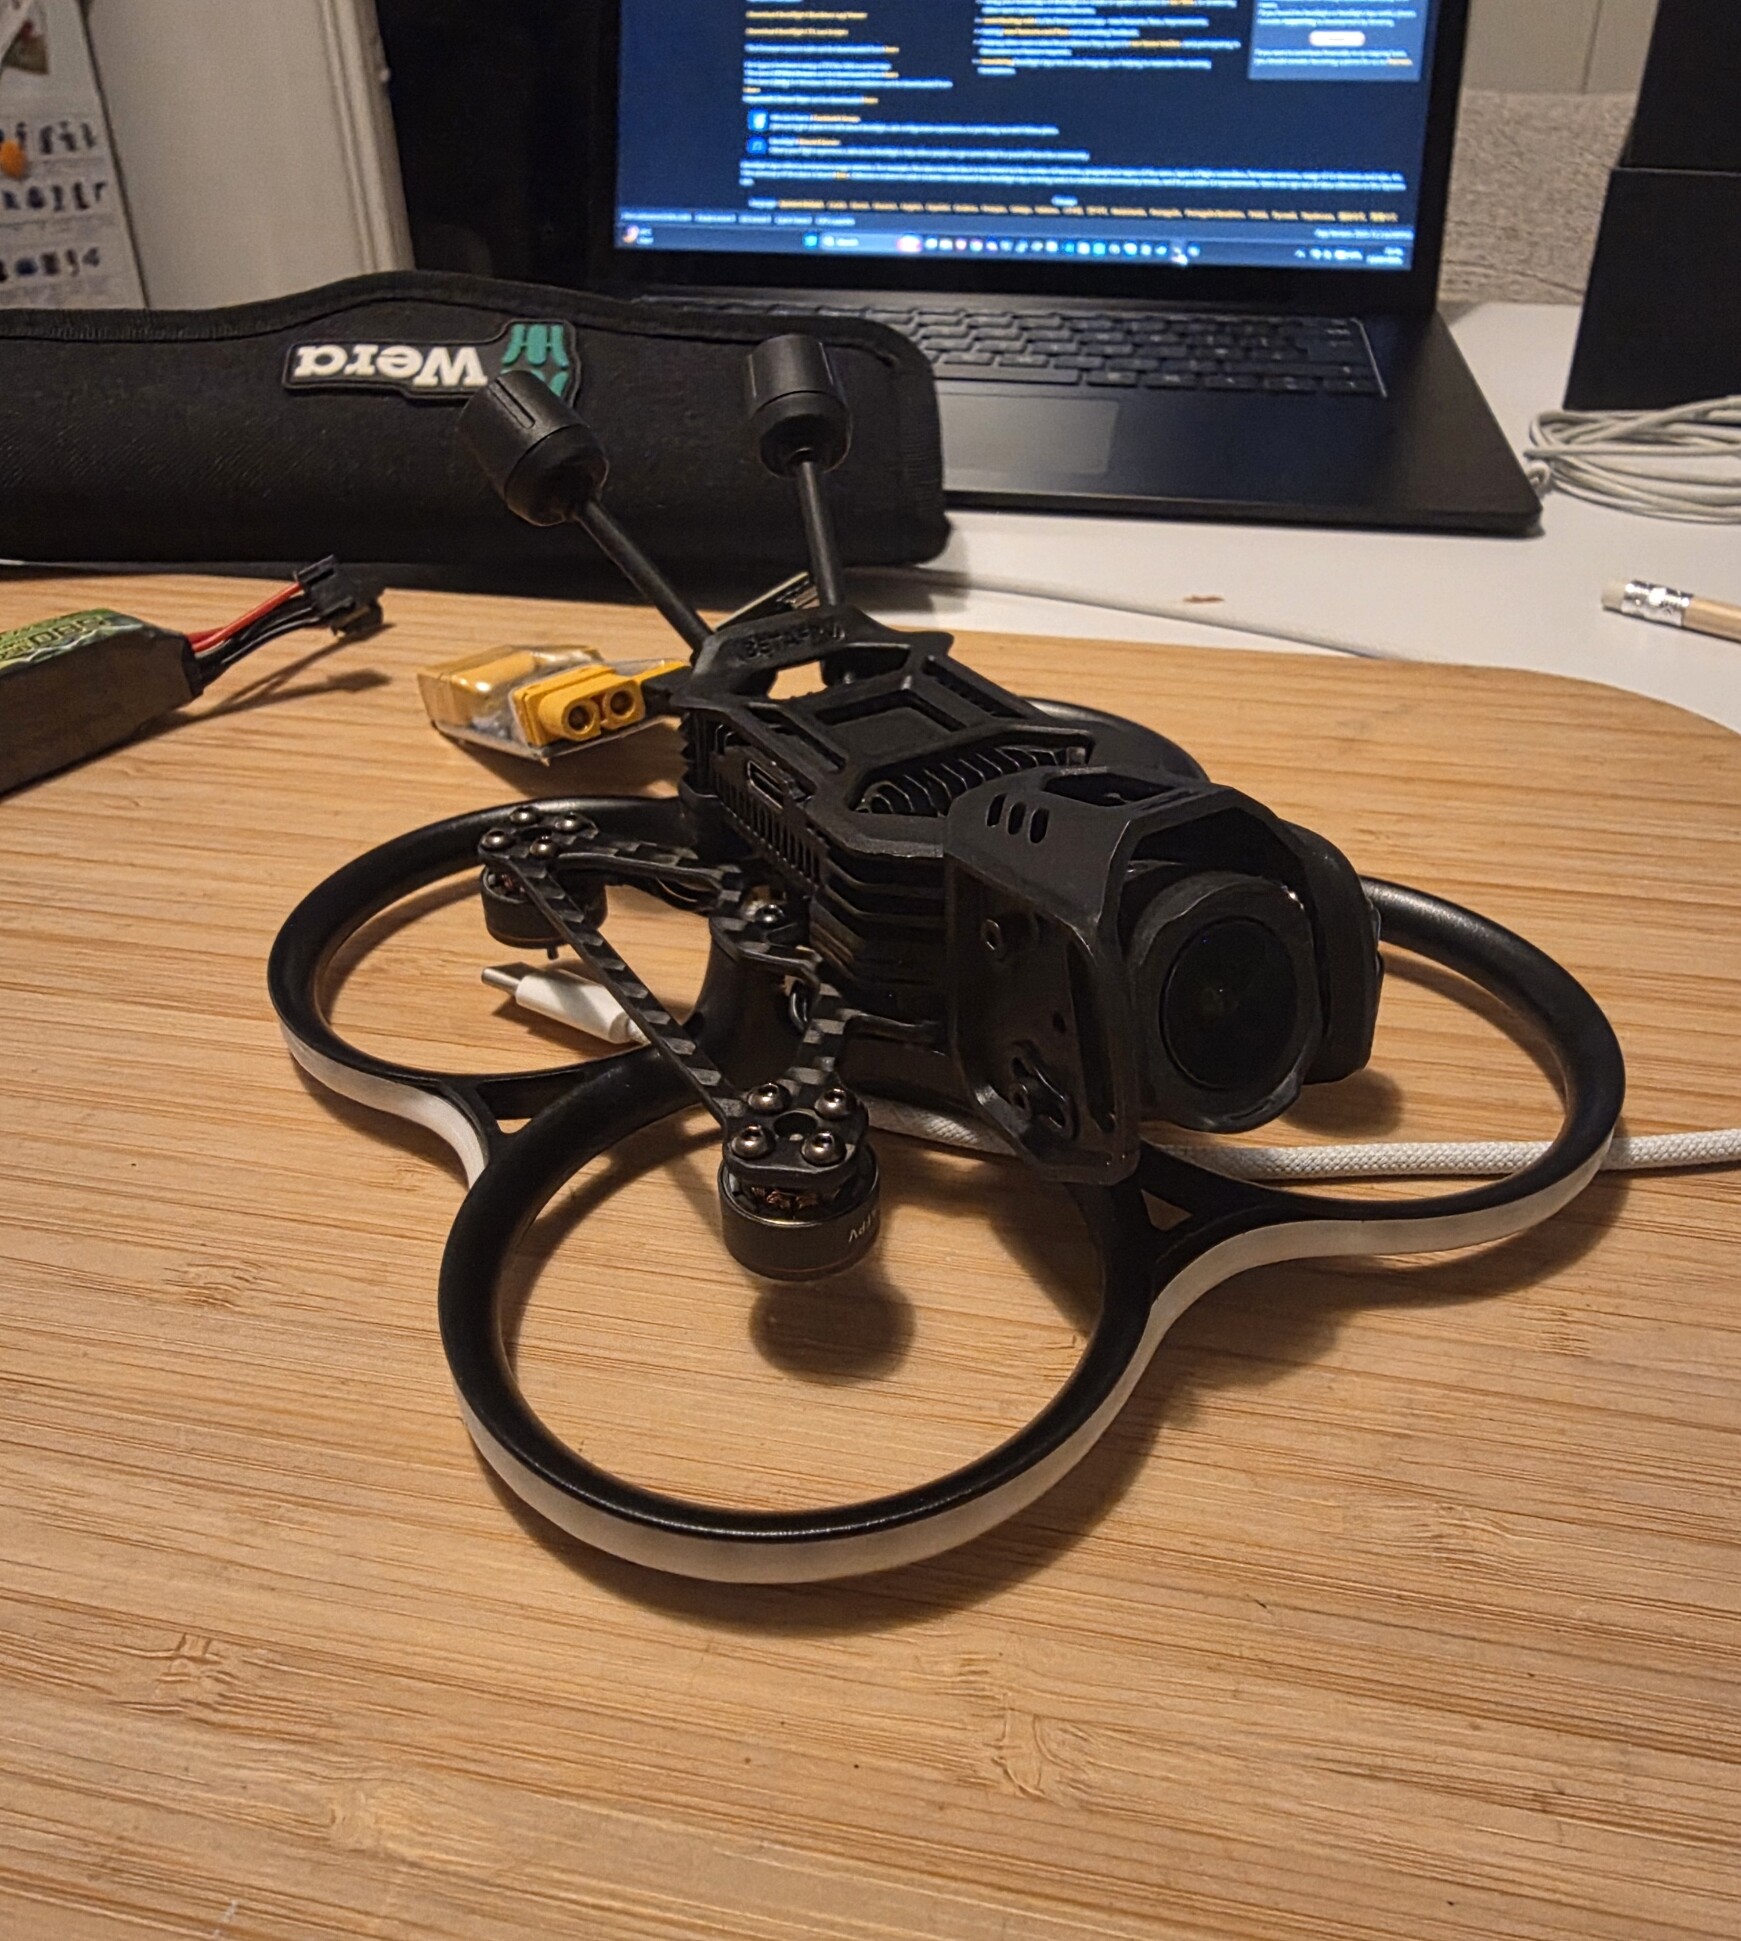
I chose the Beta FPV Pavo 20 Pro II, DJI 04 air unit pro and ELRS. £370. I did spend a little more to create a bundle. The drone came direct from BetaFPV, with spare frame, 2 sets of props, 2 LED strips - the standard and Nightfire.
I installed the Nightfire, which was easy, standard JST plug adapter. Stick the 3m tape LED around the ducts of the drone, jobs a good’en. 2 buttons either side of the XT battery input, 1 for colour changing and 1 controls the light pattern. Would like to see if I can route these buttons to the radio, project for the future.
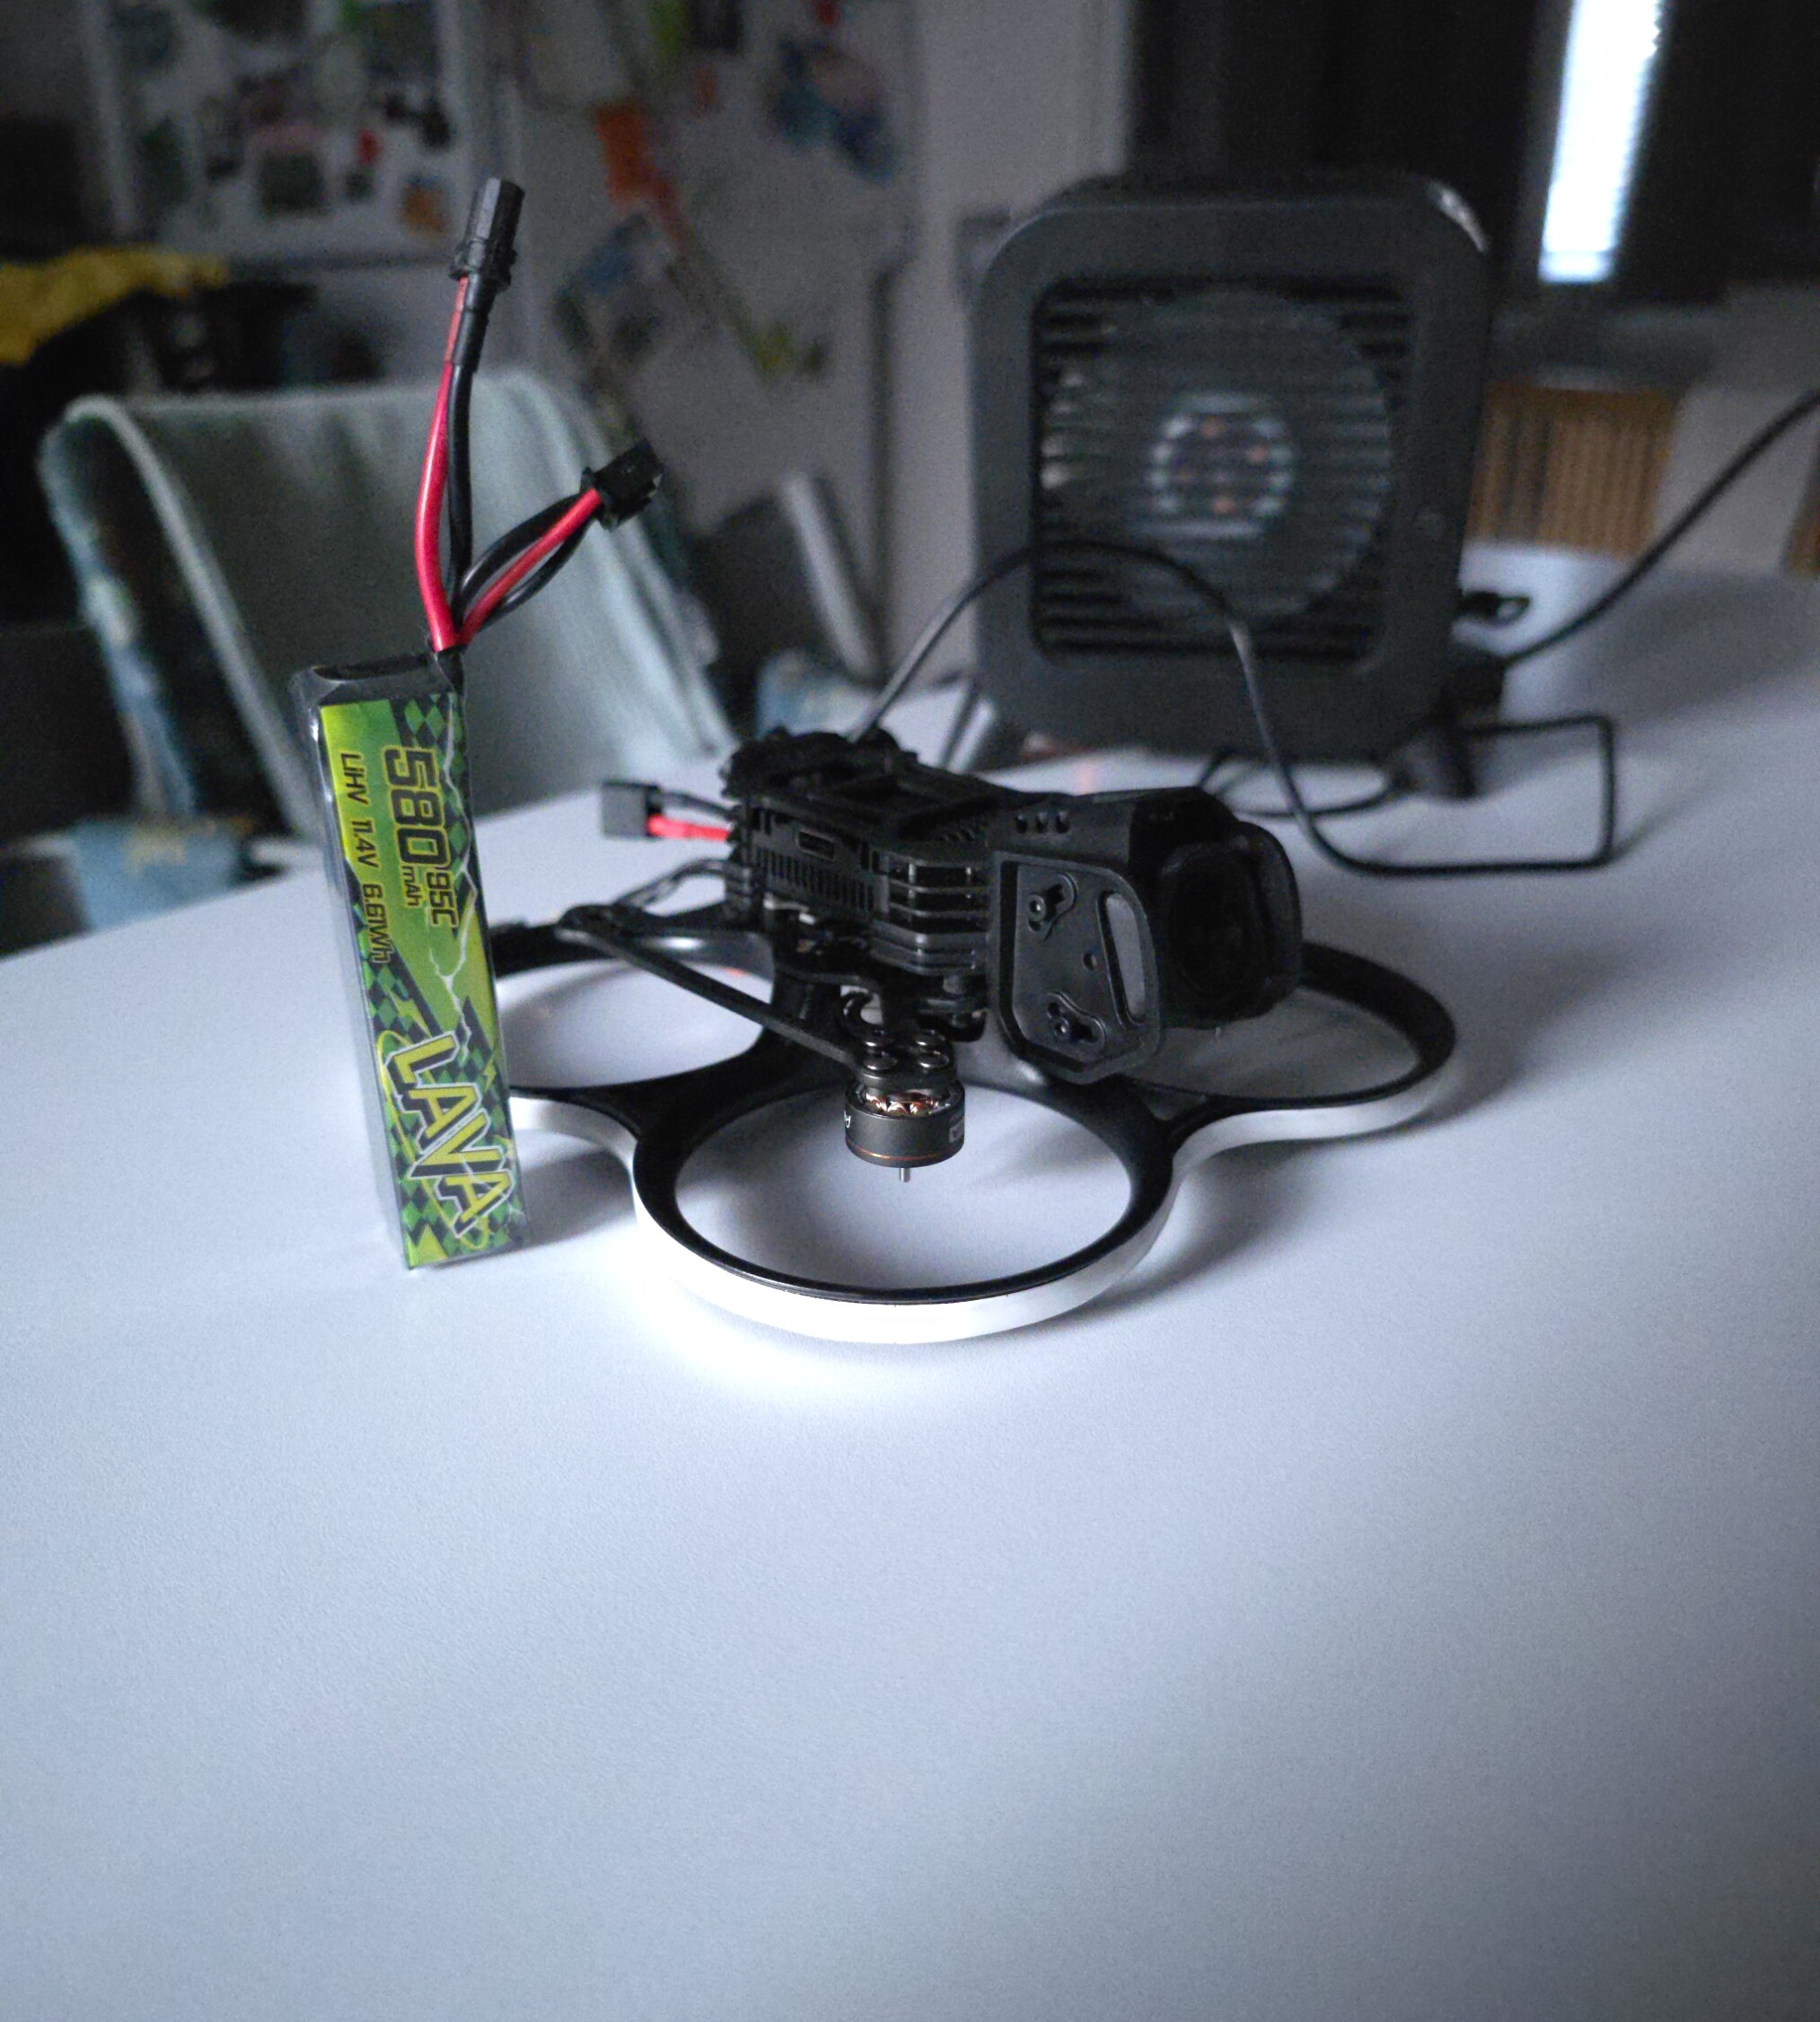
You’ll notice the fan in the back ground. In the heat we are having at the moment, great for when I’m sat at the table on the laptop configuring, but a must to keep the drones boards cool! £10 from Men Kind. Comes with a little freezer pack and tray in the back of it should you wish to be cooler!
Batteries etc!
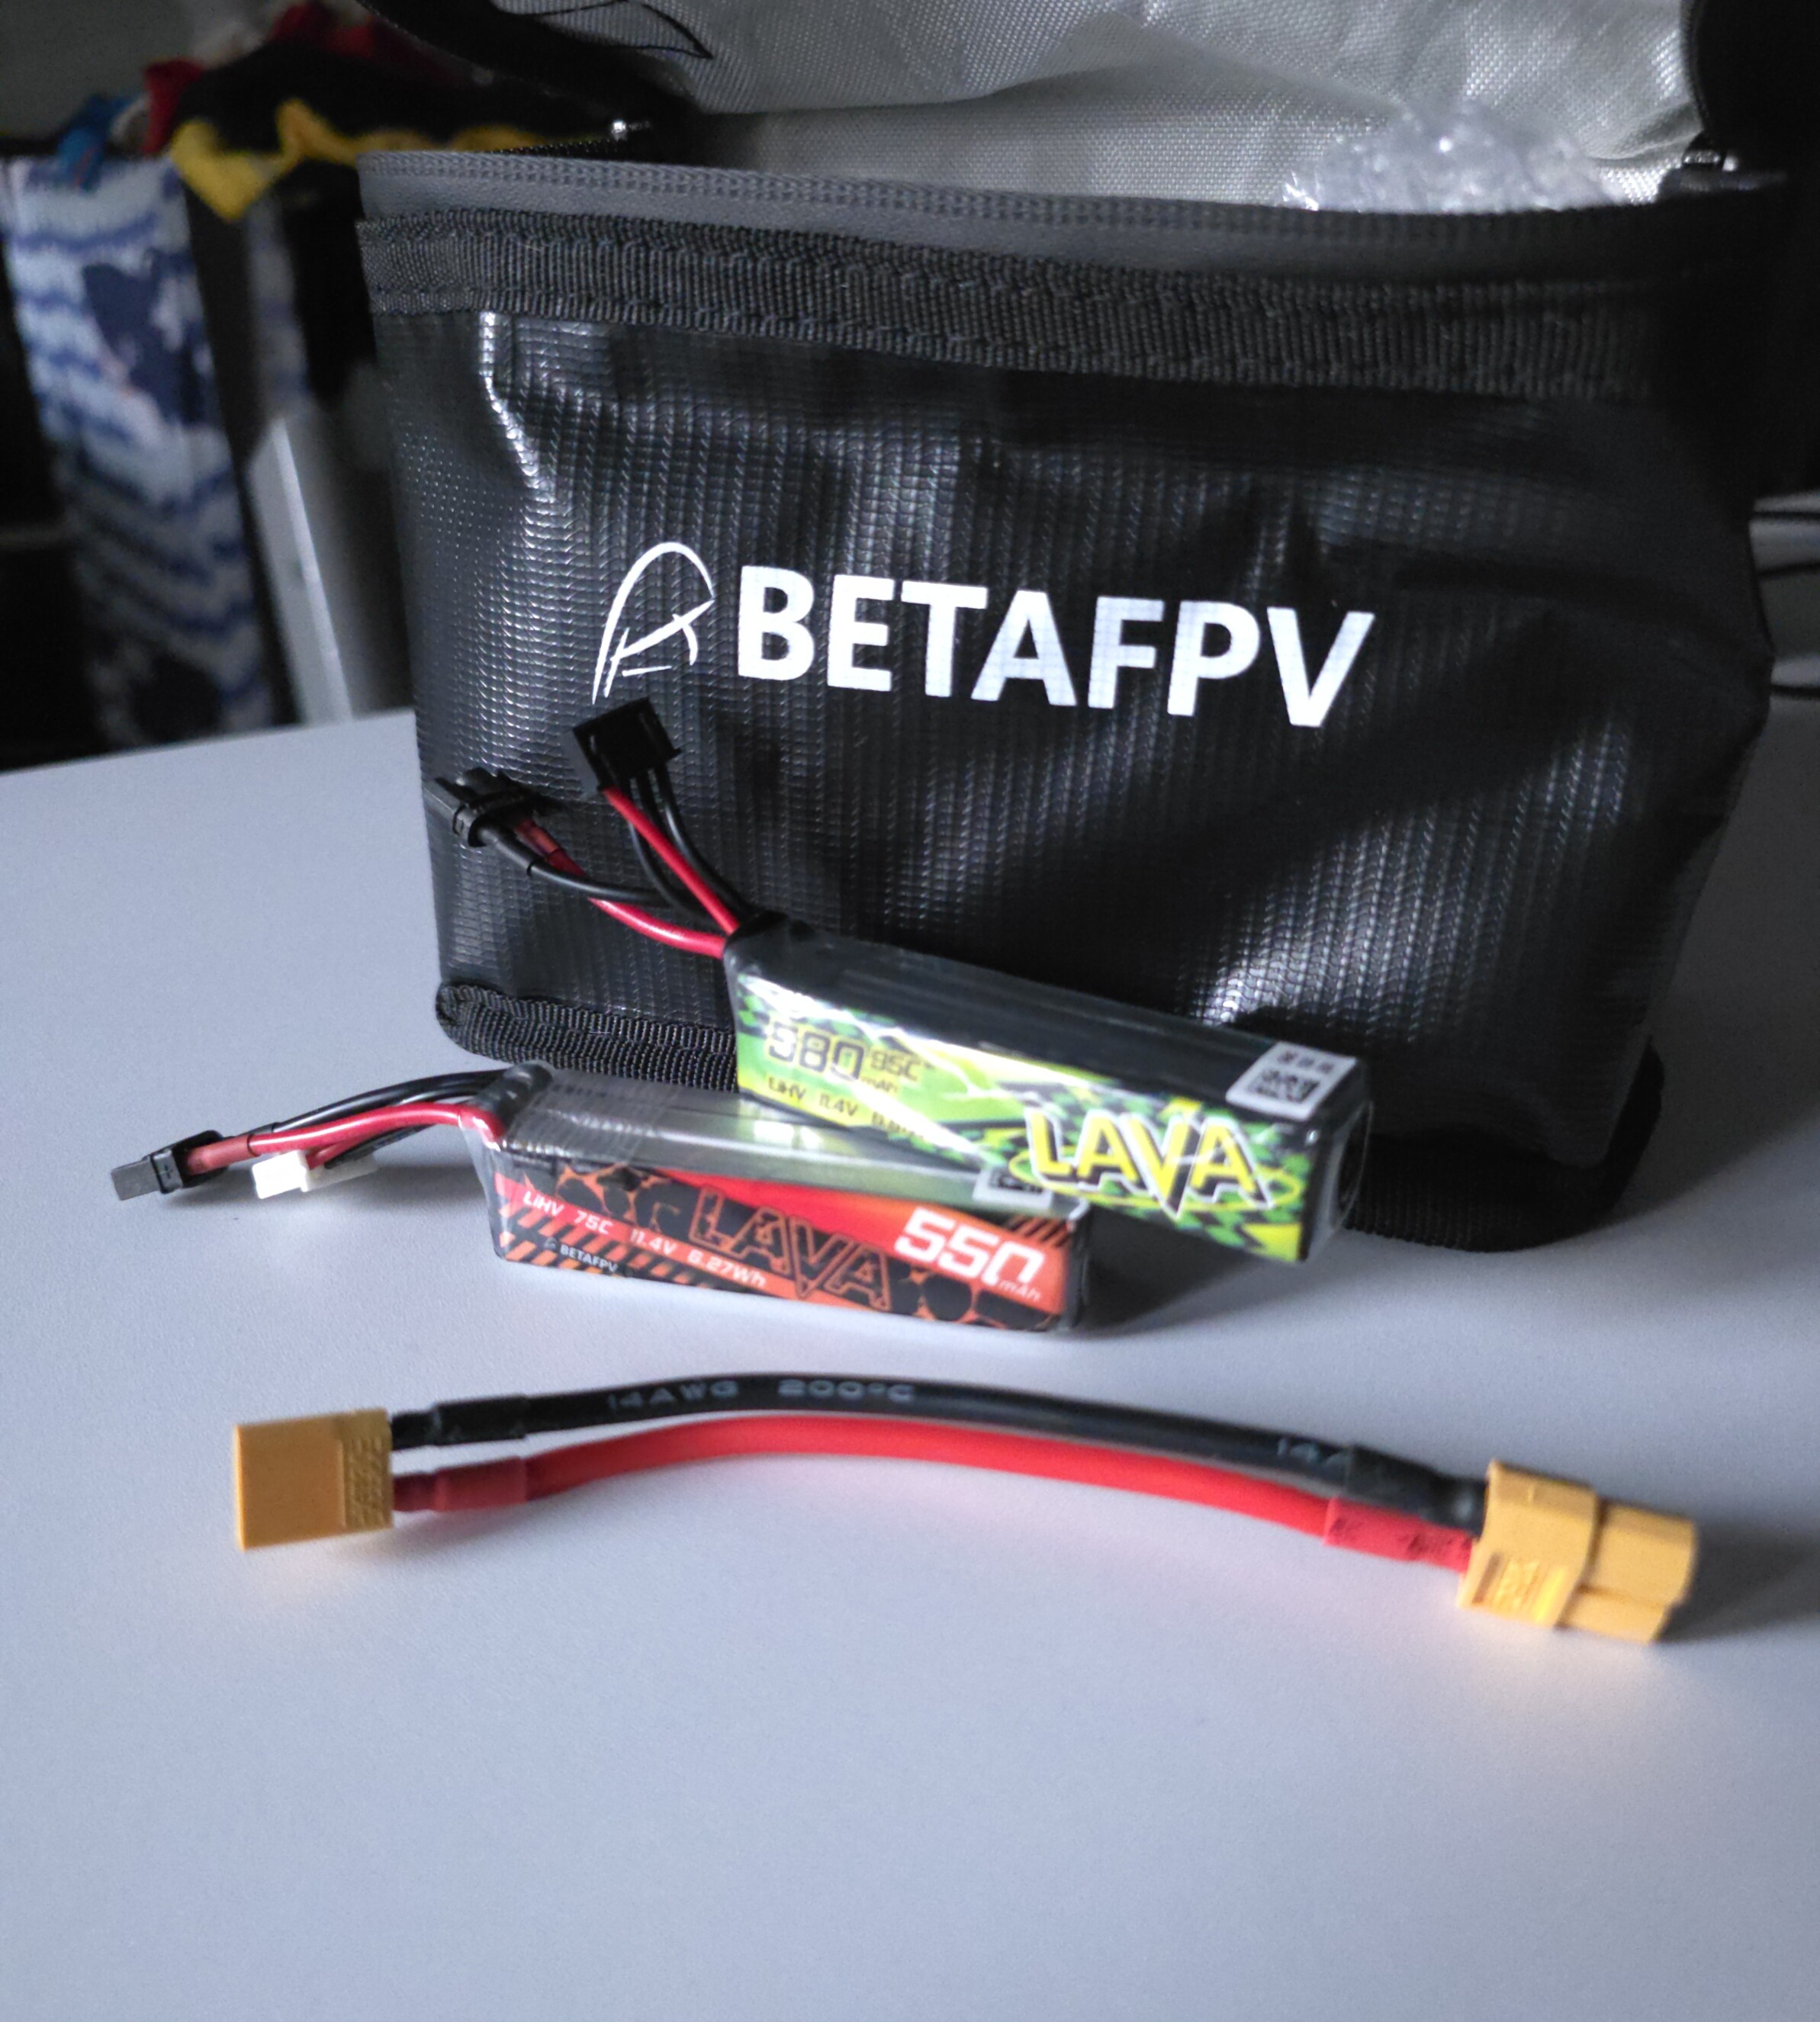
Amazon came up trumps with some genuine cheap Lava batteries. Recommended by Beta FPV was the Lava 3s 550mah packs. So I brought 2 580mah 3s and managed to find 4 550mah 3s batteries from Beta FPV online. £18.60 for 2 550mah from Beta FPV ( I got 4) and the 580s were £30 from amazon.
If you are reading this as a beginner.. do your research on batteries, charging them, safe keeping and storage. Don’t let the articles and videos scare you, if you are sensible, all will be well, but take this part seriously!!
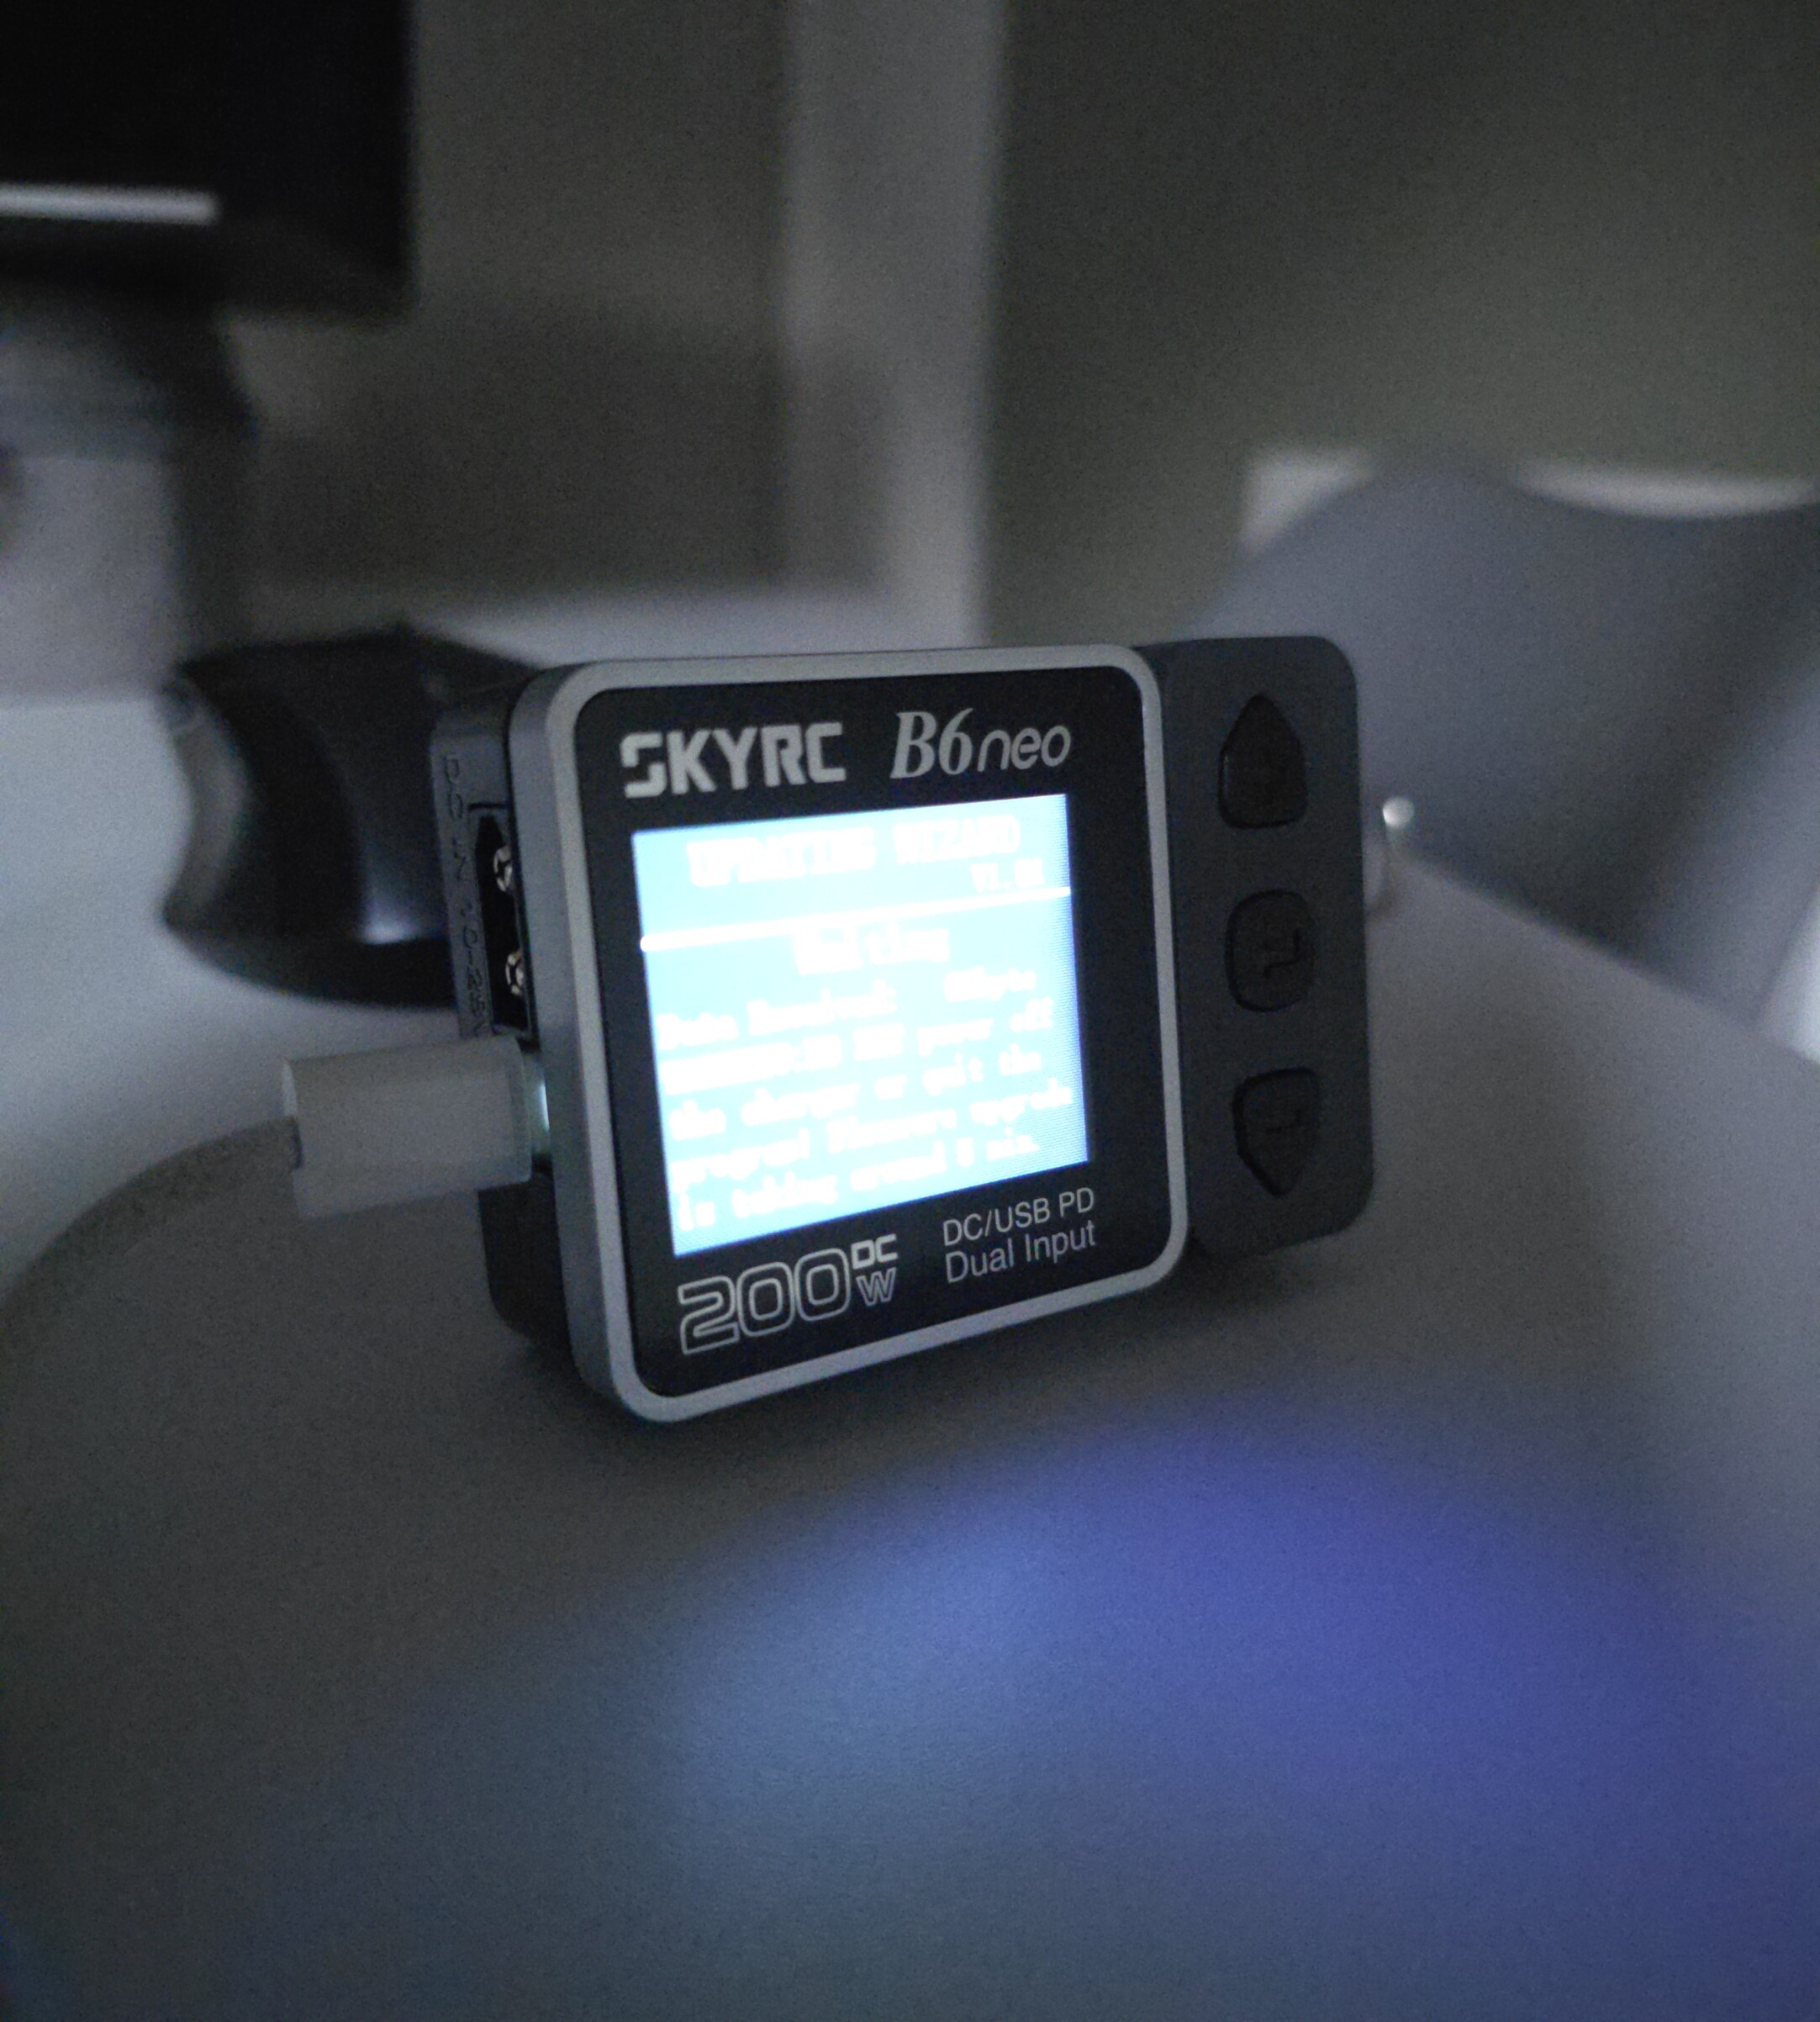
The charger is the SkyRC B6Neo £32.50. Well respected, small charger. Charges 1 battery at a time and using 75w or more standard USB-C charging cable. The XT60 input obviously didn’t match the XT30 connector on the Lava batteries, so a £7 adapter cable from Amazon was purchased.
Really versitile little charger that does way more than you think.
BetaFPV also had a Lipo safe bag £5, which I charge/discharge the batteries in and also store them in.
Other little bits I had to get; tools, spare motors (i’ll explain below  ) radio landyard, GPS unit.
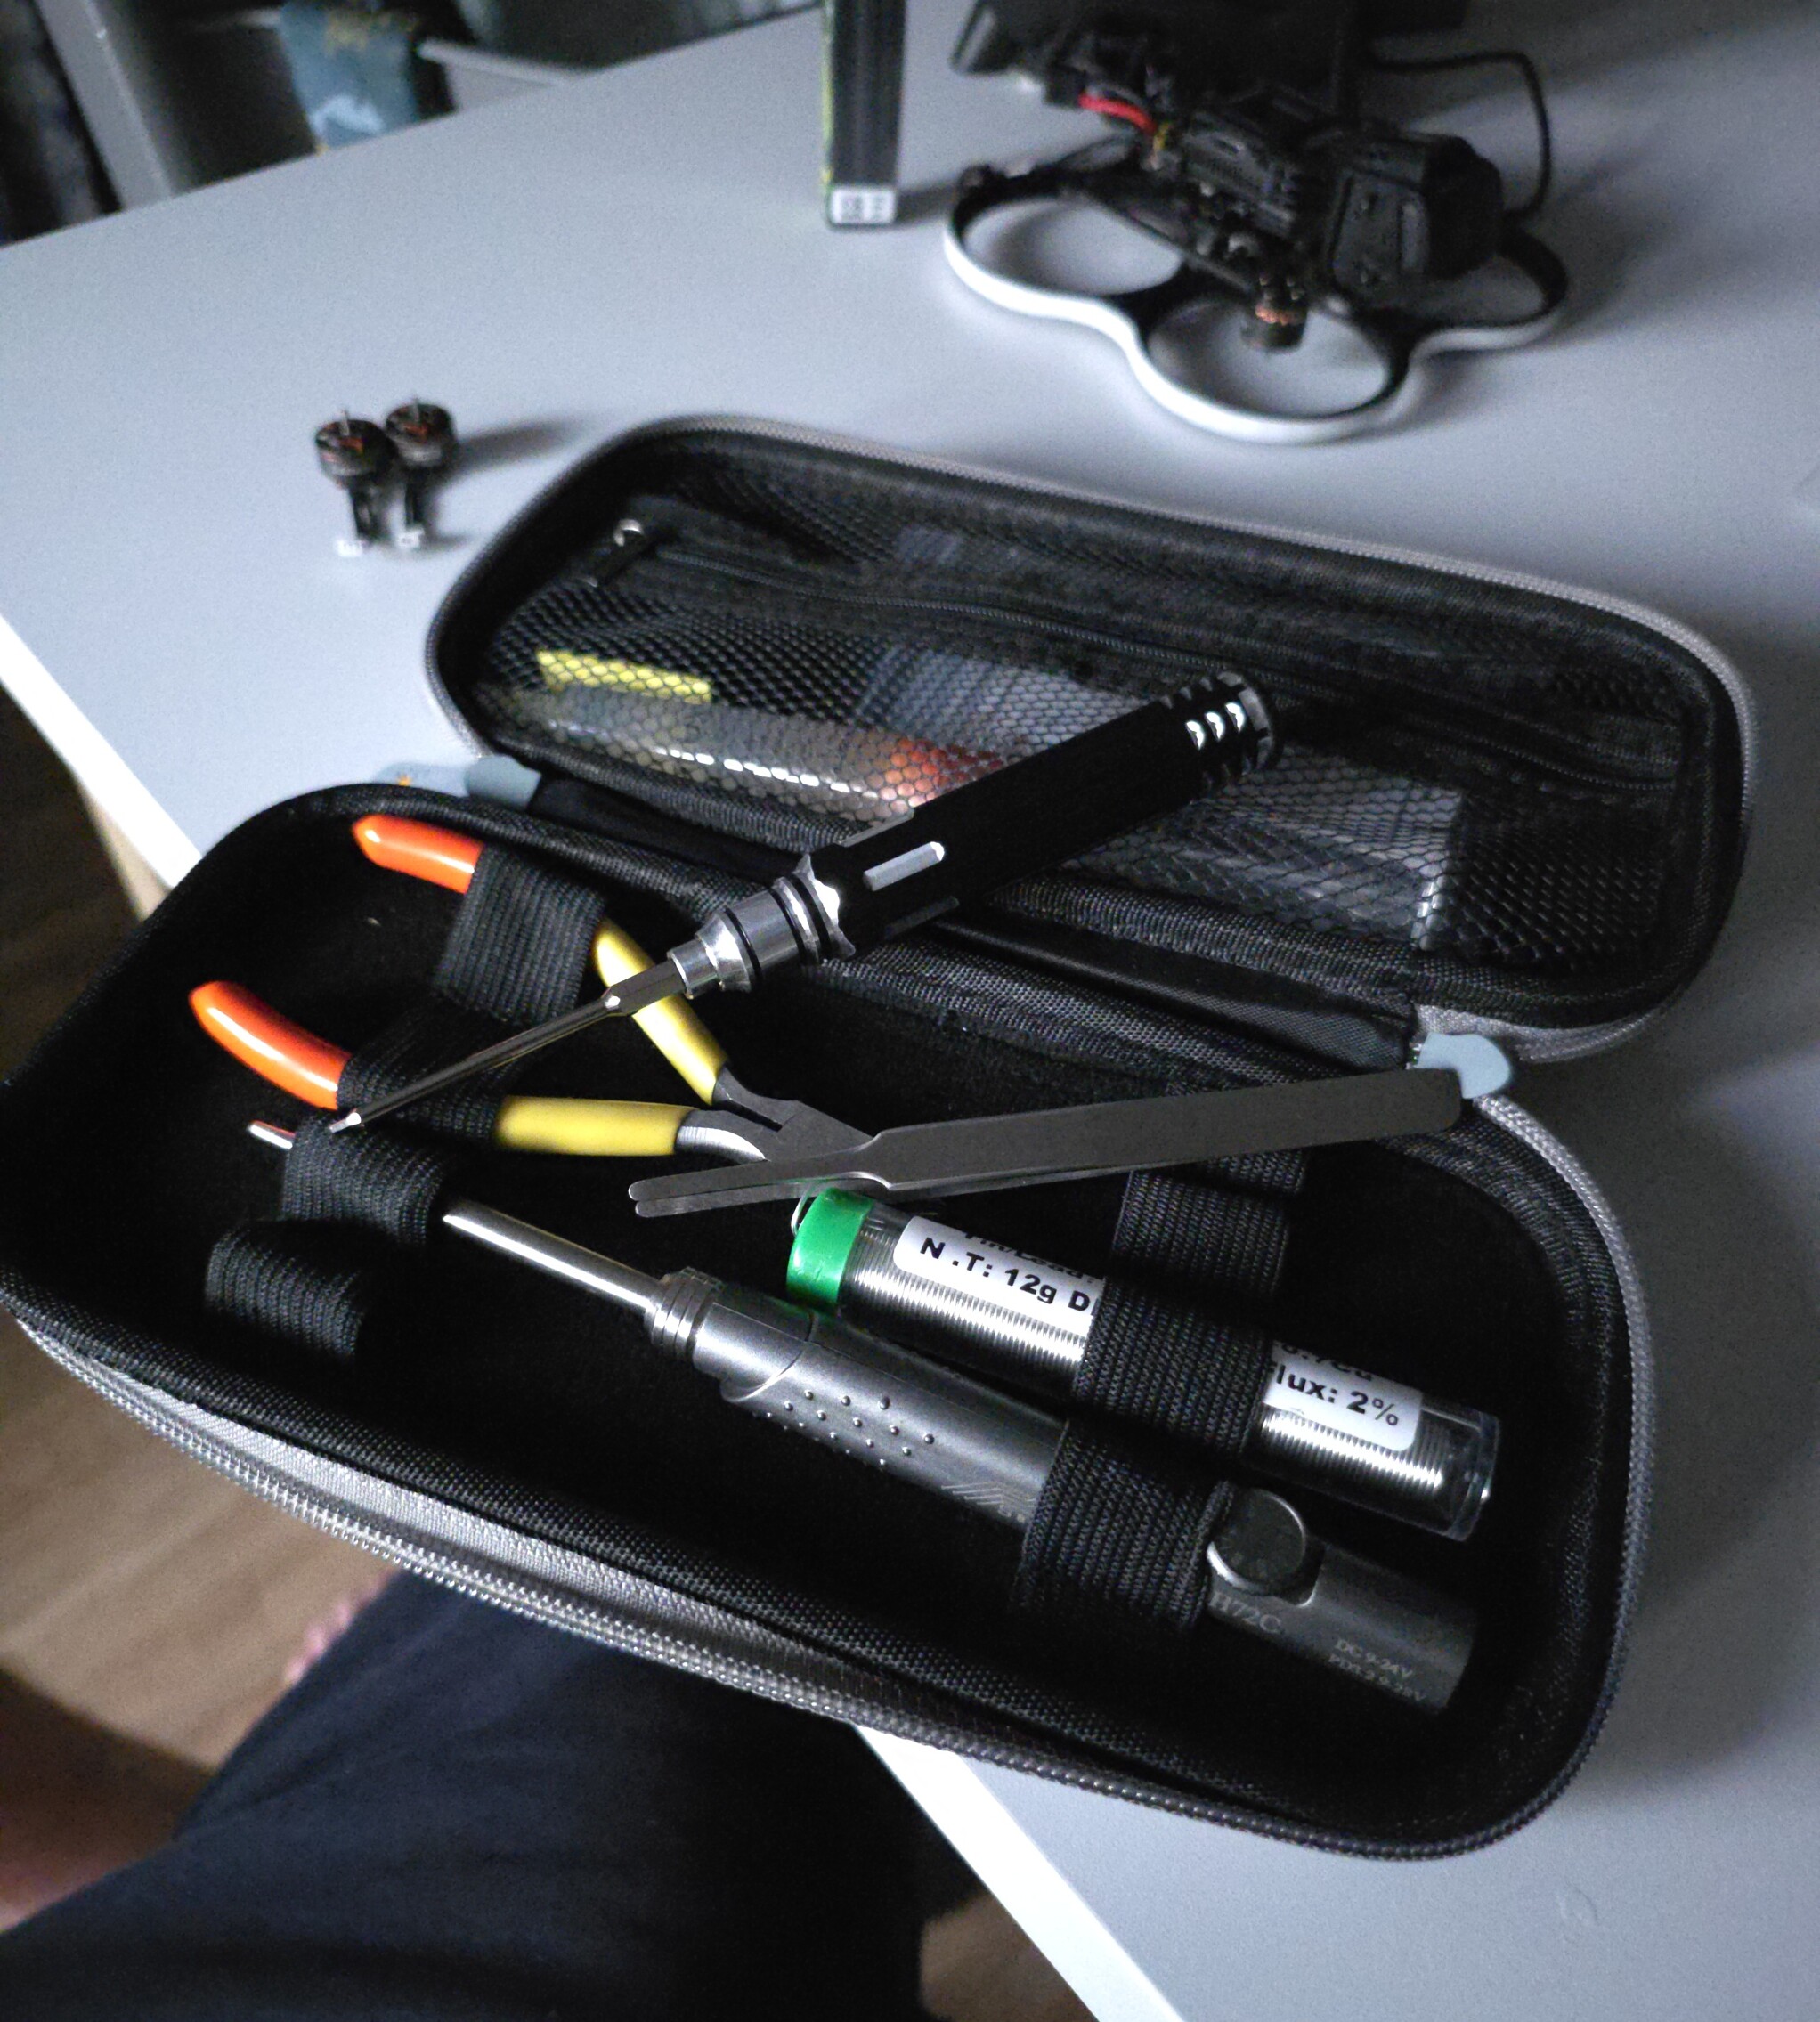
Tool kit is a simple one £53, (Newbeedrone) has everything to solder, screw driver with drone specific bits, cutters, tweezers.. etc etc. I will admit, the solder iron isn’t the best, but it will get me out of a jam!
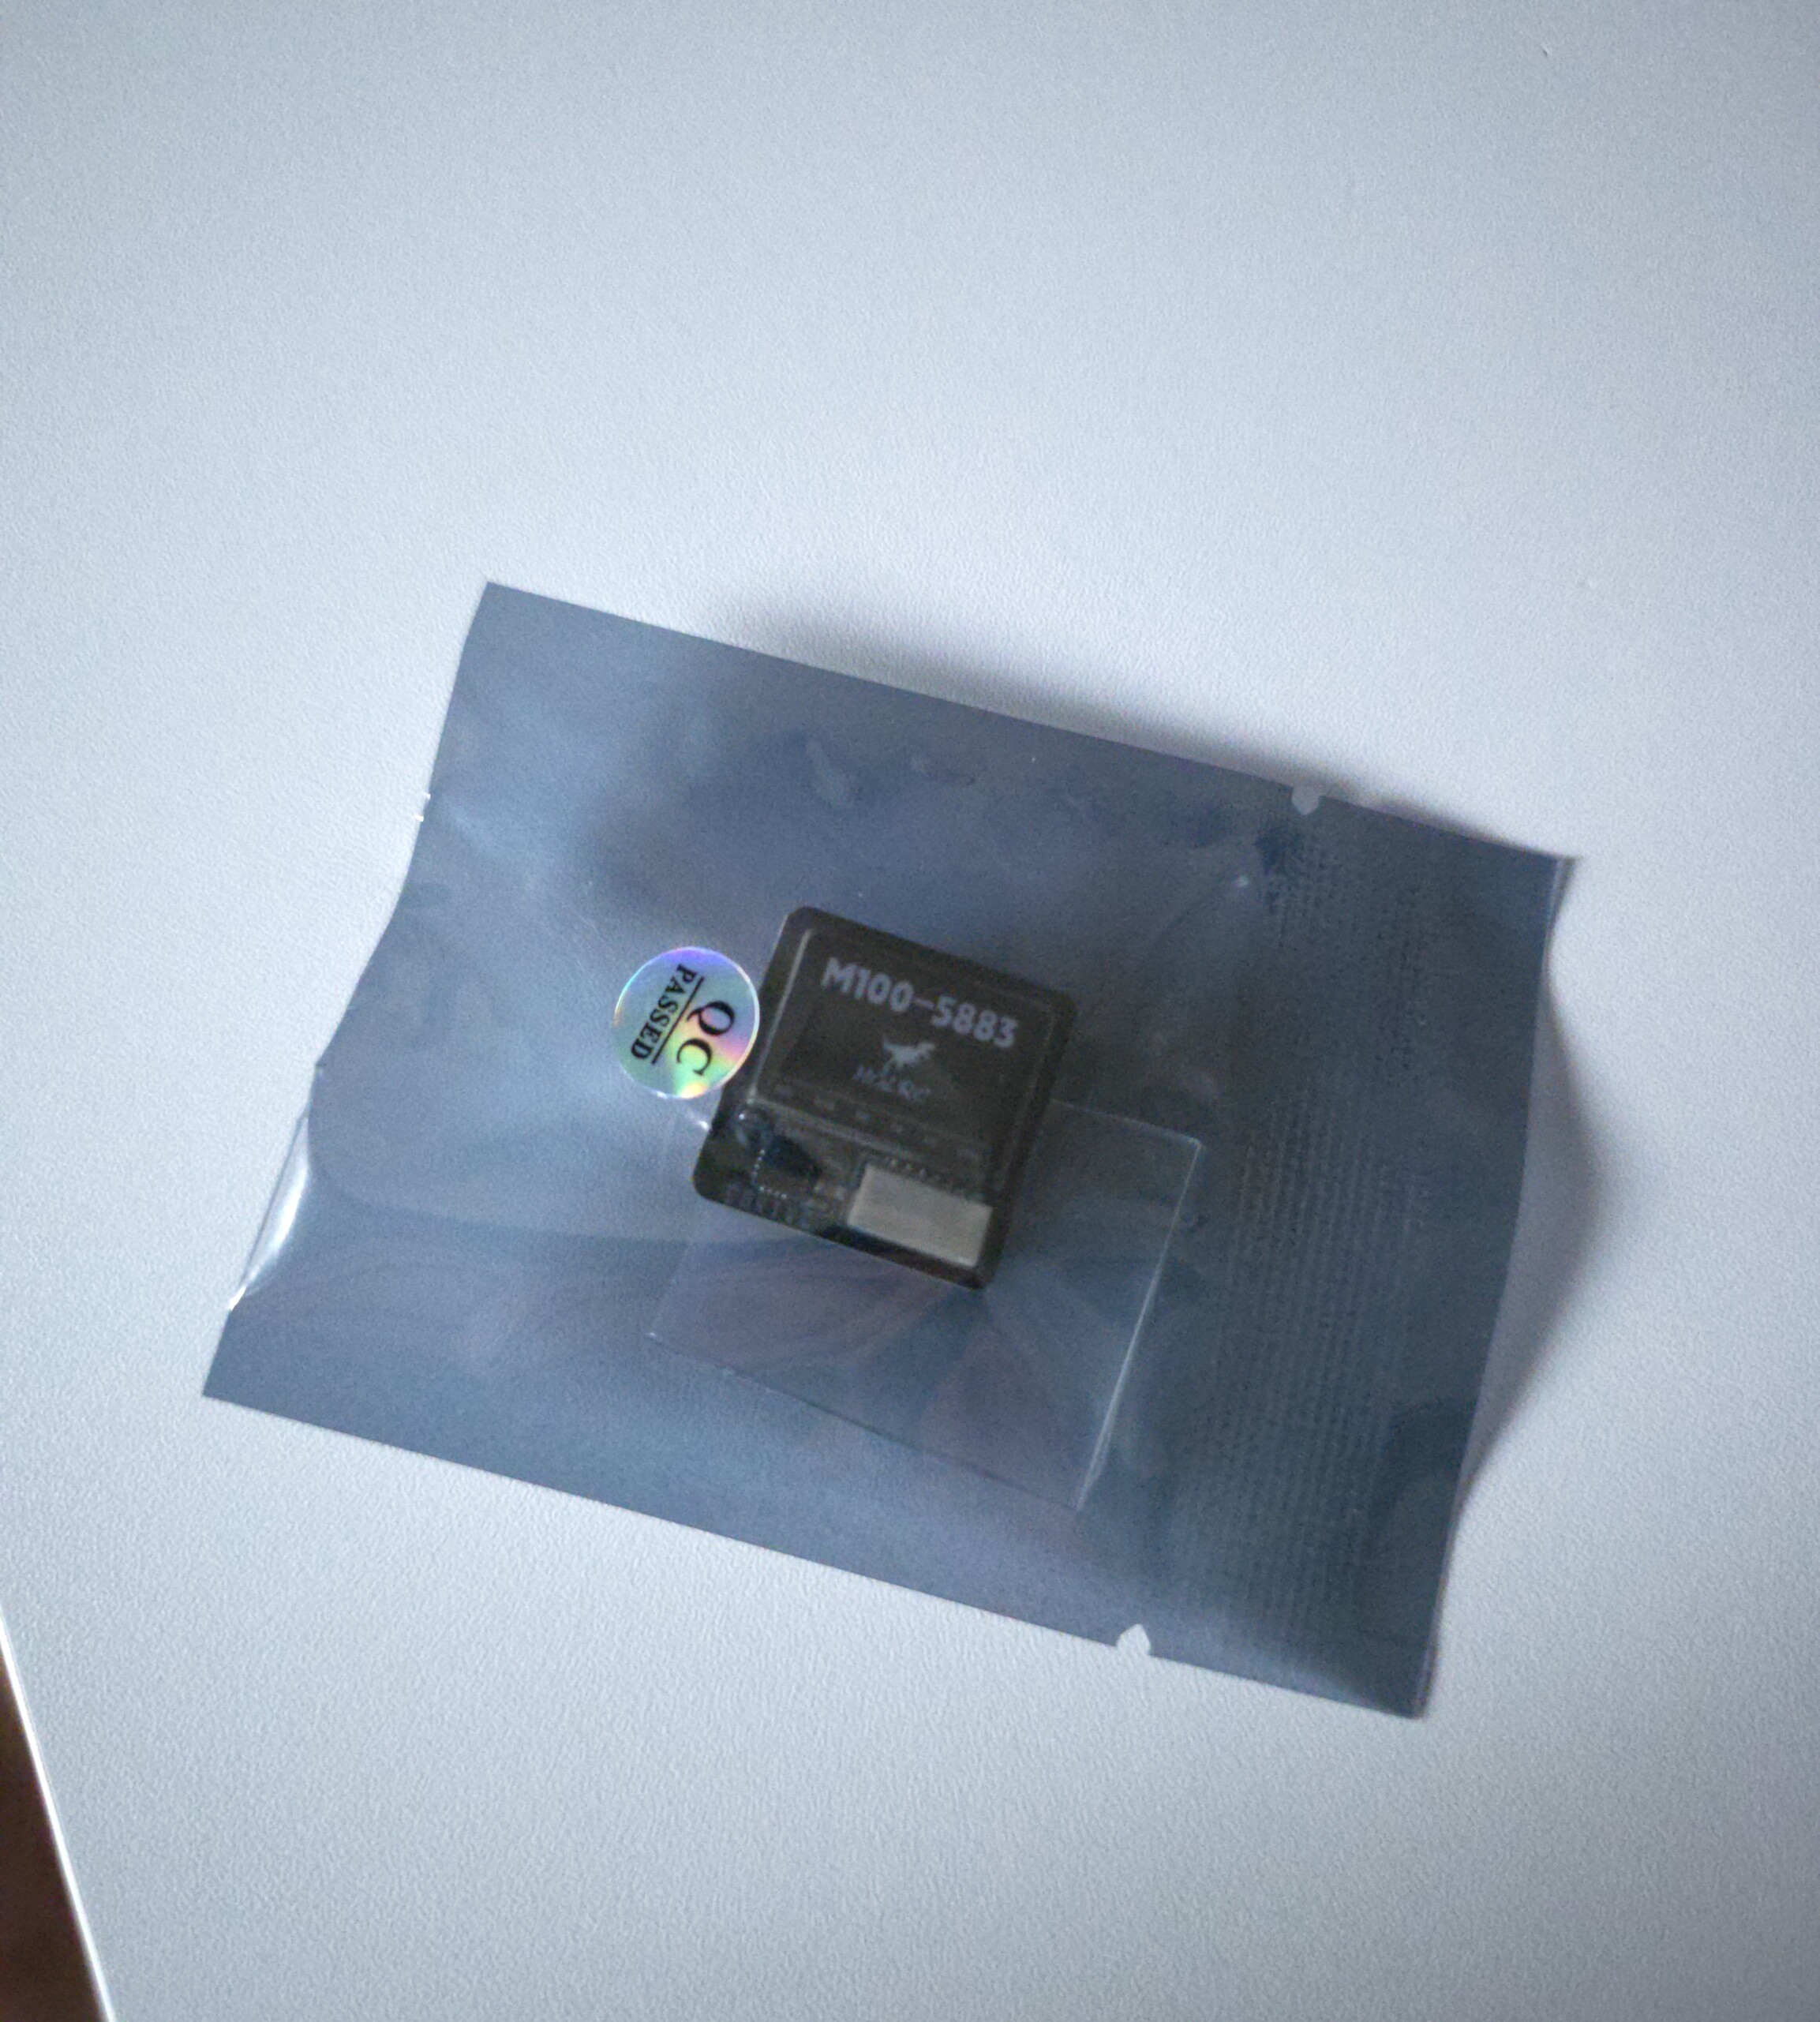
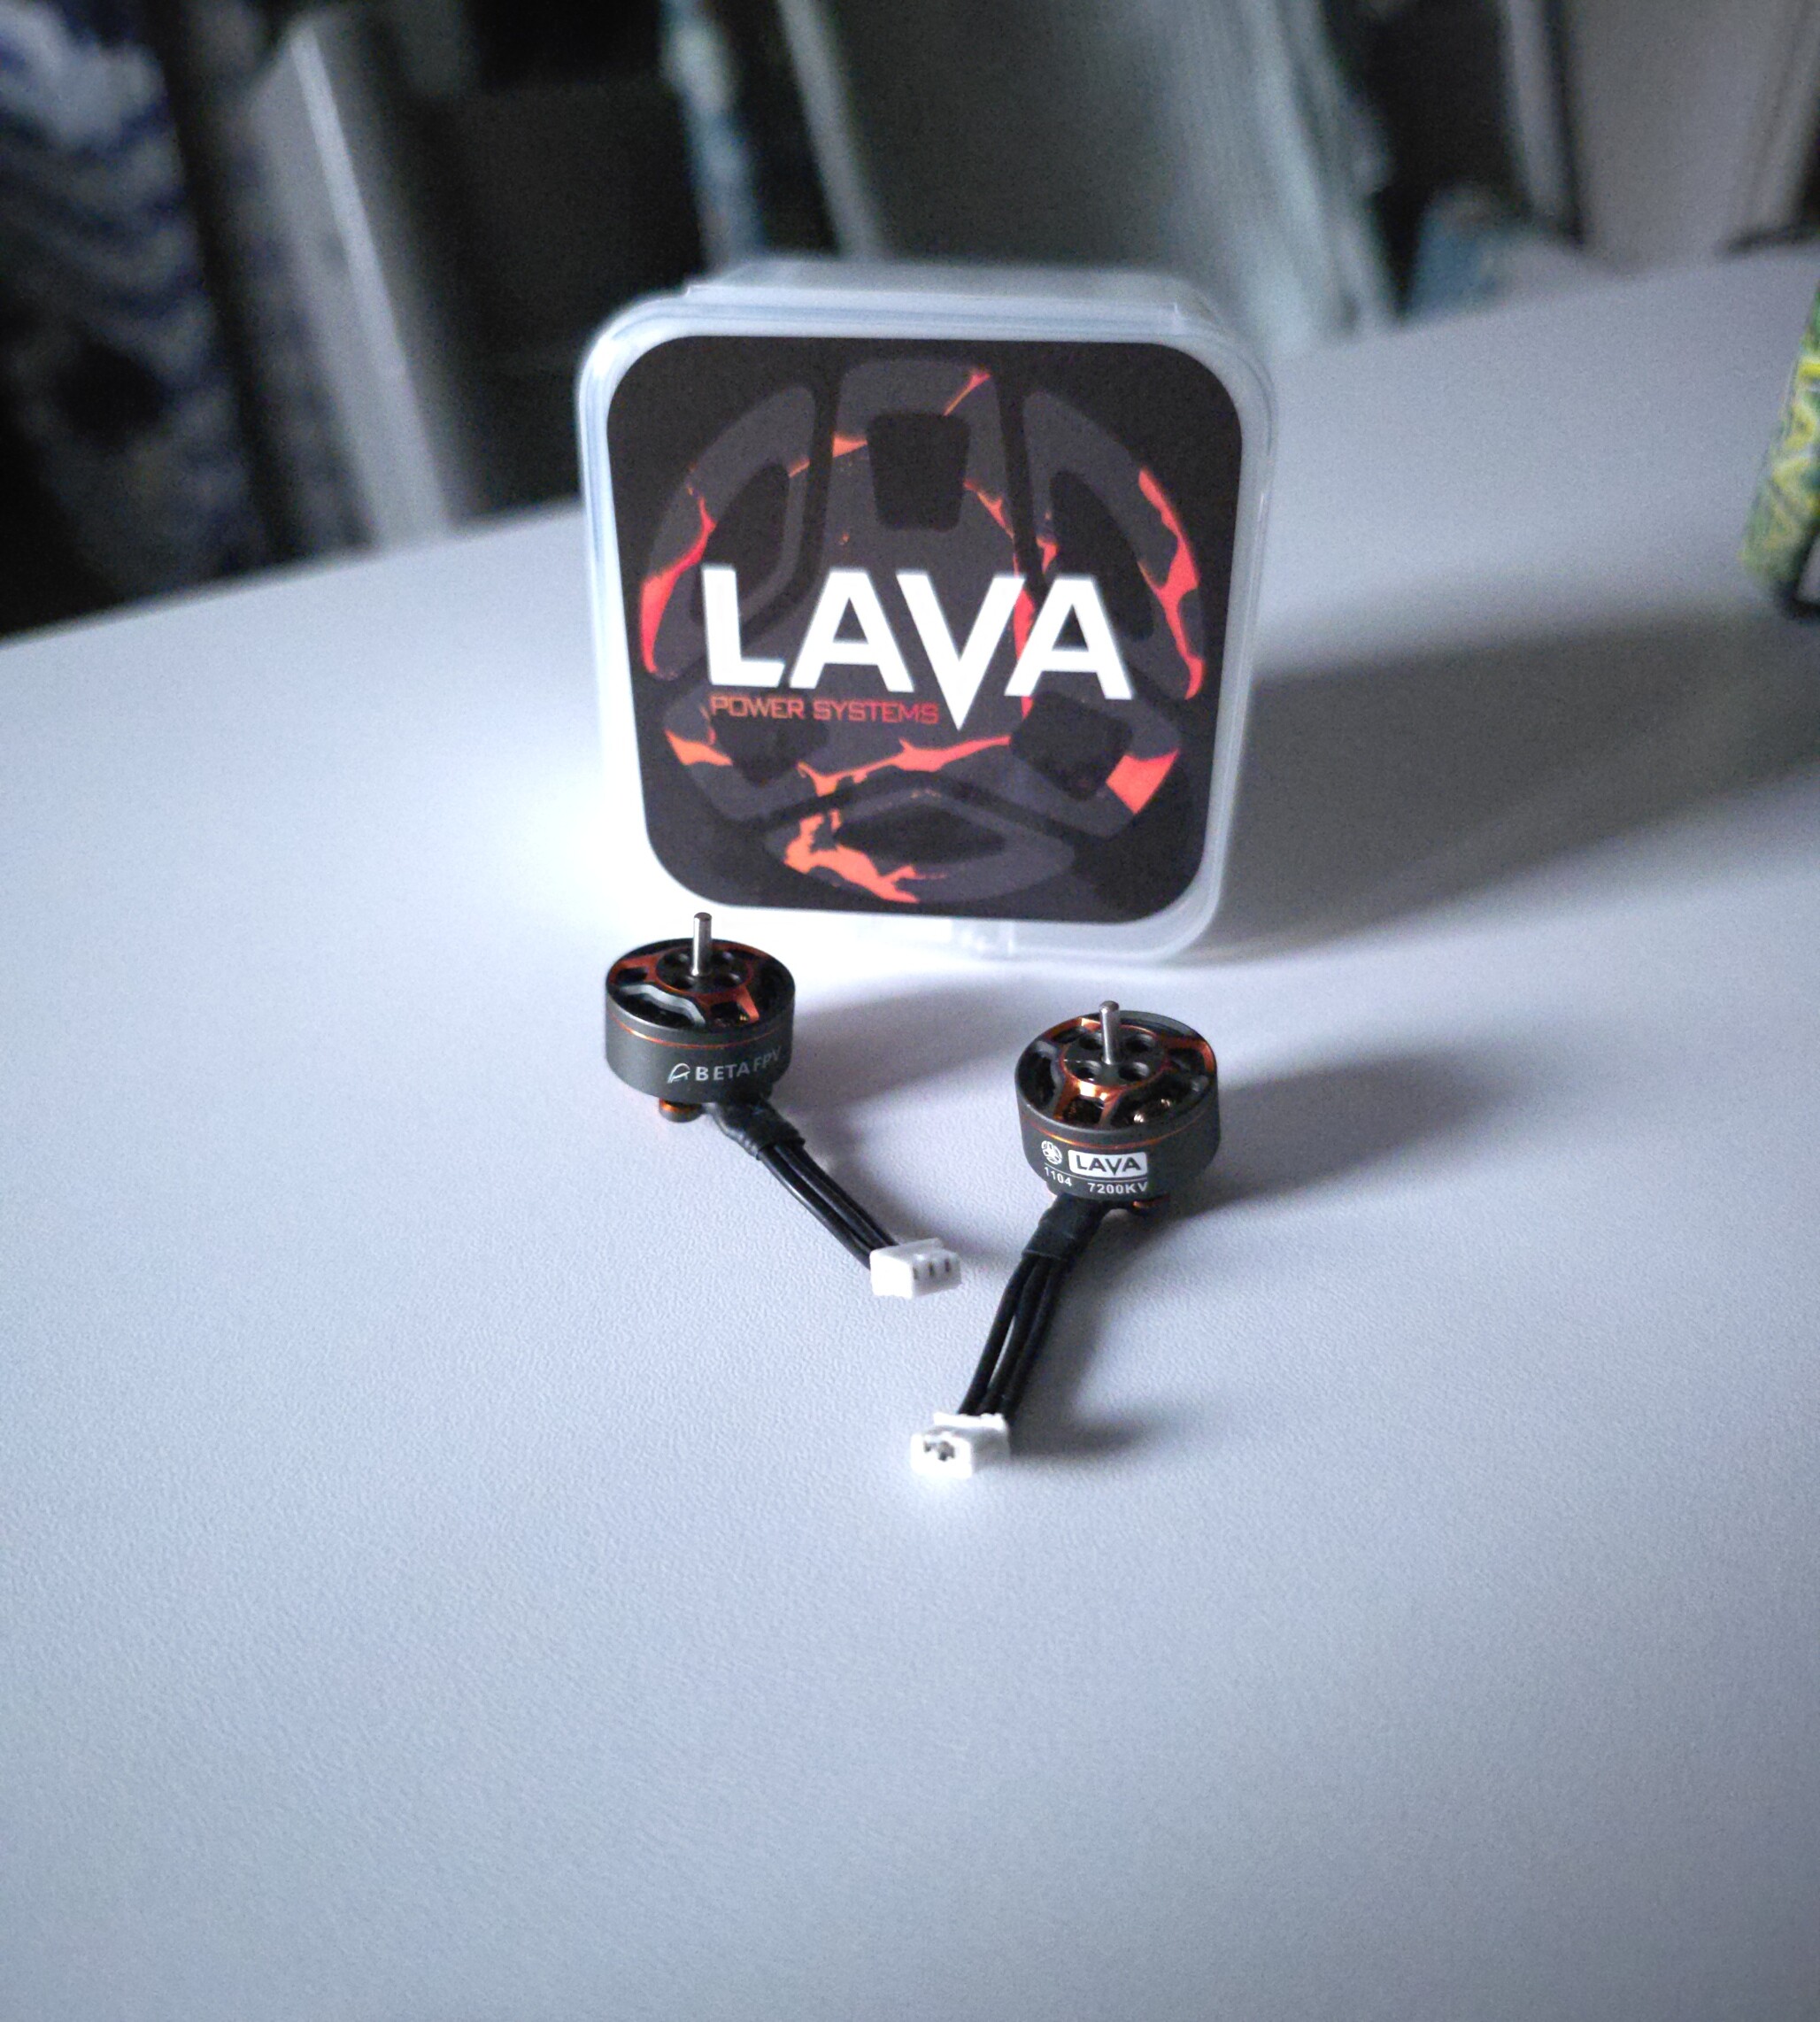
radio landyard… well why not and the GPS unit is for a project once the drone is flying. You’ve probably guessed, the Pavo 20 doesn’t come with one, so I brought the HGLRC M100-5883 GPS Module - this was just what I have read works with this drone well. £15. Spare motors were £11.90 each (£23.80 x2) landyard was £6.
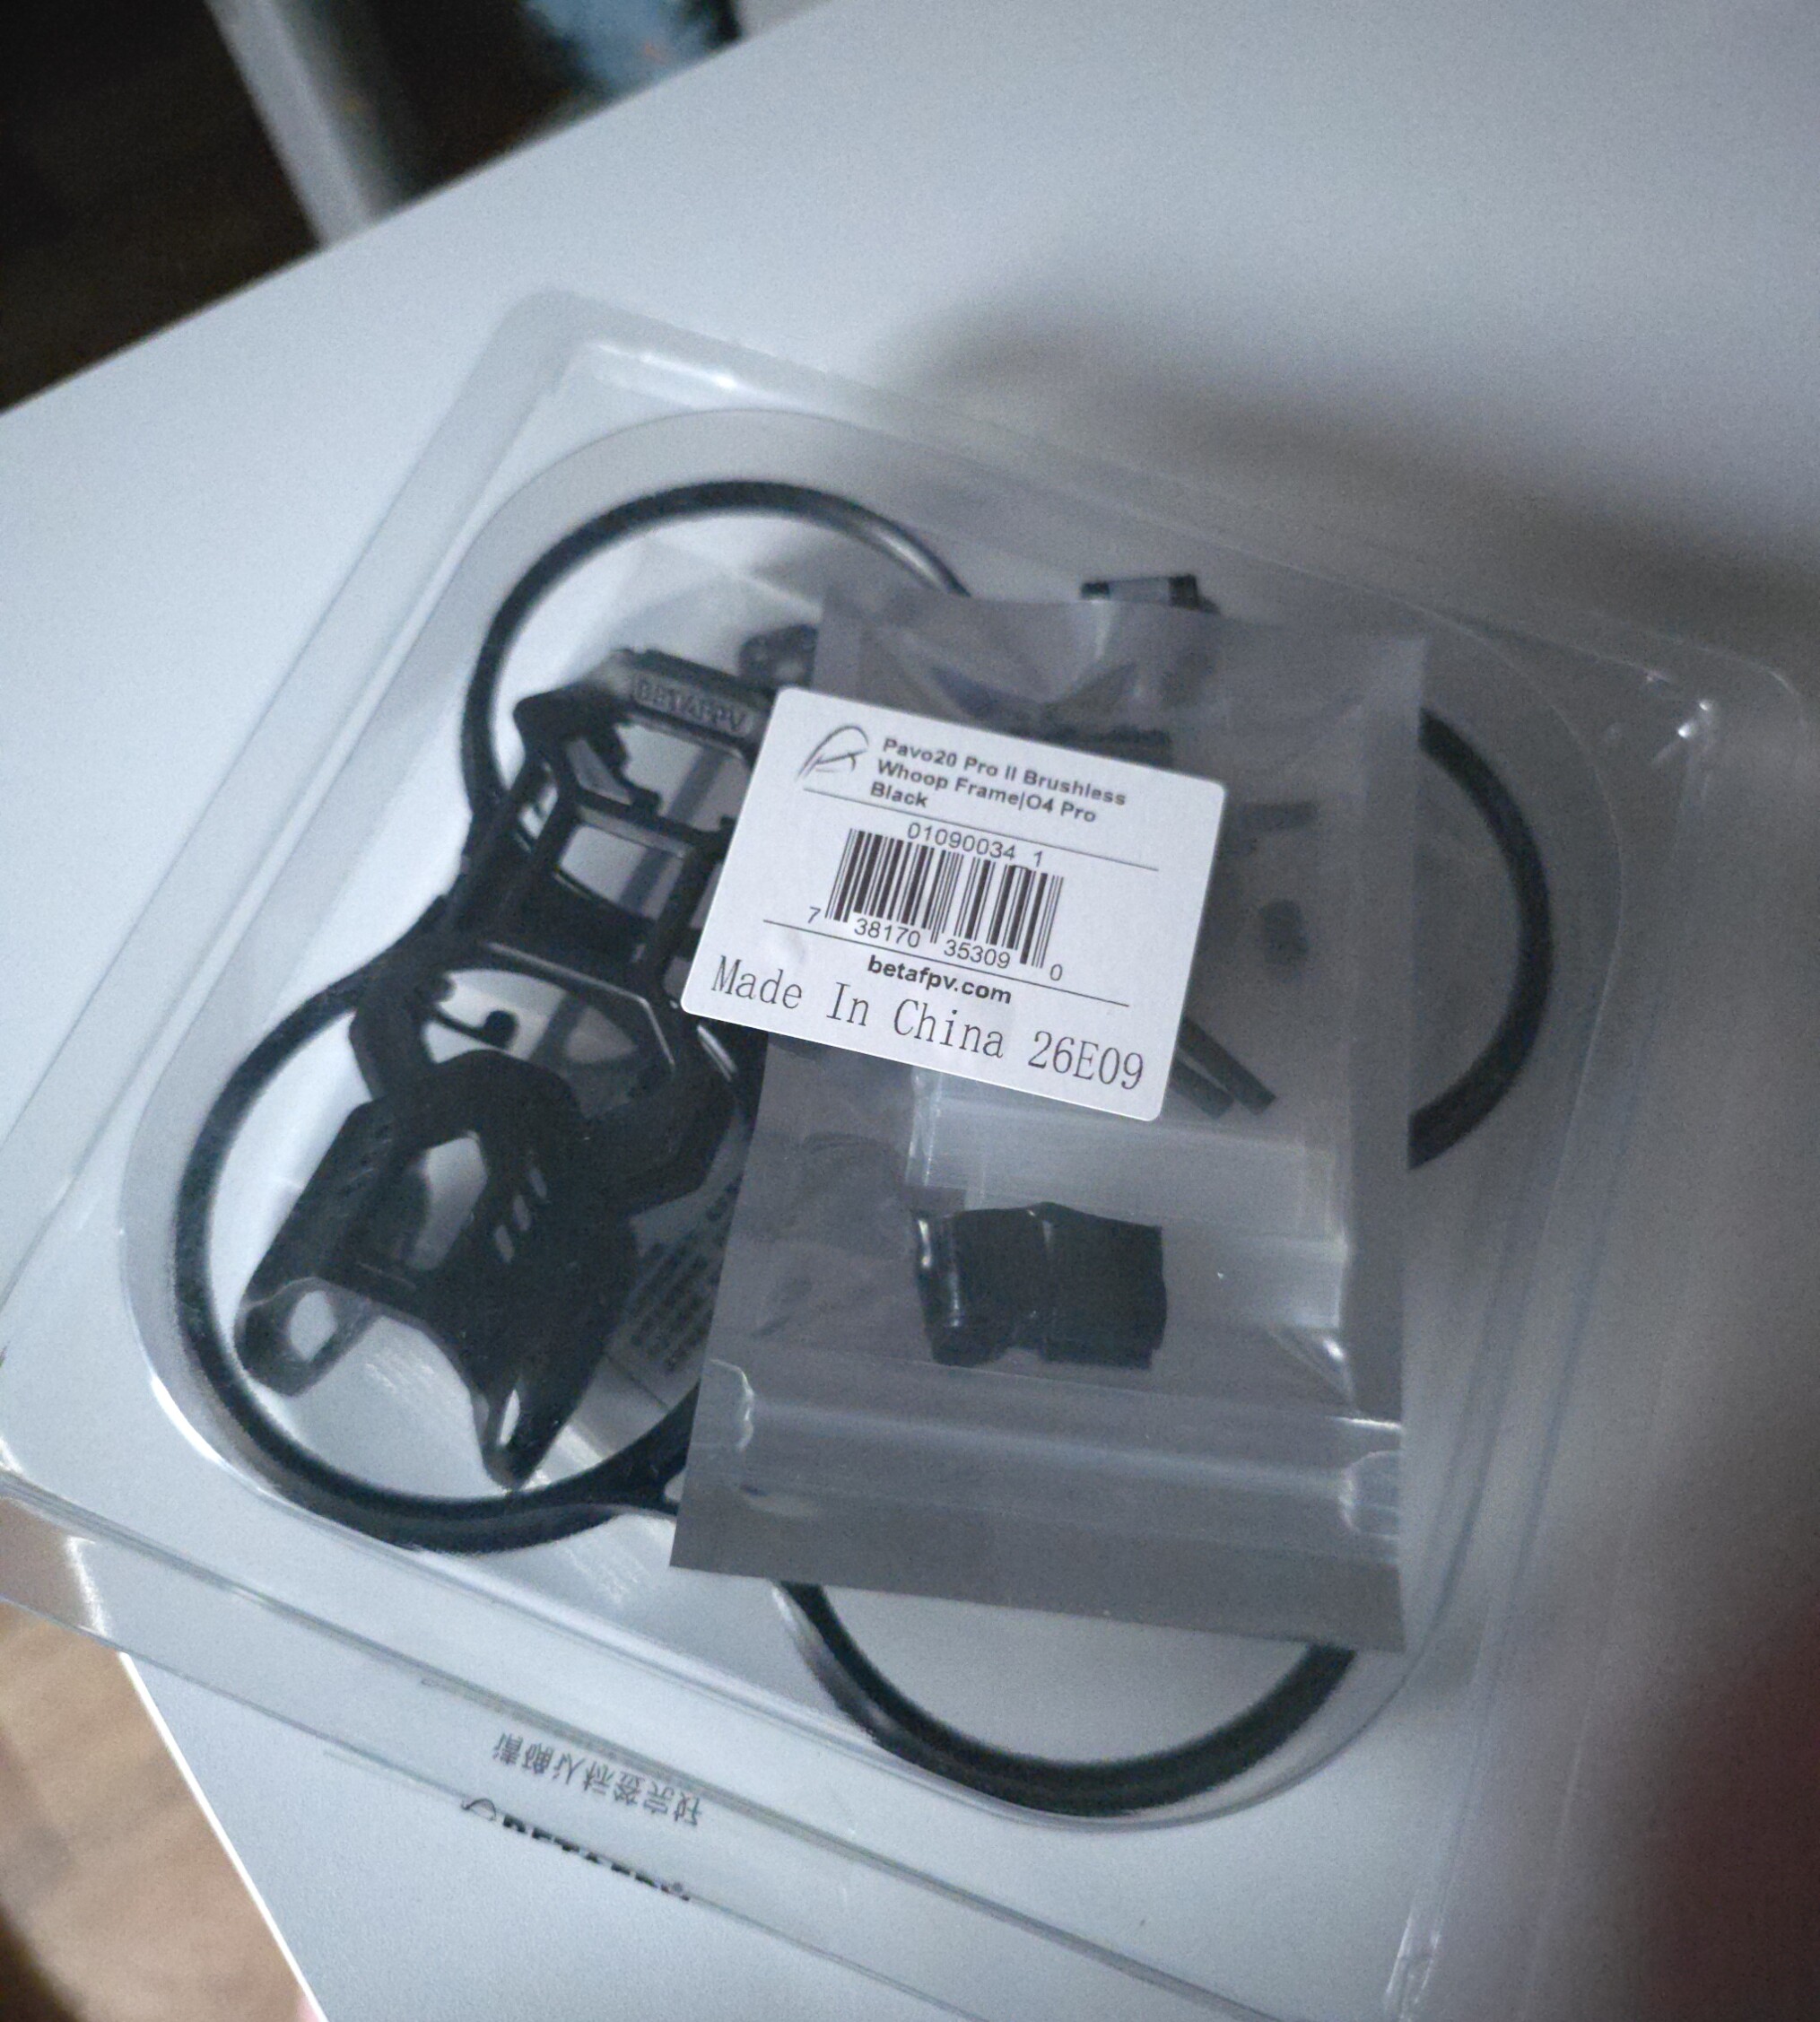
So once everything was on the table, it is obviously time to get it all configured. It has to be said, if you connect the radio, goggles and drone together once you have firmware updated and activated the relevant bits.. this IS a bind and fly. Not me though.
I went and downloaded Beta Flight and made sure the drone was fully set up. Top to bottom configured. Hours of Josh Bardwell and even more hours of reading.
6 or so hours passed by. Set the drone on the grass in the garden. Pulled the goggles over my eyes. Honestly, adreniline was pumping. Aprehension. Excitment.
Flicked the switched on the radio I’d progammed to arm and disarm the drone, lovely ladies voice came over the radio, ‘armed’.
Gently raised the throttle. Could hear the props turning.
Then literally 2 seconds later, the drone skipped along the grass, made some horid noise and I disarmed it.
 ‘Disarmed’
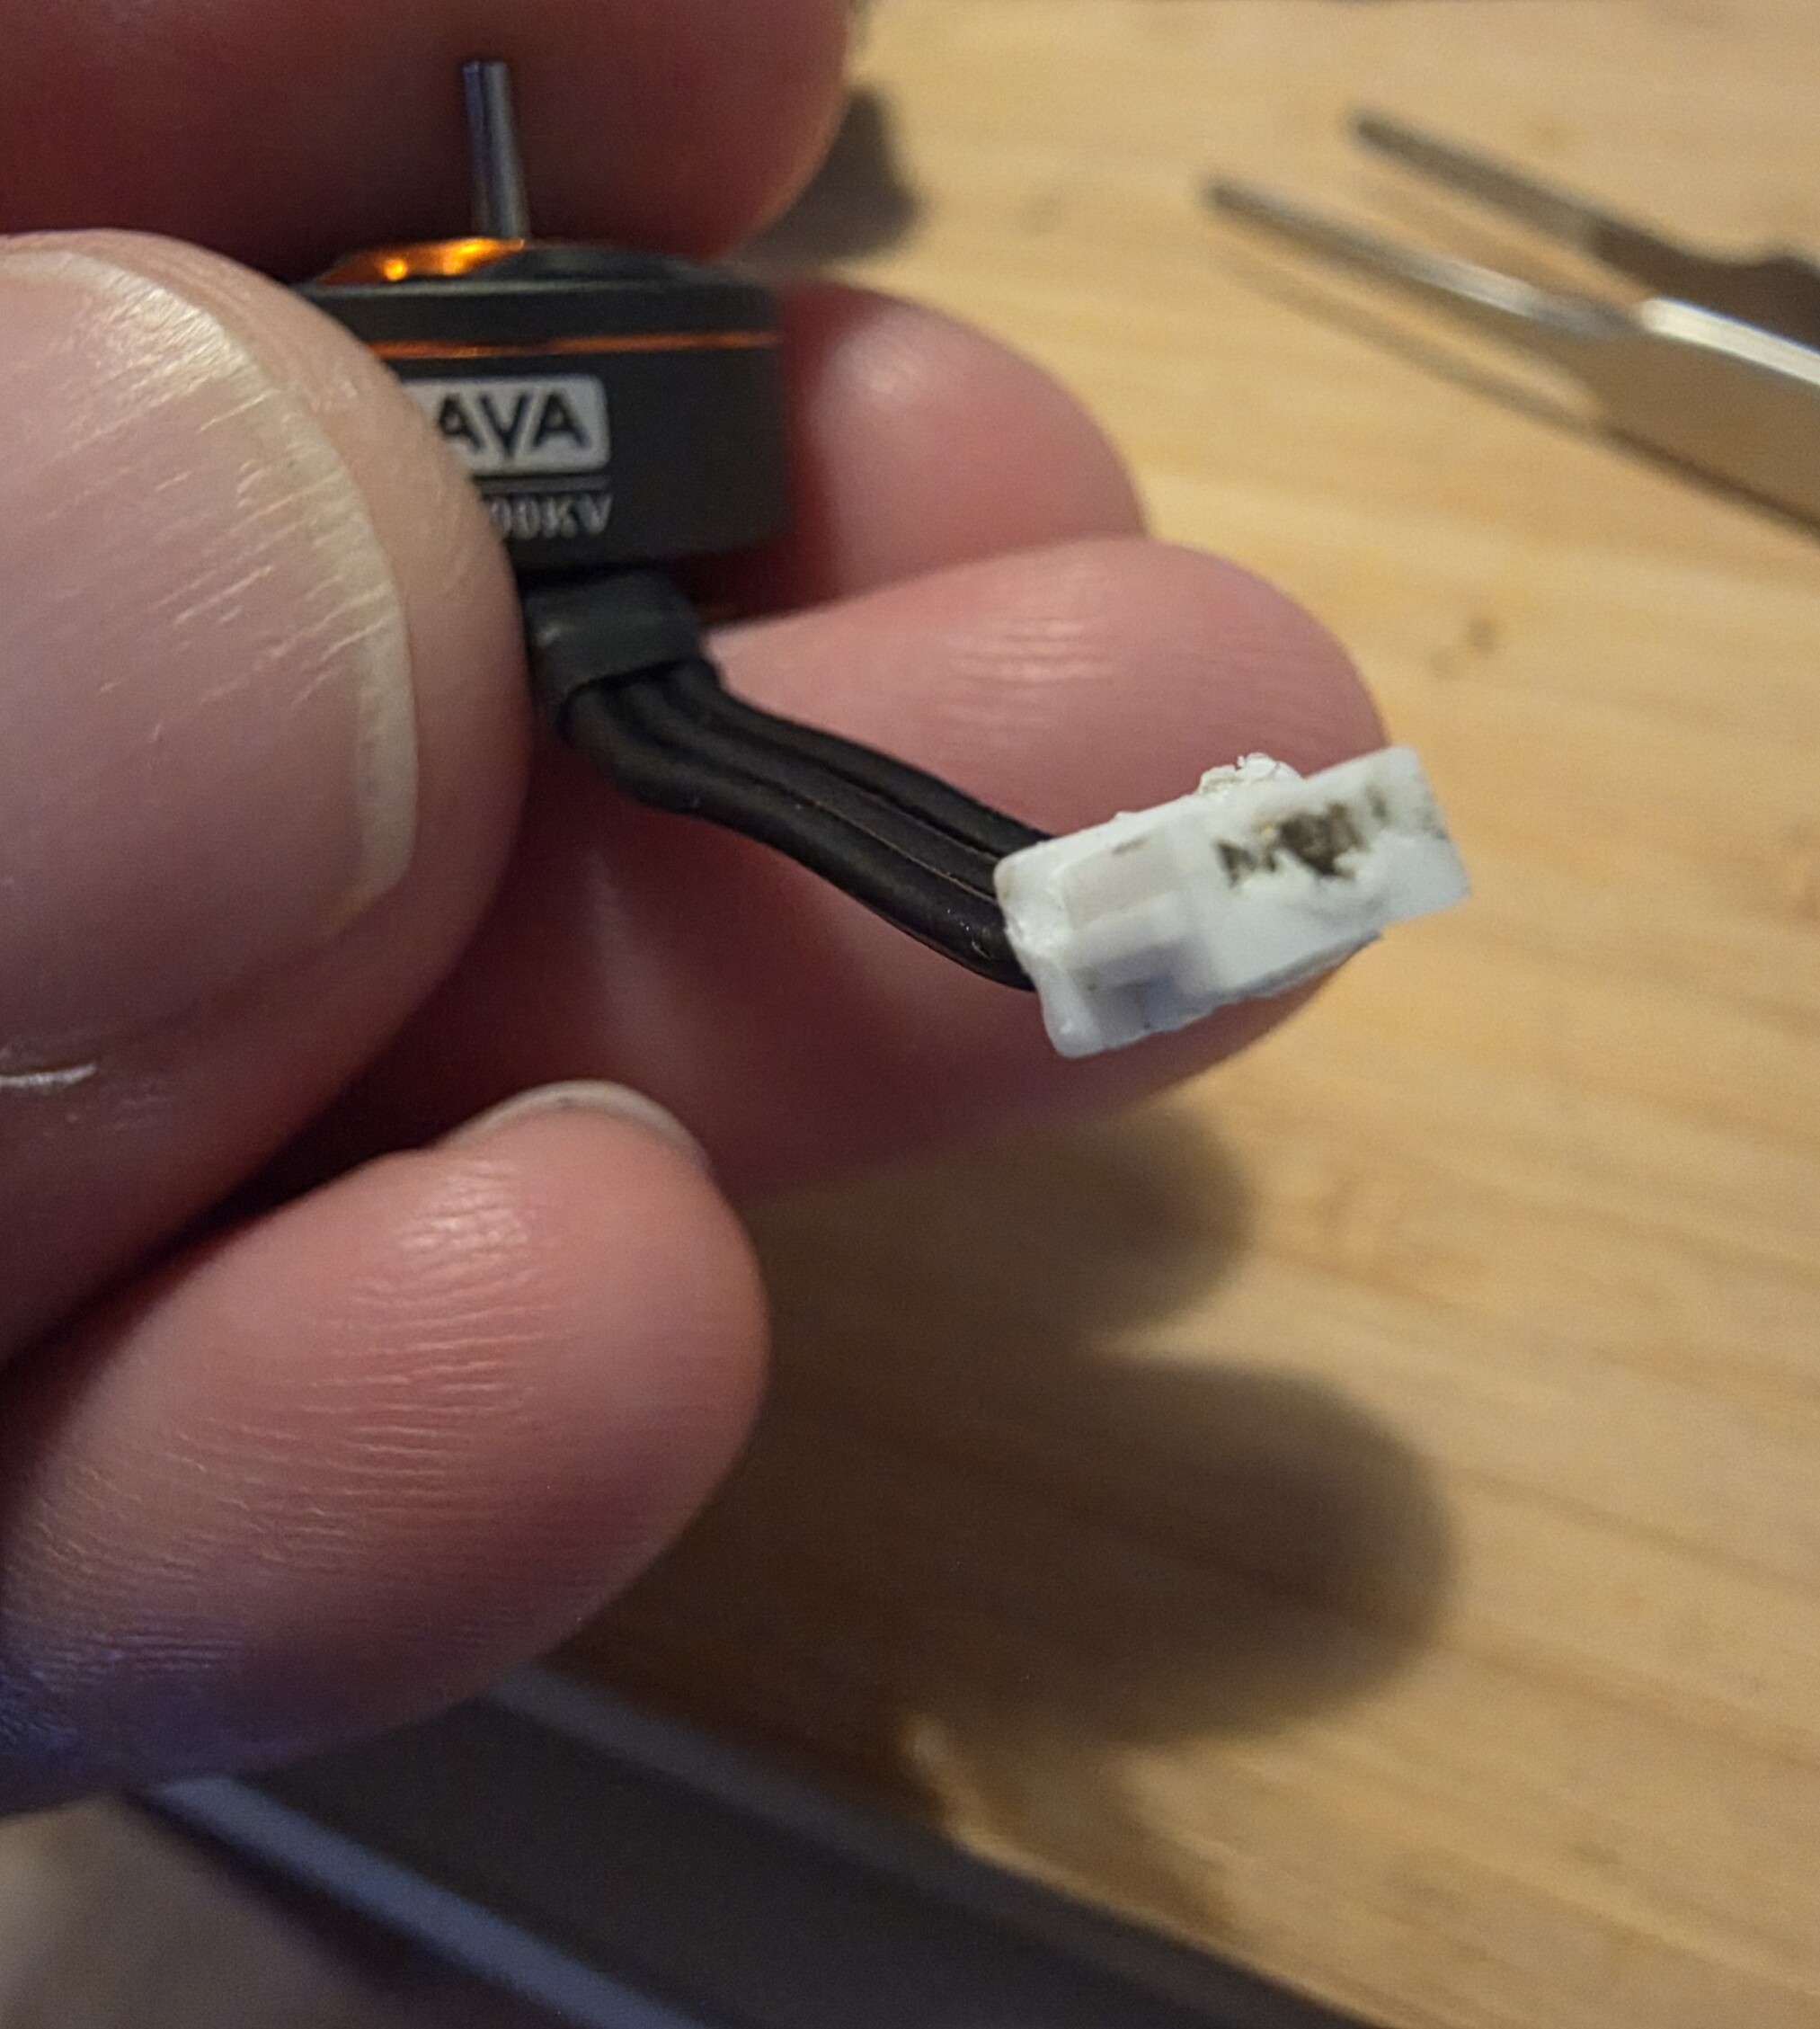
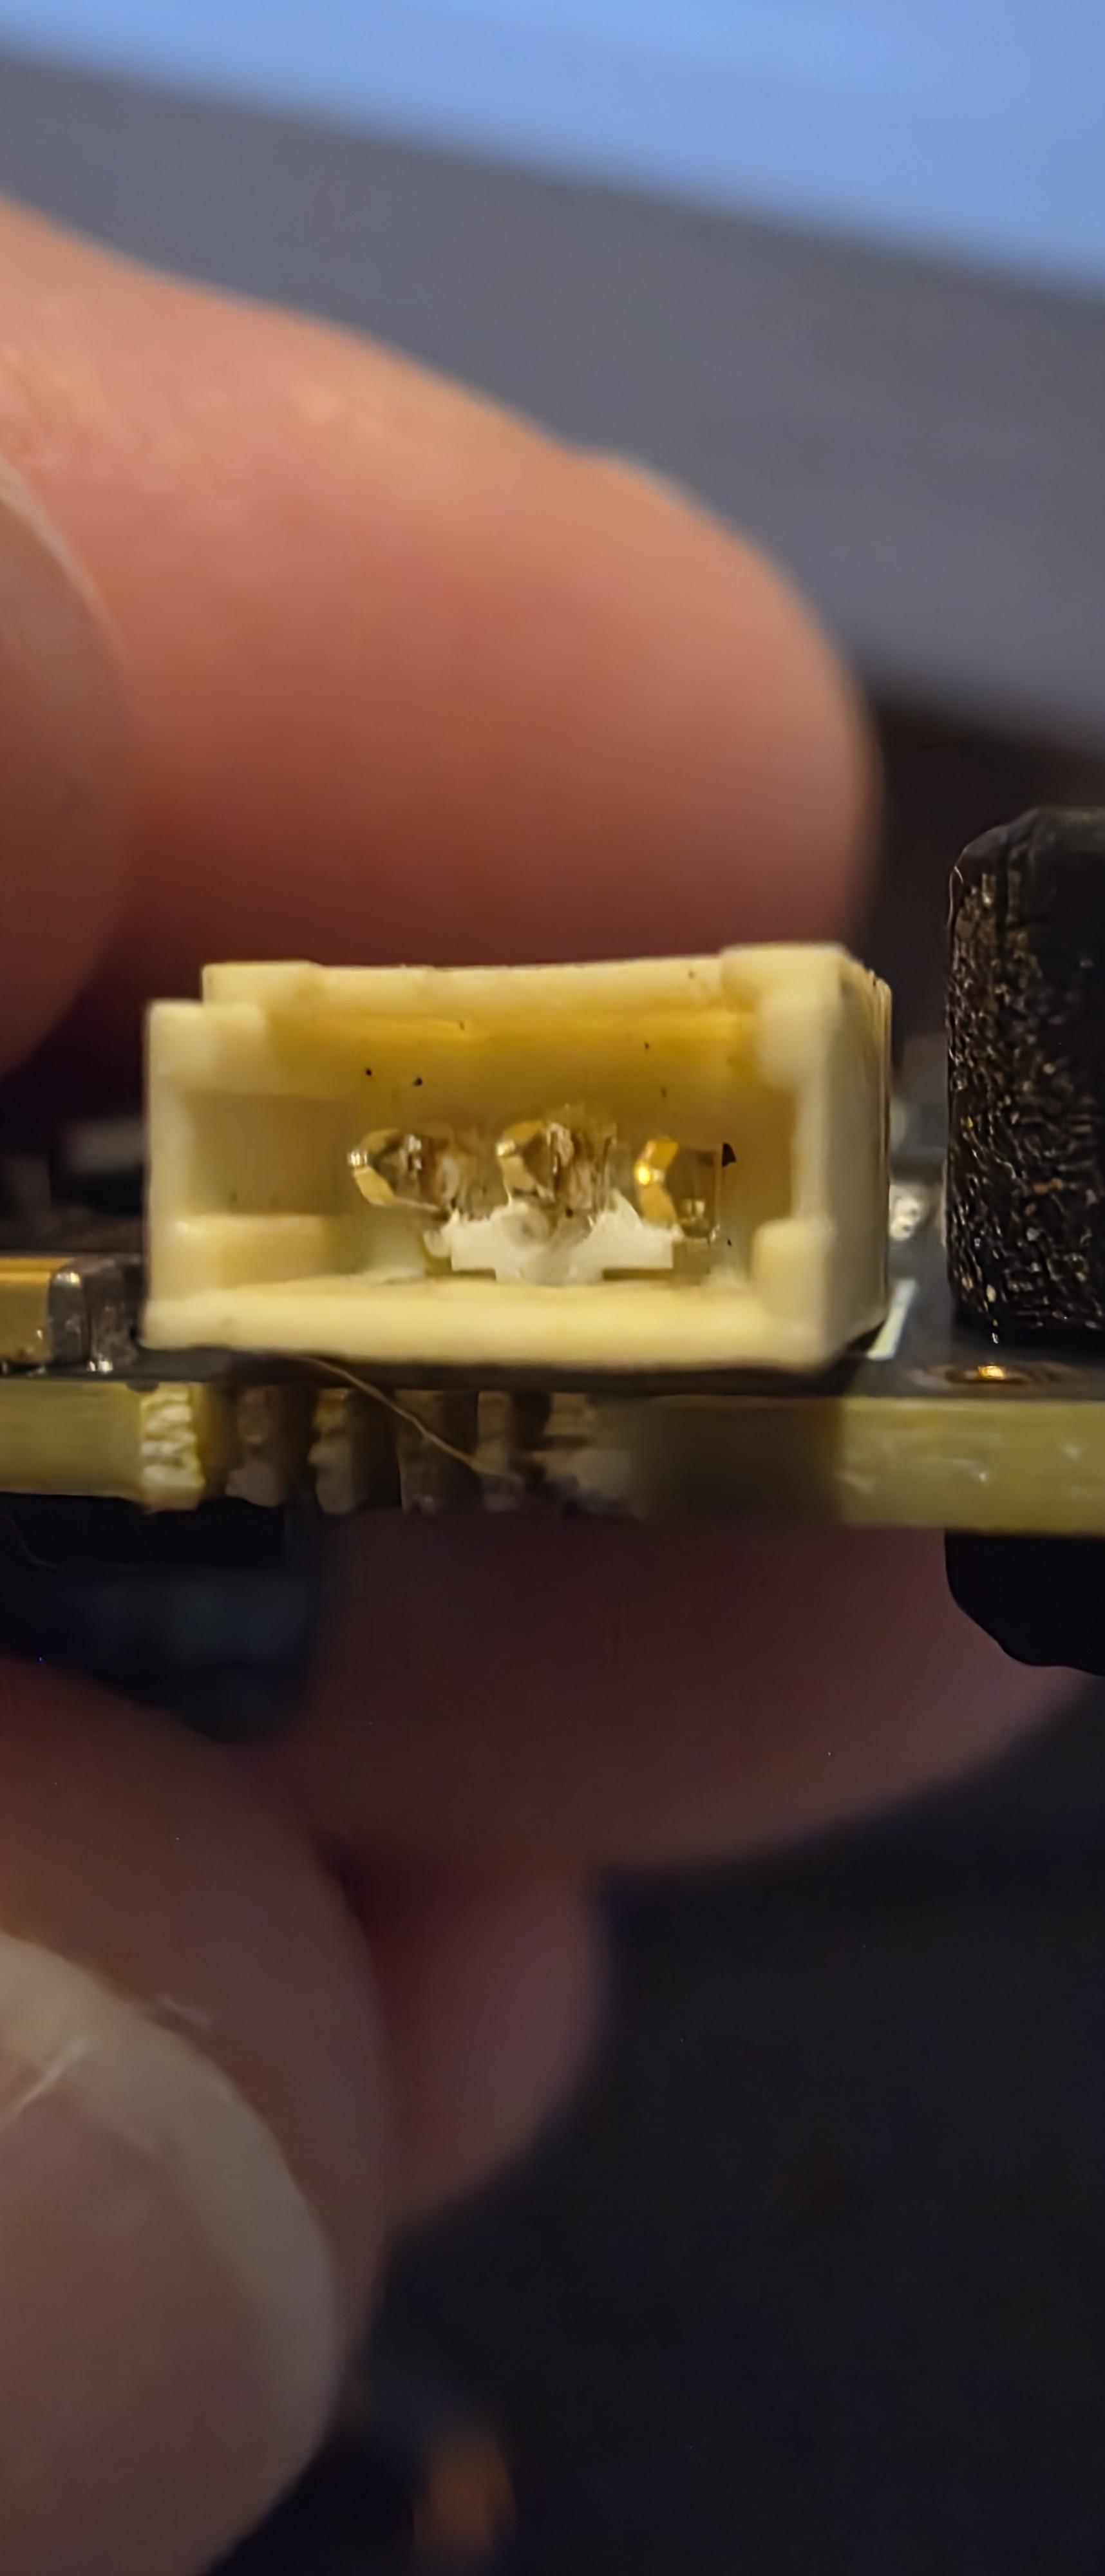
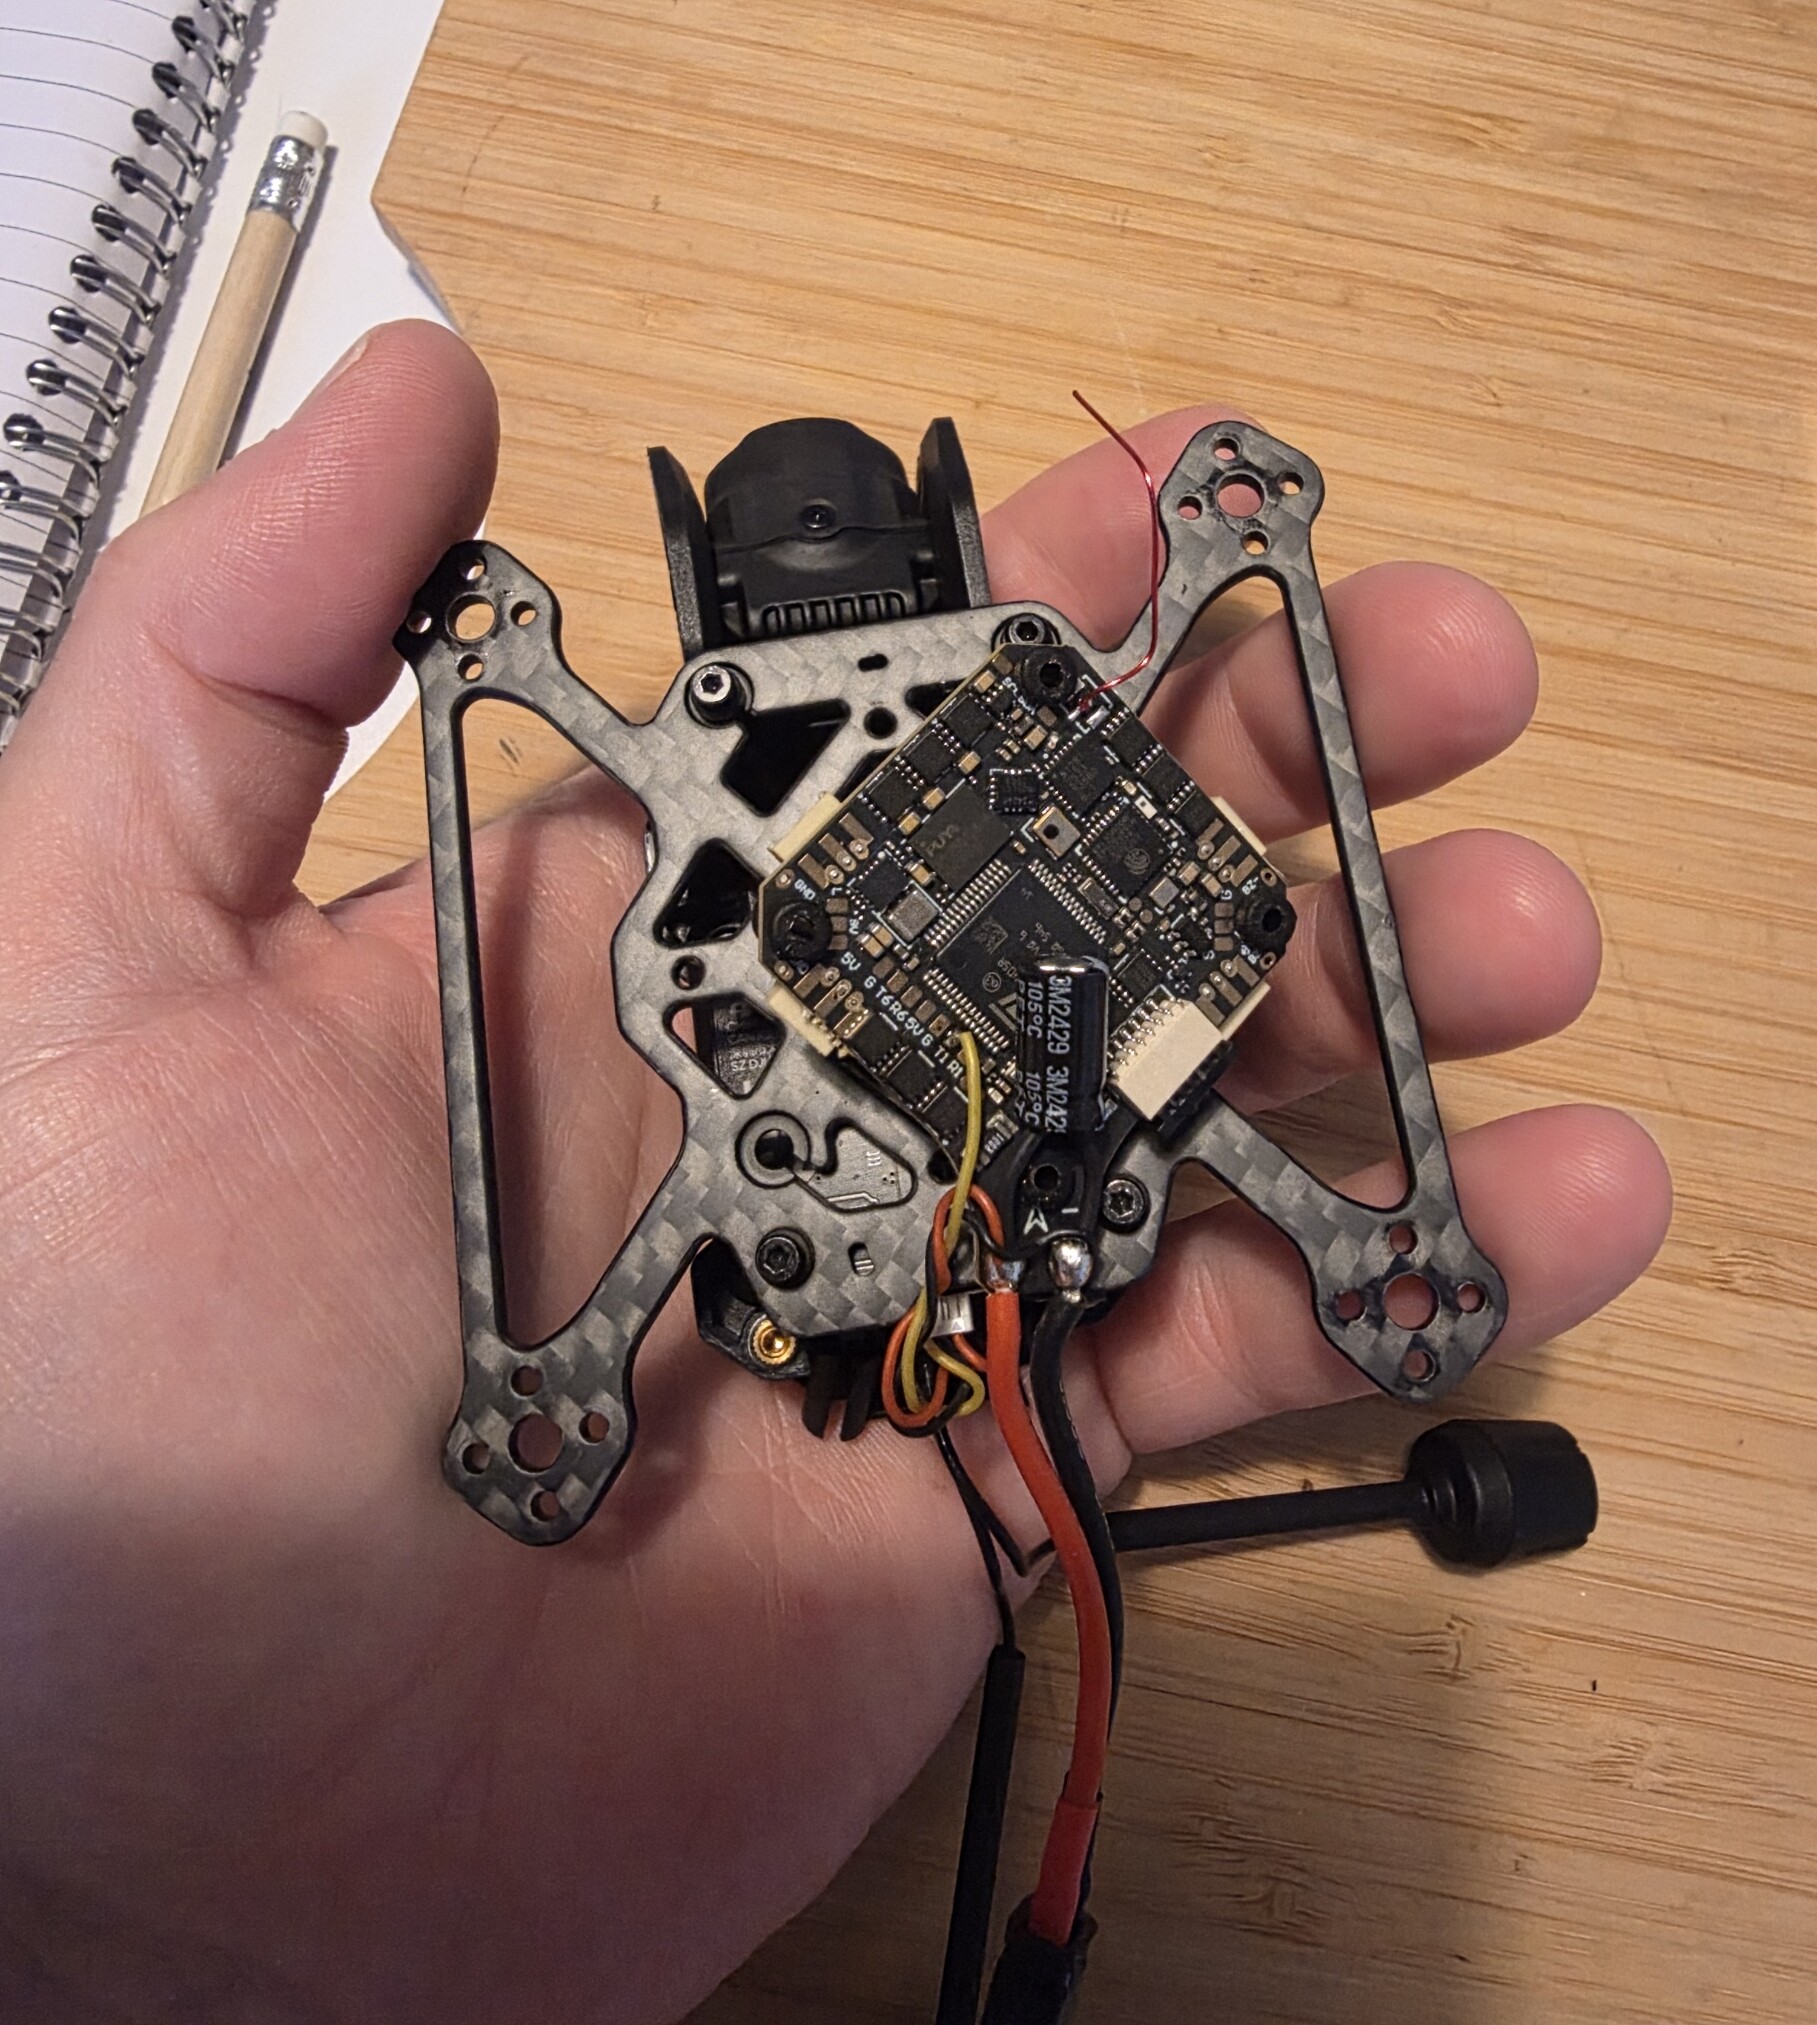
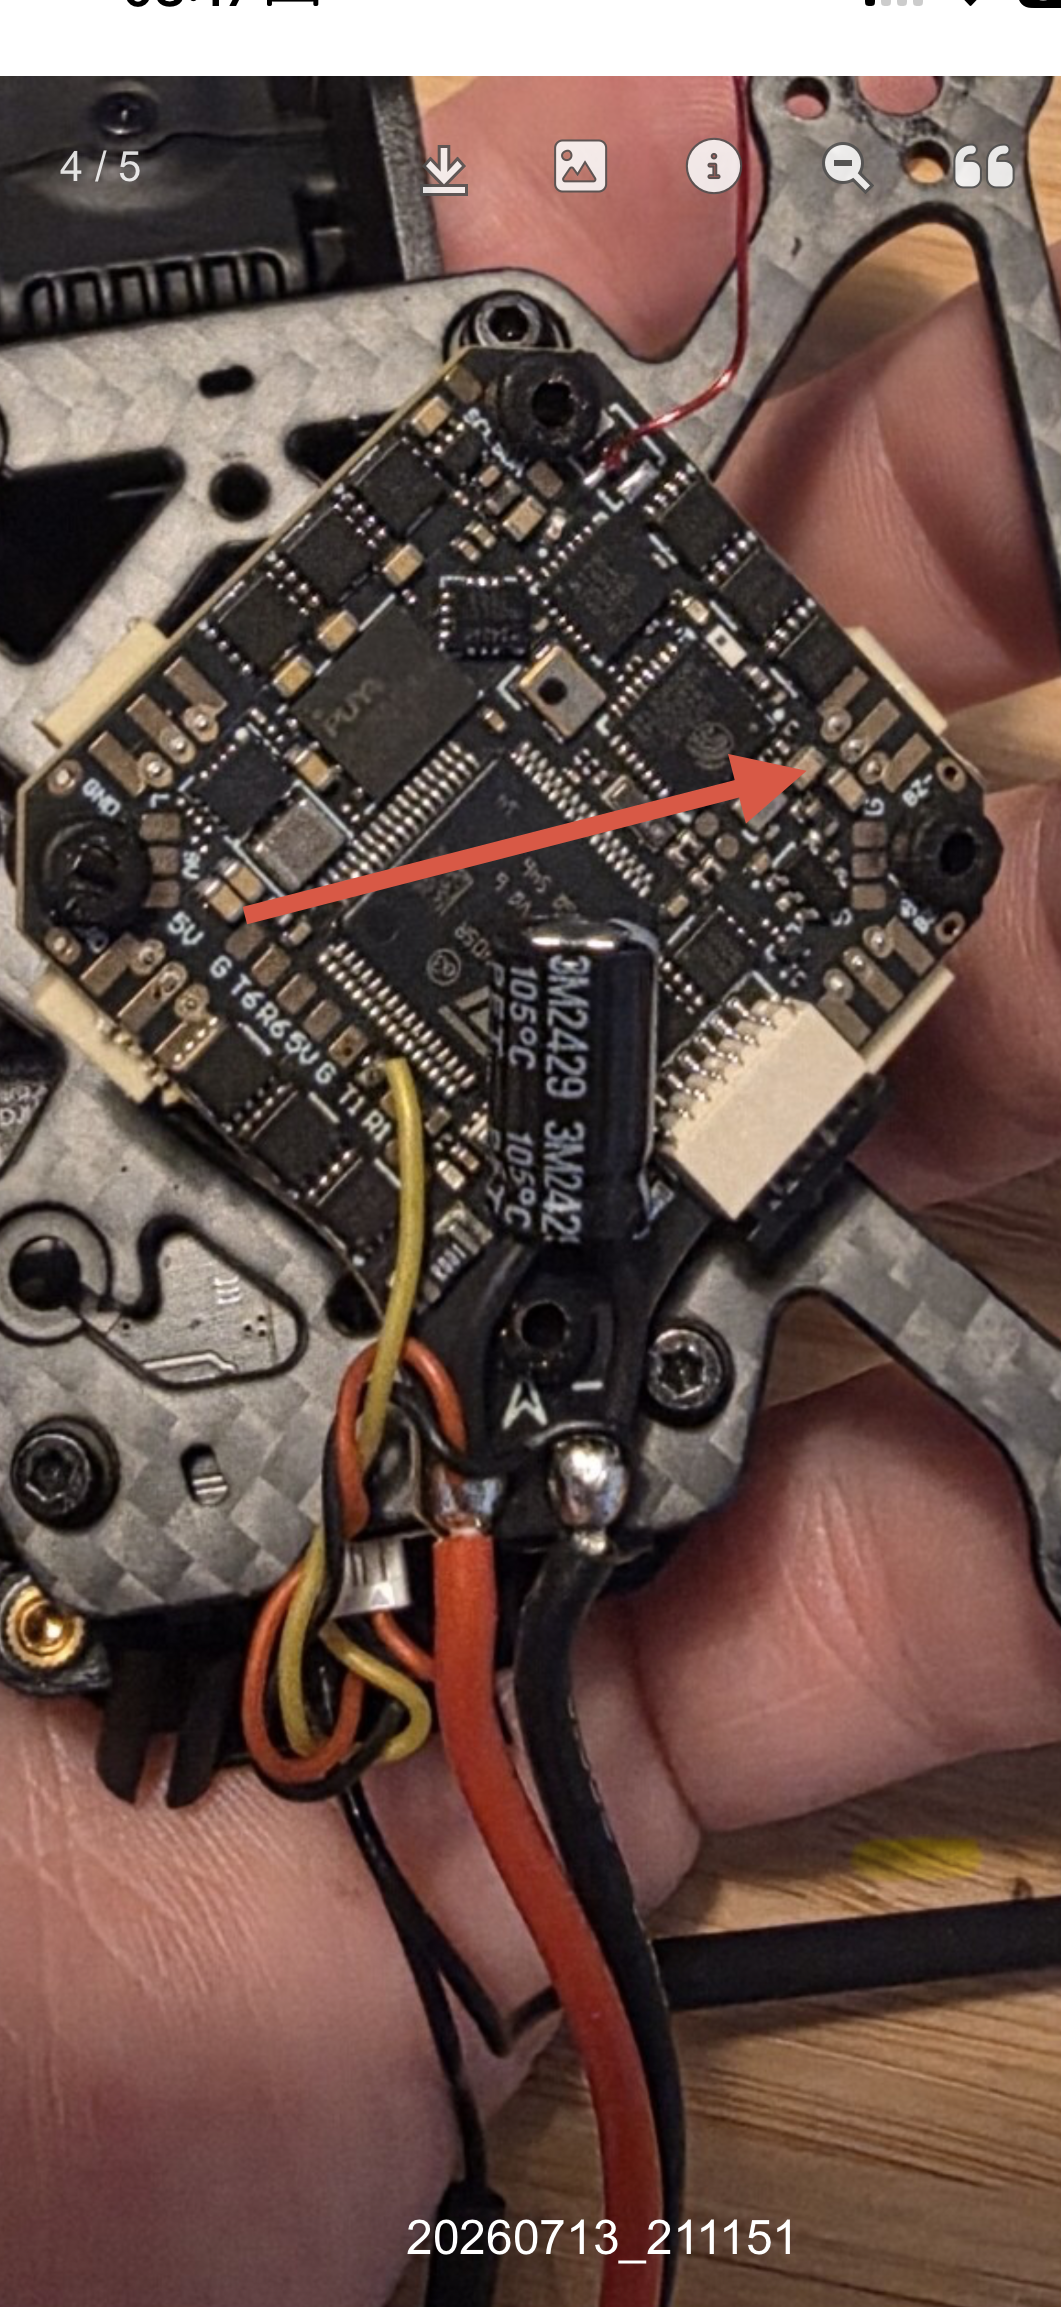
Long story short. As of yet, no idea why, but I now have a broken JST connector on the FC/ESC board! Hence buying the new motors! For spares but to replace the one I thought might be broken. It’s not broken, but the right angle JST connector on the board is!
I now have the choice to direct solder the motors. More risk or replace the JST connector. The latter is probably what will happen.
So, 3-5 weeks of waiting. 6 or so hours of configuration. For 3 seonds of what im not calling flight, but skidding!
This is such an incredible hobby, I’ve realised more and more, this isn’t just about the flying, its the building, repairing, configuring, learning and adapting as well. And I bloody love it!
So if you include the sim’s I brought from Steam online, I am sitting at a few quid short of £1000. In my opinion, worth every penny. Seems crazy to some, spend all that money and still not have anything working, but it is, I chose to make it work in a different way!!
Yes, no flight yet, but I have become very versed with configuration - the whys whats and hows. The connectivity between everything and my understanding in general has drastically increased over the last month or so.
I’ll update post JST change, with hopefully a proper flight.
Hopefully this hasn’t been a slog to read, as above, please offer any info you feel neccessary.
Thanks
Quick edit/add:
Smoke stopper is being ordered before anyone suggests that bit!