Ender 3 upgrade

From a conversation moved from “Today I treated myself to this”

https://greyarro.ws/t/today-i-treated-myself-to-this/8964/4836

@Grazuncle asked this:

Ooooh. I take a look at that.
I have tried an all metal hot end but had problems getting it to work… Blockages.
I went back to the original creality (Ender 5 Pro) and no issues, even with nylon…apart from adhesion.
Are you printing ABS then?

(macspite) All metal hot ends cool rapidly from the nozzle up the heat block. If you retract too much filament it solidifies in the throat and won’t go back down to the nozzle. A retraction of 1 to 2 mm only is what you need to avoid that

What problems were you have before updating the hardware? stringing?

So, in the next post - the backstory

I have an Ender 3 Pro.

It has the usual slight mods and add ons - glass bed, printed clips, tool holder on top of the PSU, full size SD card reader and metal extruder components. Printing PLA and PETG.

I also have a long-term project to get a Droidworx 1100mm Octocopter frame in the air. As the frame is such good quality I have tried to go the quality route with all components. So - KDE motors, ESCs and 18,5 props, Pixhawk Cube and choice of DJI Ronin (two pilot solution) or HD Air MR Pro - possibly to be controlled by a 3DR Solo “brain” (single pilot semi-autonomous). The rig should carry my Nikon D750 with ease.

I have designed motor mounts for the KDEs. 5215 motors are too big to fit the standard Droidwork mount. I am now at the Mark 10 mount. Escs proved easier. Mark 3 mount seems to work for the 110mm long 75 amp Esc with the cables neatly routed.

The big problem seems to have been either inconsistent extrusion or low quality PETG. That is covered in this thread

I decided to replace the hotend. A £6 metal hot end was on eBay so I ordered one and fitted it. Then I got paid for a couple of jobs done a couple of months ago at Warner Studios - watching kids fight in a pit and being a prisoner in a medieval dungeon. And what is the sensible thing to do with money? Spend it.

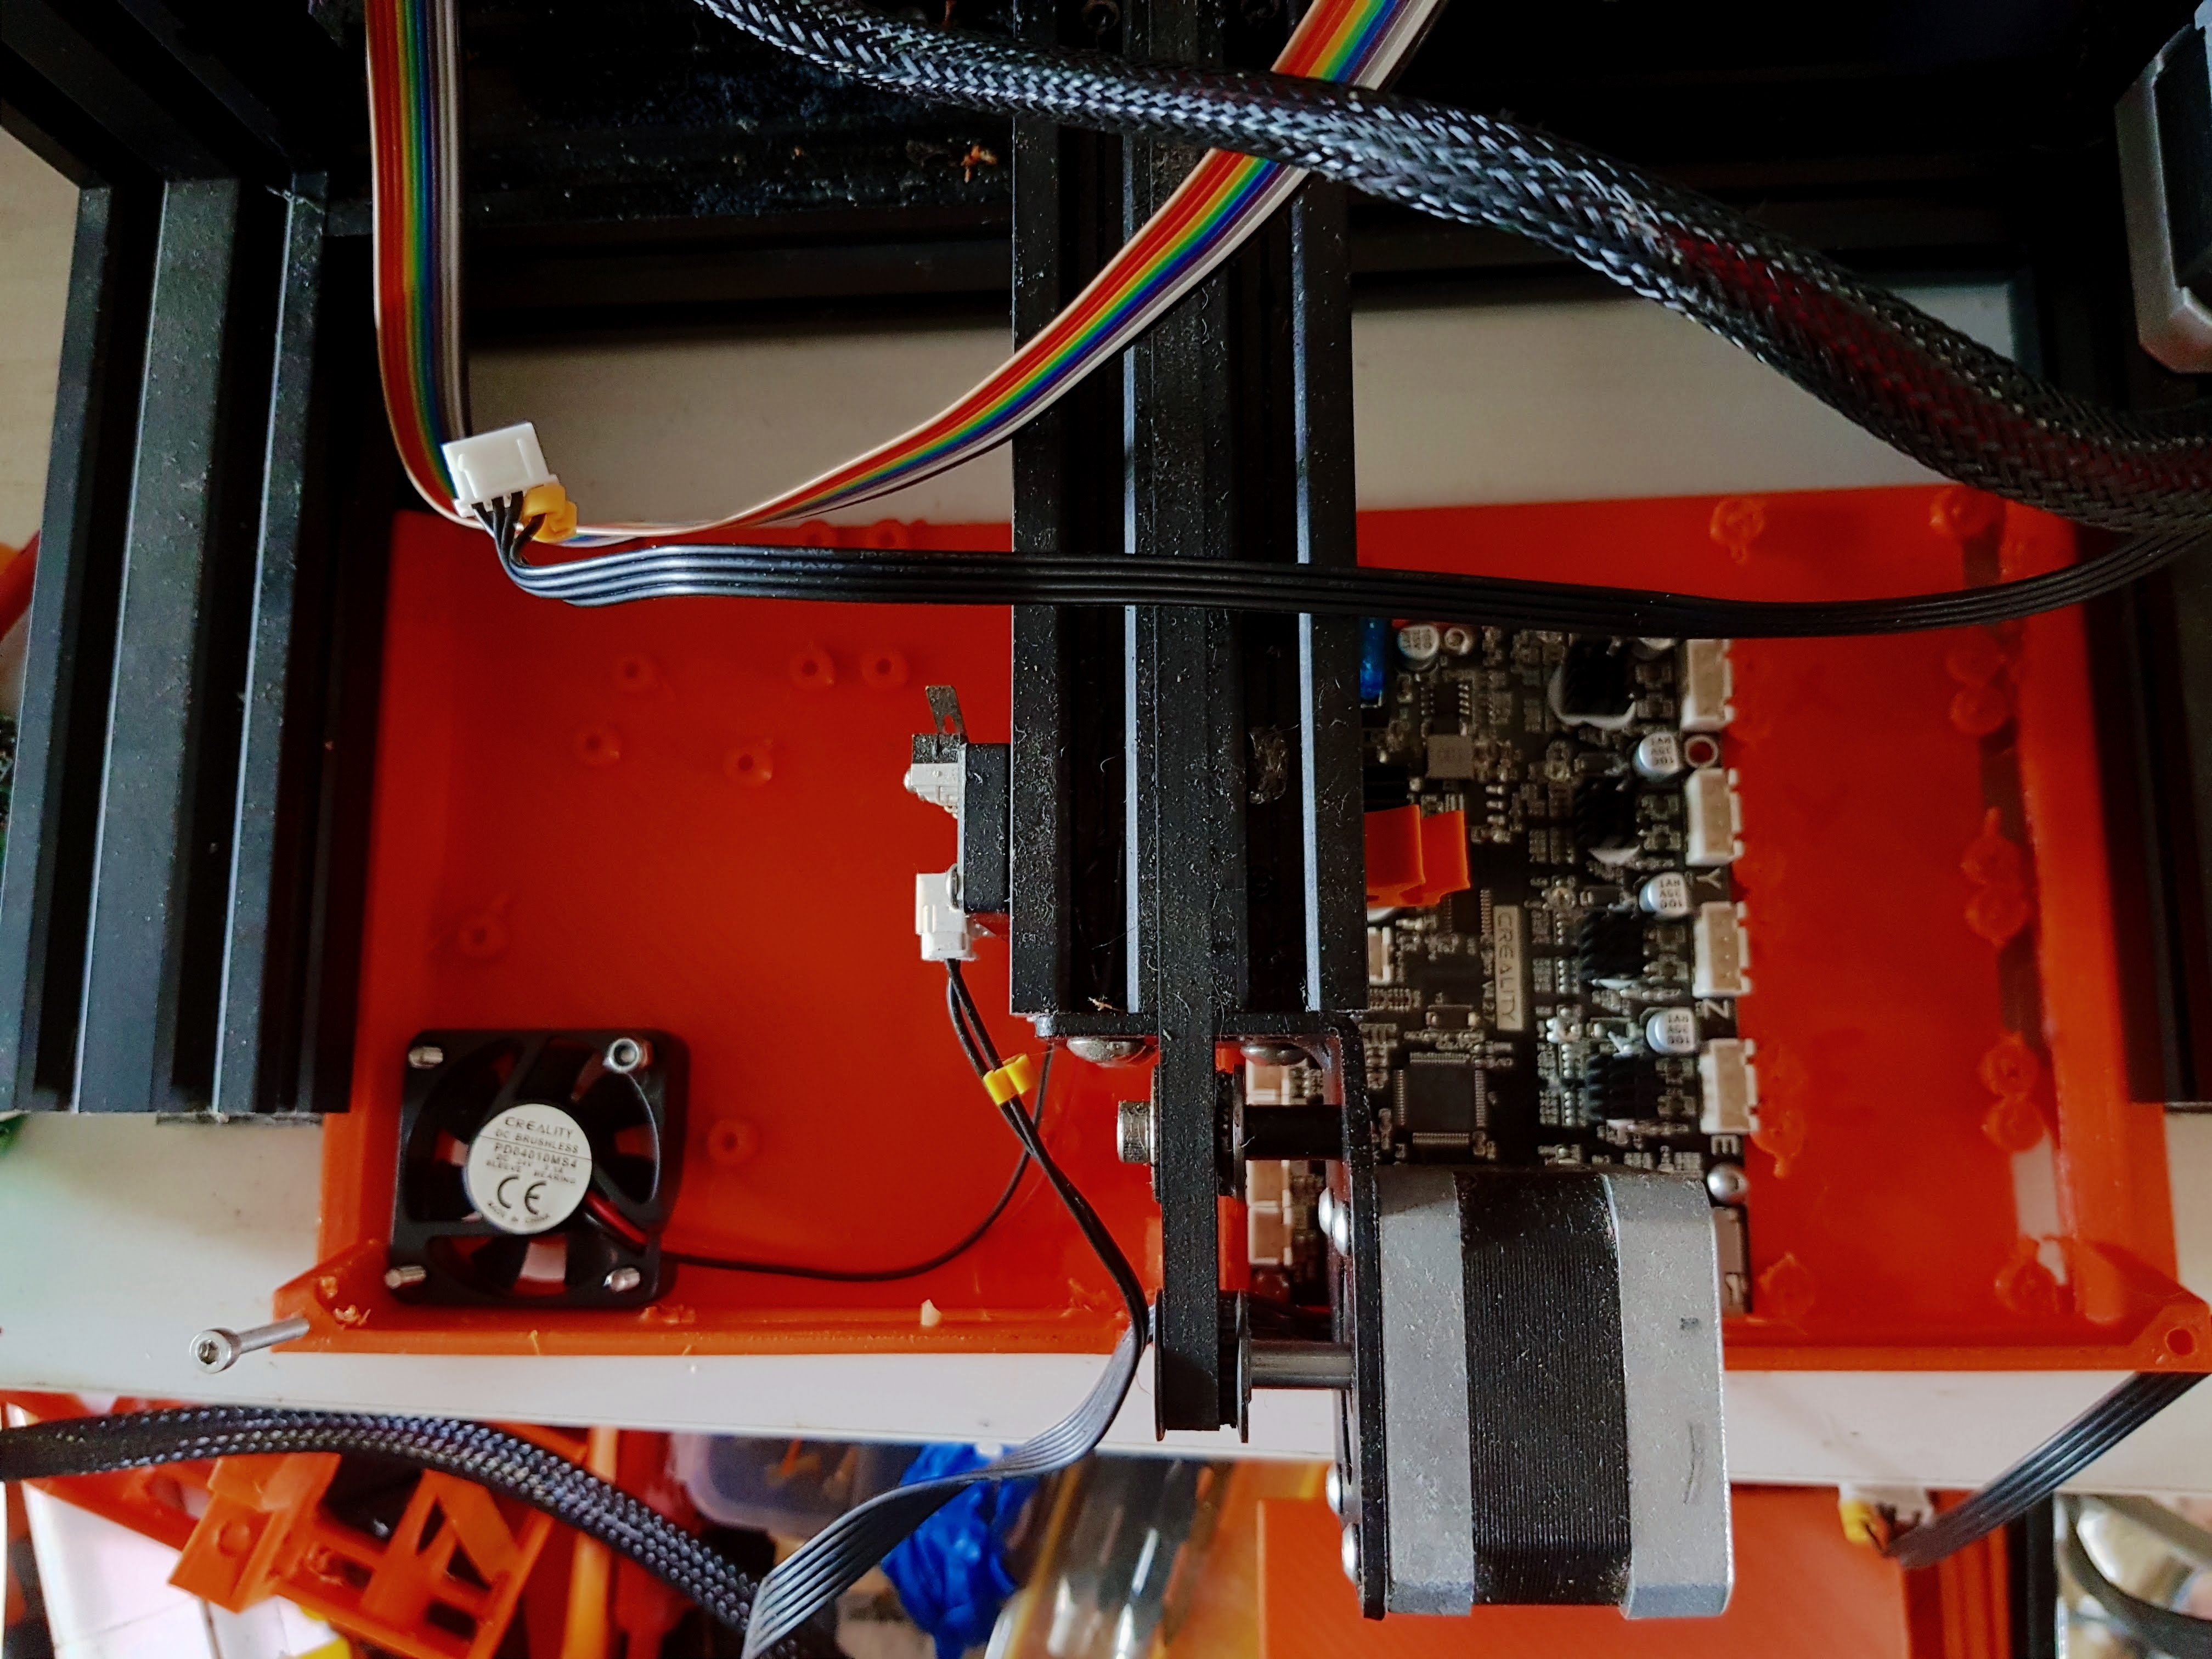
So the Ender is being upgraded with:

Direct Drive extruder and metal hot end

Creality v 4.2.7 32 bit motherboard and levelling probe

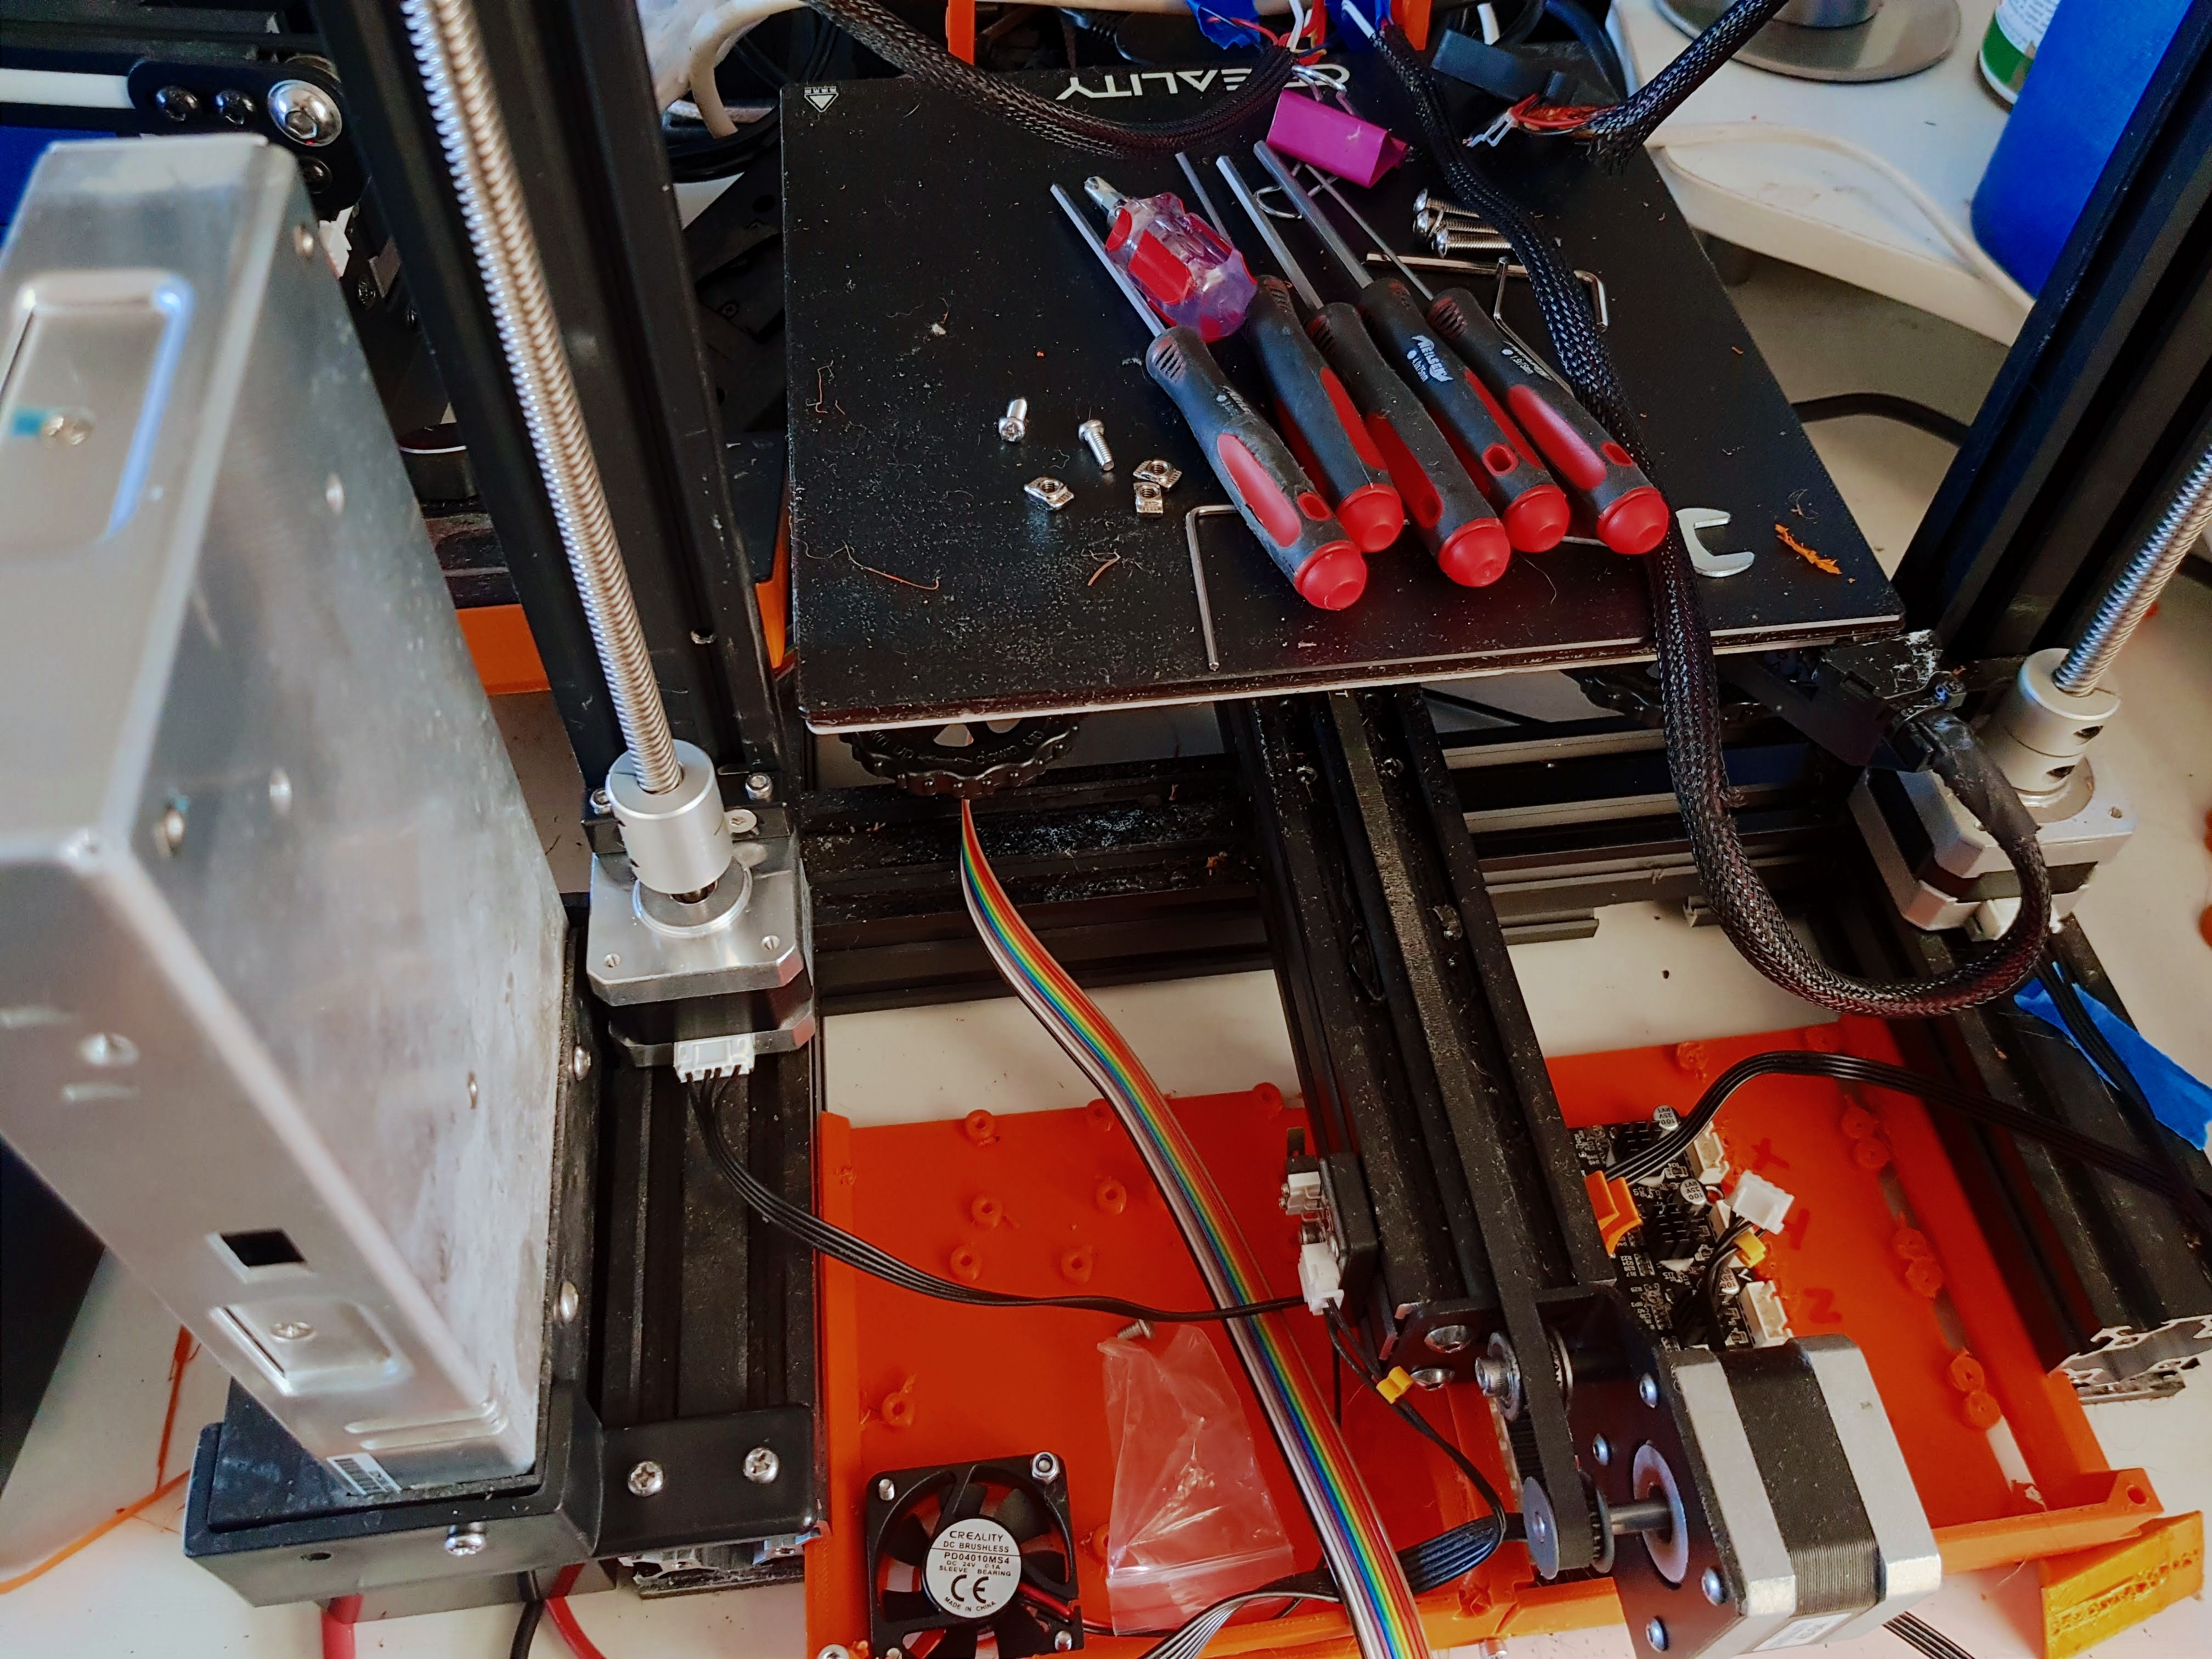
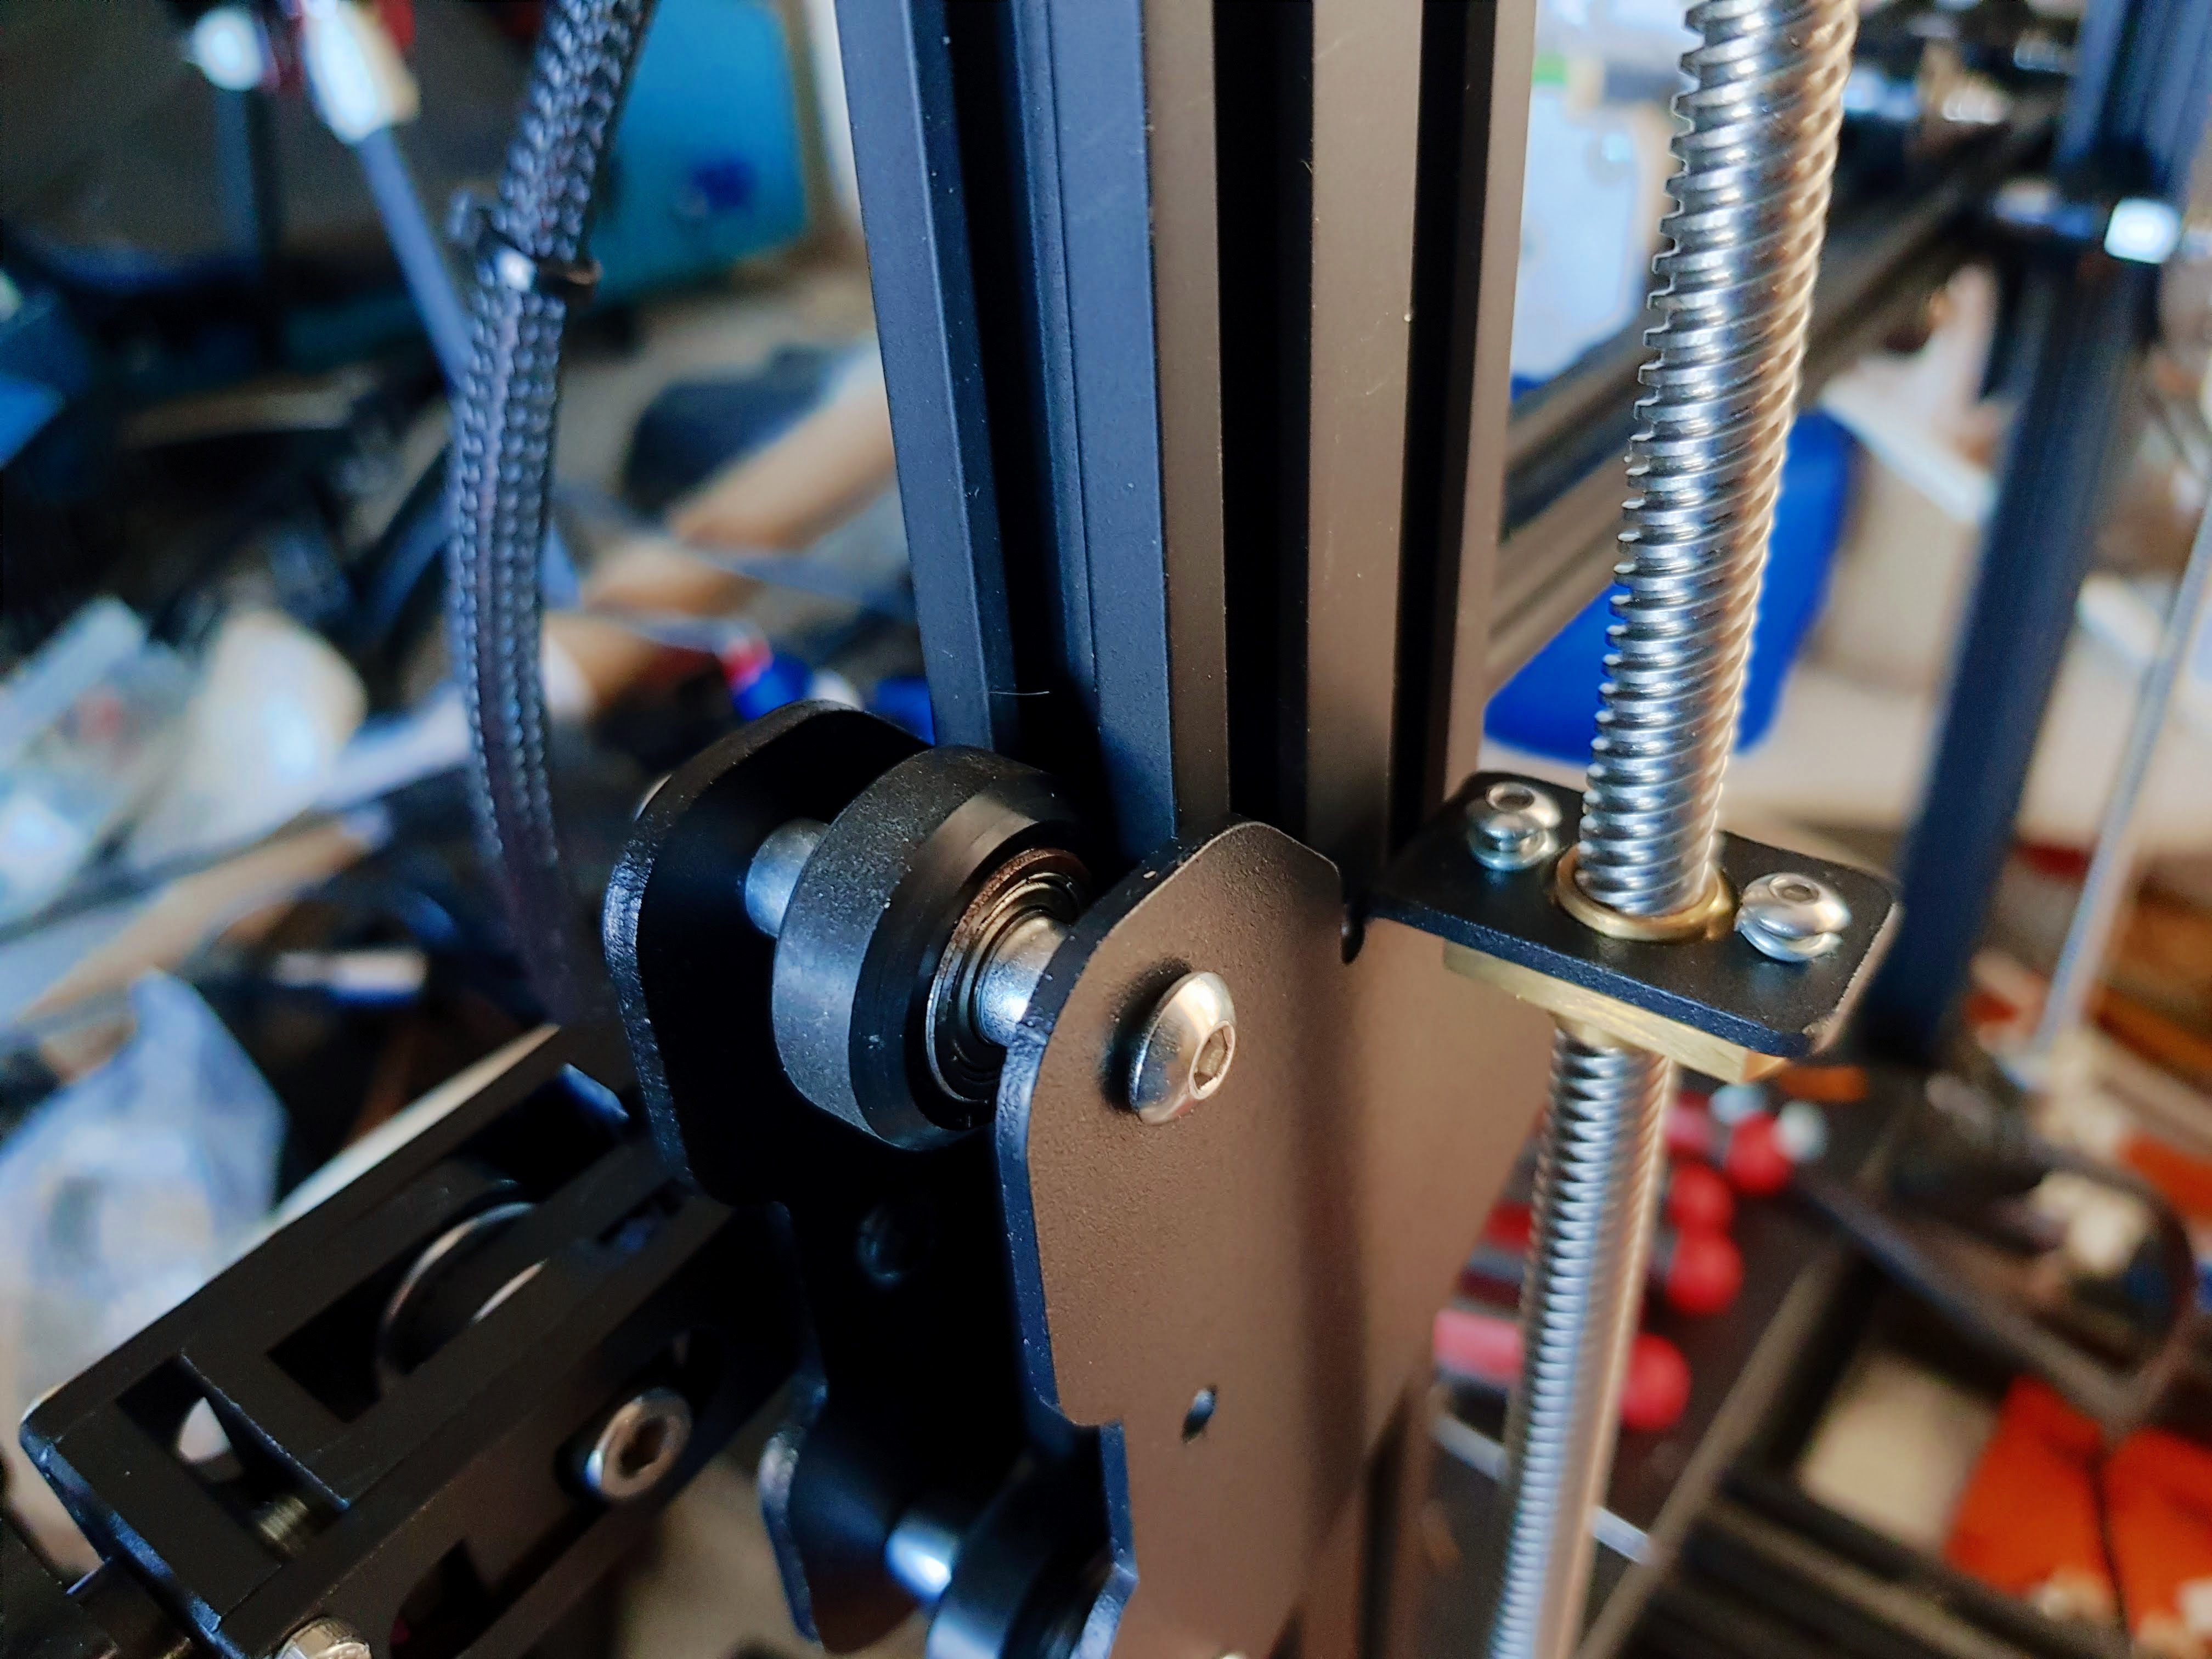
Dual Z axis conversion

and a filament out sensor

All this will involve a fairly comprehensive teardown of the machine. So I am taking the opportunity to move the electronics to the back and possibly add a Raspberry Pi for Octoprint. The case is printing while I type this.

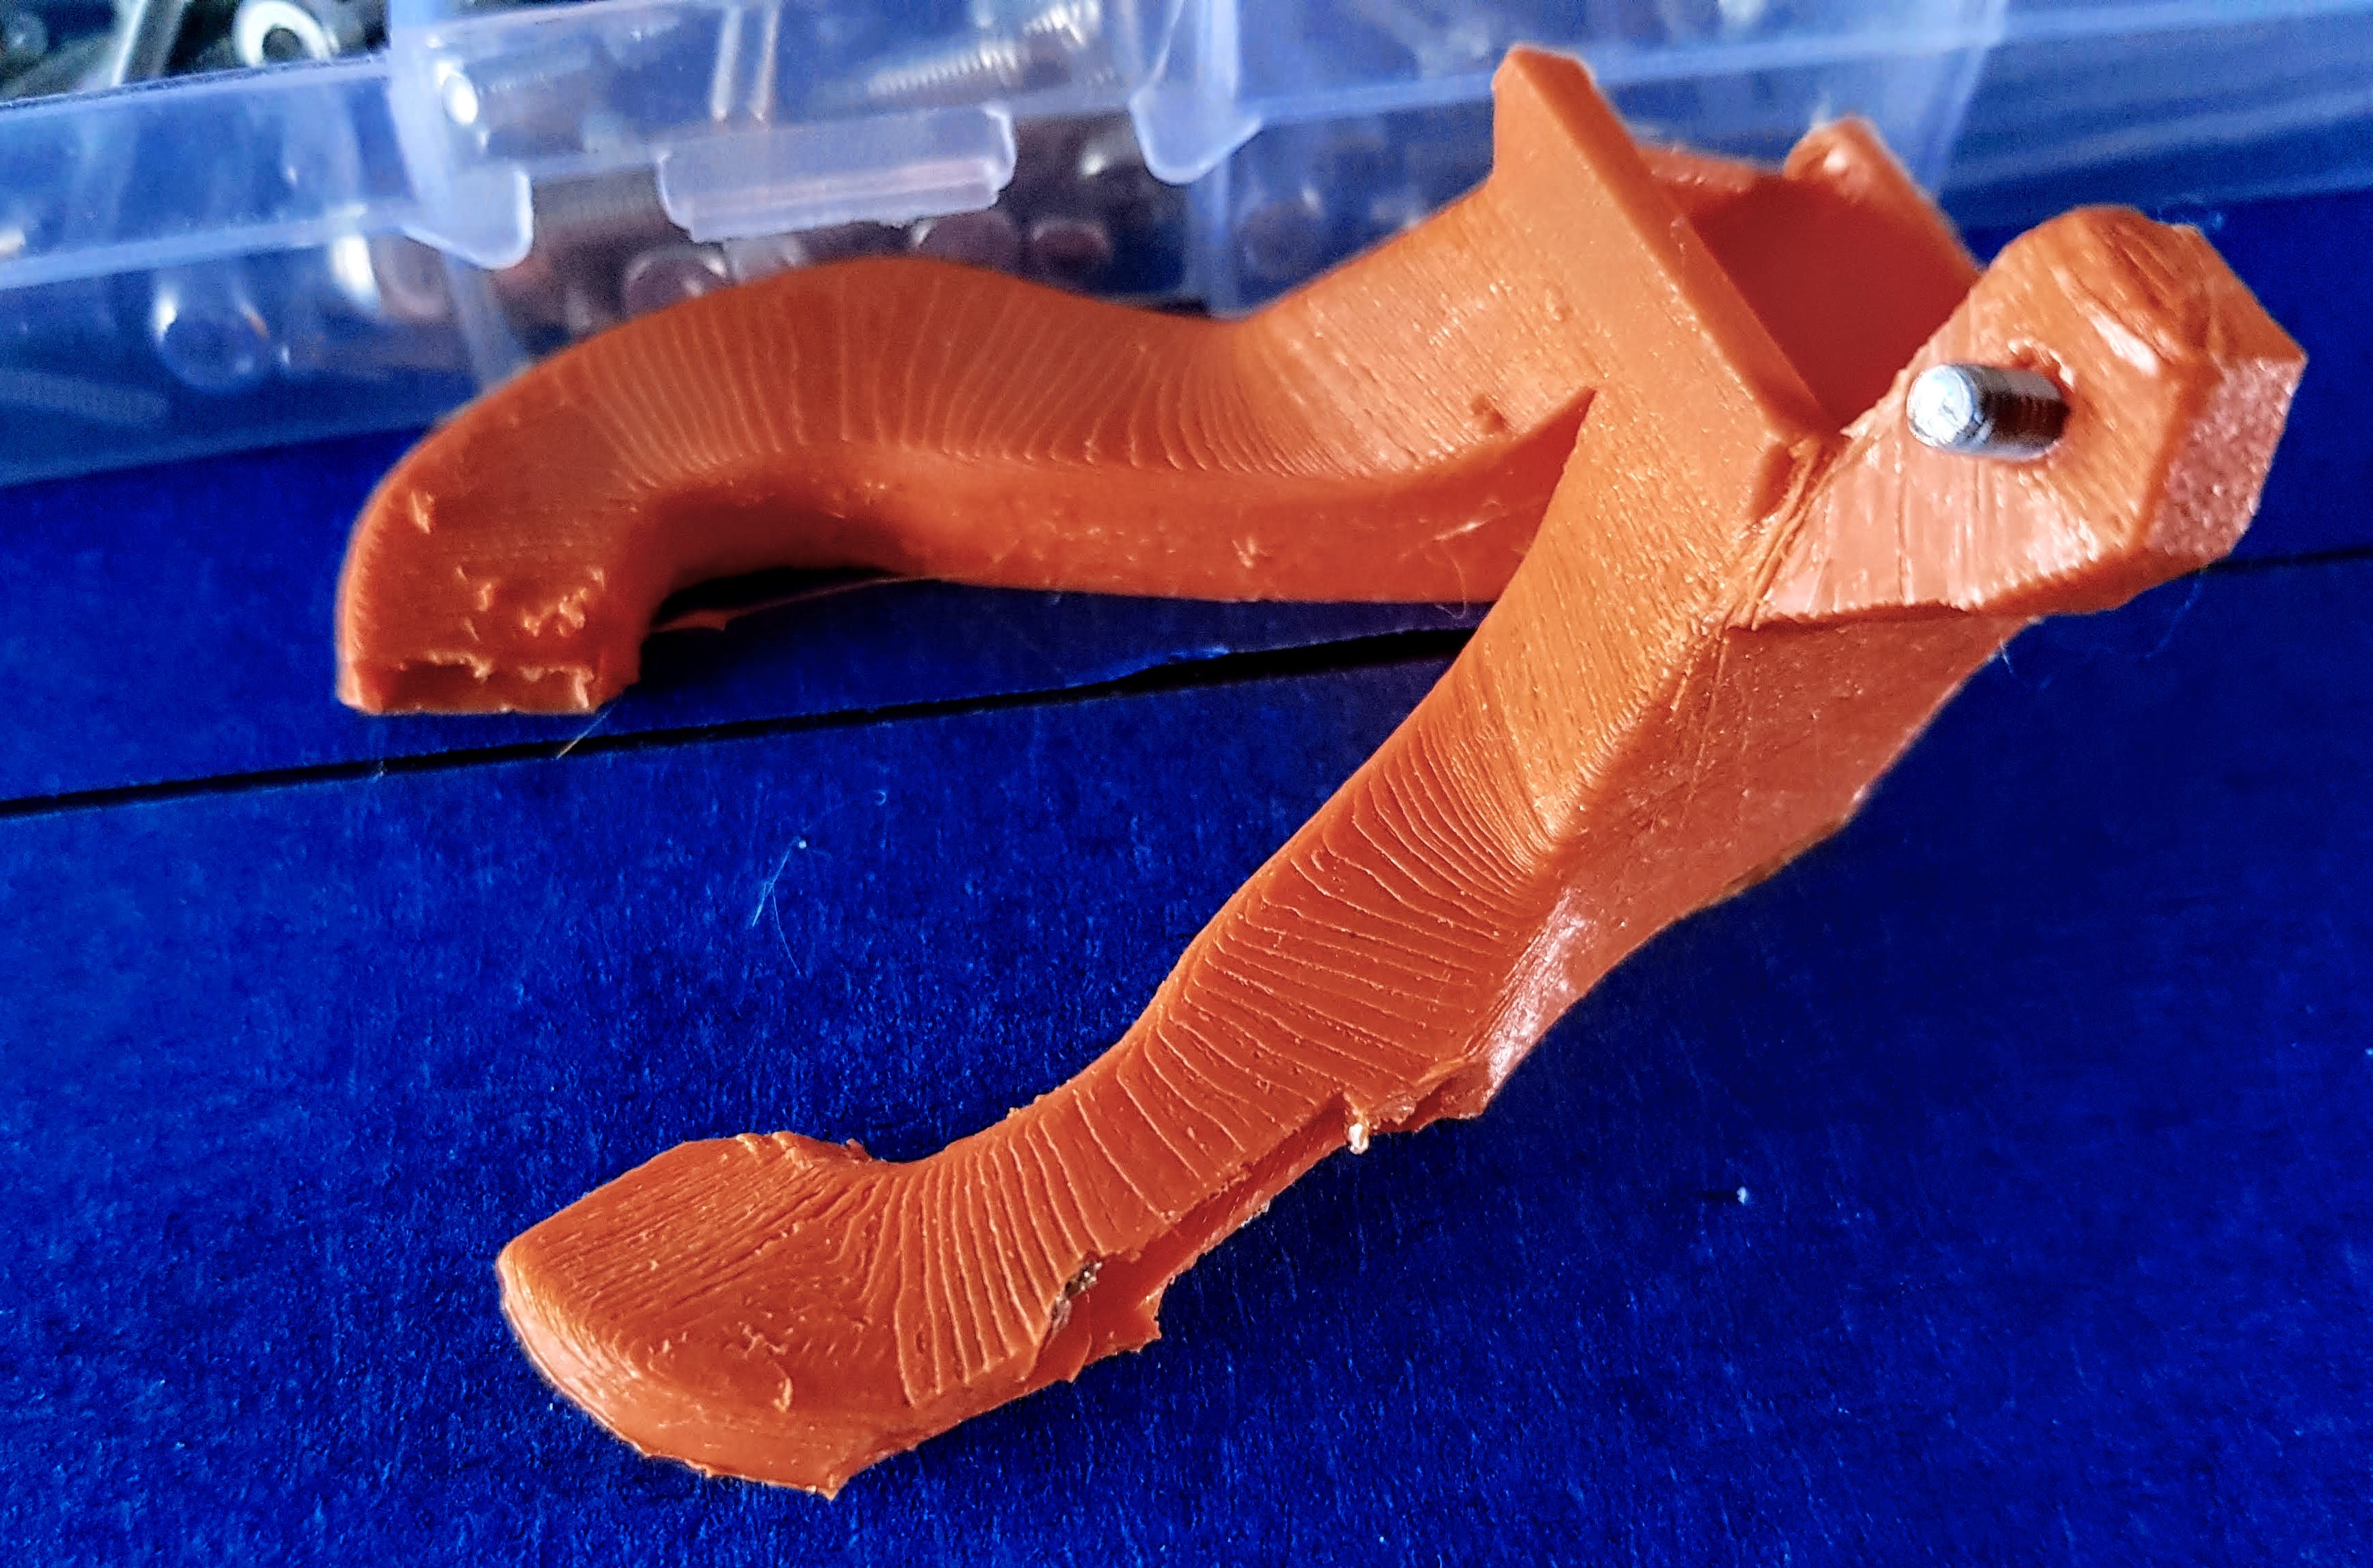
The extruder and hot end have to be cooled, So I printed a mount for the probe and ducting for a supplementary 5015 fan from another Thingiverse download. That will become this monstrosity :slight_smile:

Mellow_Wind_Part_Cooling_Shroud_v20-5

Lastly I will be making an enclosure to keep temperatures stable and give me a chance to use a fan to exhaust ABS fumes out of the nearest window. I want to print ABS but at the moment I’m printing in the same room Dogzilla and I relax in - Acrylonitrile Butadiene Styrene probably isn’t the best for either of us to breathe in.

So what am I printing on if the Ender is offline? I acquired a good condition second user Geeetech A30T for the right money and that seems to cope with the problematic PETG very well. The only problem when I first ran it was that with TMC2208 stepper drivers I couldn’t hear the familiar printer sounds (like a 300 baud modem) as it printed. Had to keep checking it hadn’t stopped!

tl;dr

Various problems led to an upgrade and yes, I will be ABS printing soon :slight_smile:

2 Likes

Hope the stepper motors can deal with all that extra weight Rob. . . . :joy:

The extruder itself is mainly plastic and aluminium. The weight is in the extruder stepper which is mounted on the carriage instead of on the frame/ The additional fan and BL Touch clone only add a few grams more.

The strip down has begun.

Gone:

8 bit motherboard and front housing
Front SD card housing and reader
Power supply
Z axis mounted extruder
Hot end.

New extruder temporarily placed. Some cables have factory markers others have been marked by me. Useful colour coding - red cables going to positive and negative!

1 Like

Very interesting!

It’s interesting from the point of view of the Geetech too!..

Is the head capable of using a standard filament and a soluble (PVA?) for infill?

My brother’s Stratasys does this for ABS but not impressed with the results compared to the Ender 5 and PLA, would you believe!

We like Ender 5 cube frame layout for rigidity… does that exist ?

The Geeetech is a strange beastie. It’s 320x320x400 build volume so similar to a CR10 and the same Prusa gantry layout. On;ly 2020 extrusions though and when it was printing gyroid infill there was a lot of vibration. It needs bracing like the later CR10.

The base is a nice clean box with a 32 bit board and a small touchscreen although not a great deal of functions. I had considered a touchscreen for the Ender (£40 on Amazon) but the Creality one is apparently similarly limited - for instance if you change the SD card you have to shut the machine down and reboot, there is no refresh setting.

The previous owner made a bar that rises up the Z axis leadscrews to take the three extruders so that they are a constant height and a shorrter path to the print head than if they were mounted on the top rail.

He also changed the Geetech head, which allows percentages for each extruder to be dialled in so you can, for instance mix yellow, blue and white in different proportions for each layer. He has put on a BigTreeTech three in one head instead which will print each colour alternately but not mix filaments.

I don’t see a way for it to print PVA supports but I haven’t sussed it out properly yet, I need to use it for printing the bits for the Ender and for the Octocopter. I need to print some TPU fairly urgently and I understand that it is best with a direct drive extruder so the Ender has to be back online in a couple of days.

I’m printing PETG onto blue painters tape with it. Sticks very well, to the point where it can be a struggle to remove. I have just finished a lid for the electonics case, printing at fine quality, 0.1mm layers, and that has turned out very well. Just need to add a levelling probe when I get time :slight_smile:

Thanks for that…

There’s more out there than I knew about.

I’ll look into this s bit more. Thanks

Ps. I’m printing TPU with stock Ender extruder! LOL

I have to admit part of all this - maybe the main part - is just the interest in pimping my ride! That’s why I have several homebuilt UAV projects on the slow burner.

Pimping the Ender is a challenge which I hope will prove useful. Although it worked fine before I will feel happier with a dual Z drive from an engineering point of view both sides should rise at the same rate and any play in the carriage wheels will be less of a problem. It should also cope with the increased weight of the direct drive extruder.

The extruder itself is better suited for printing flexibles and seems to be far simpler to thread filament through. The new motherboard allows more complex prints at higher speeds than the 8 bit plus it has provision for a break sensor and has power resume - in the past I have had both problems and it’s frustrating when it occurs toward the end of a 22 hour print :frowning:

But the main reason is because (I think) I can! :slight_smile:

I put a touch screen and BTT Mini board in my Ender 5 and it make operation a lot easier.
I won’t do that to the Ender 5 Pro as it isn’t mine… Just bought to increase output. A lot of prints are 56hrs…

I think a hobby is a necessity in this pandemic. I have friends who are struggling mentally and you need something to distract from bad news

Very much so.

I am very lucky in that I live by the sea and, apart from a monthly supermarket shop and weekly top ups at the local shop (within walking distance) I have no need to get in the car and leave the island. Shortly after a major heart operation and purely by chance I acquired Dogzilla so my days are built around walks for her. So I am relatively healthy because of her, happy in isolation. She also helps keep me more or less sane.

I also realised that I was one of the privileged ones and that my unaltered lifestyle while pandemic restrictions were in place wasn’t enjoyed by many, most people had to make a lot of compromises during the lockdown. How a single mother living in a third floor flat with two active children was supposed to cope physically and mentally while isolated was beyone me.

Certainly having something to occupy yourself in isolation was useful. The easy availability of internet shopping was a temptation. Hence a load of new kit from eBay or Banggood and a grear deal of second-hand stuff from the former has been bought and played with. The Ender upgrade is just the lates thing to keep me occupied :slight_smile:

1 Like

4.2.7 motherboard in new rear location case which is made in two parts for the base and two lids. It will take a Pi, a voltage dropper and some relays on the fan side, Creality or aftermarket boards on the right. Lids being printed.

The case fits in the slots of the two outer rails and under the central spine

New stepper motor in place of relocated PSU

New leadscrew bracket added to existing Z axis carriage

the kit is reasonably easy to install although at times it can be fiddly. I always have trouble with T Nuts. The instructions aren’t too bad, they are written in decent English and the diagrams are reasonable although could be clearer in certain instnces.

If you have the popular printed filament guide in the top rail it will need a bit of modification to co-exist with the leadscrew bearing bracket that is supplied for the existing screw; it occupies part of the same space.

Way beyond my skill set, patience. LOL.

Exciting project though

You mentioned earlier leave the island?

Hayling Isalnd

Leaving the island is not too difficult. There is a bridge. Mainland (Havant) showing in background. At the wrong time it can be a pain; with a local population of 20,000 swelled by tourists in the summer and just the one road off traffic tailbacks are common. So I stay on the island most of the time.

Is that an old railway bridge to the left there ? Disused I assume

OMG !!

You too me back nearly 60 years…

Our dad used to take me and my brother there (school holidays) delivering ice cream in a 7 ton lorry. Can’t remember much as kids apart from the ice cream. Wow!

Nice Dr Beeching decided the railway was uneconomic. In Hayling’s case the problem was compounded by the need to replace the bridge which was Victorian in origin. It was a swing bridge as can be seen in this pano:

1 Like

Beeching has a lot to answer for :rage:

Though he did give us a lot of disused lines to fly along

Back to the upgrade.

The new hot end . extruder and fan assembly is giving a few problems. Firstly the ducting for the new 5015 fan sits too low, lower than the hot end and nozzle it is supposed to cool. I made a quick modification to the mounting bracket and printed it - I moved the mounting holes 2mm lower.

The x carriege plate fouls the left arm of the ducting from the fan to the hot end. This is more difficult to redesign for me as I am using Tinkercad which isn’t the best for complex curves. I made an “adjustment” with a pair of snips for a trial fit, now have to modify the duct *.stl to keep a decent airflow but clear the carriage.

As the extruder has been moved to the X carriage and a bed probe added there was the option to have two cables zip tied (cable tied, tywrapped) to the existing cabling. I decided, as the motherboard is current disconnected, to remove the braided protector and enclose all the cables in a new one. I had split the extruder cable from the ribbon that also feeds the X axis stepper and stop. Only problem is that it is a wee bit short. So an extension cable has been ordered. hopefully arriving on Wednesday.

My first experience of printing TPU is going to be with a bowden setup tomorrow as I have a wee job to be done so that someone can get an FPV build into the air :slight_smile:

1 Like

:thinking:

Do you really want to try cooling the hot end? Which wouldn’t work since the hot end will always be driven to maintain a constant temperature.

I looked at mine and it definitely blows below the hot end to cool the filament immediately it’s laid down and to continue cooling the rest of the part already printed.