My Mavic Pro had started to drift to the left very slightly which although annoying was no big deal but at our recent Drone meet it seemed to get worse.
The very last flight I tried to follow two cars out to the gate, it just pulled quite hard left so I abandoned the flight and on landing I found the left front motor was quite hot.
I’ve had time to look at the motor I suspected and found a grass stem under it, I removed it and flew the Mavic but alas the problem is still there.
I took delivery of a IR thermometer to enable a comparison of all 4 motors temperatures, 3 motors averaged 26C while the suspect motor hit 40.1C with a peak of 59C at one point. It goes without saying that the Mavic is now grounded for safety reasons, I’ve ordered a new motor rather than a new arm and motor which should arrive next week.
I’ll update this thread on my venture to replace the motor.
No it doesn’t smell cooked but it gave off a hot smell if I can put it that way.
I’m hoping that it’s not a faulty ESC FET which would effect phasing leading to over heating but then again as I said, I found that small stem and at the time it got tangled it may have caused one coil to overheat.
If it was a phase issue it would be very obvious as the motor would judder quite a bit.
The test was without props on so with props and under load I think the probability of a catastrophic failure is likely.
@PingSpike sorry I haven’t had the time to reply, the closer it is to the heat the better, it’s only a cheep one £13 eBay, sufficient for my needs but it looks like 30cm is not too bad.
The motors arrive and to my horror they are second hand, repacked, it’s clear the Chinese seller thinks he can get away with it.
One motor has wires that have small cuts that expose the core and both show signs of disordering of the wires where the insulation has pulled away. There is scratches on the motors and even what looks like a smudge of curry souse.
I’ve sent a returns request and I also spoke with eBay who looked at my uploaded pictures which they verified as clearly showing the cut in the wires, as this is an open case I’ll upload the pictures once the matter is concluded.
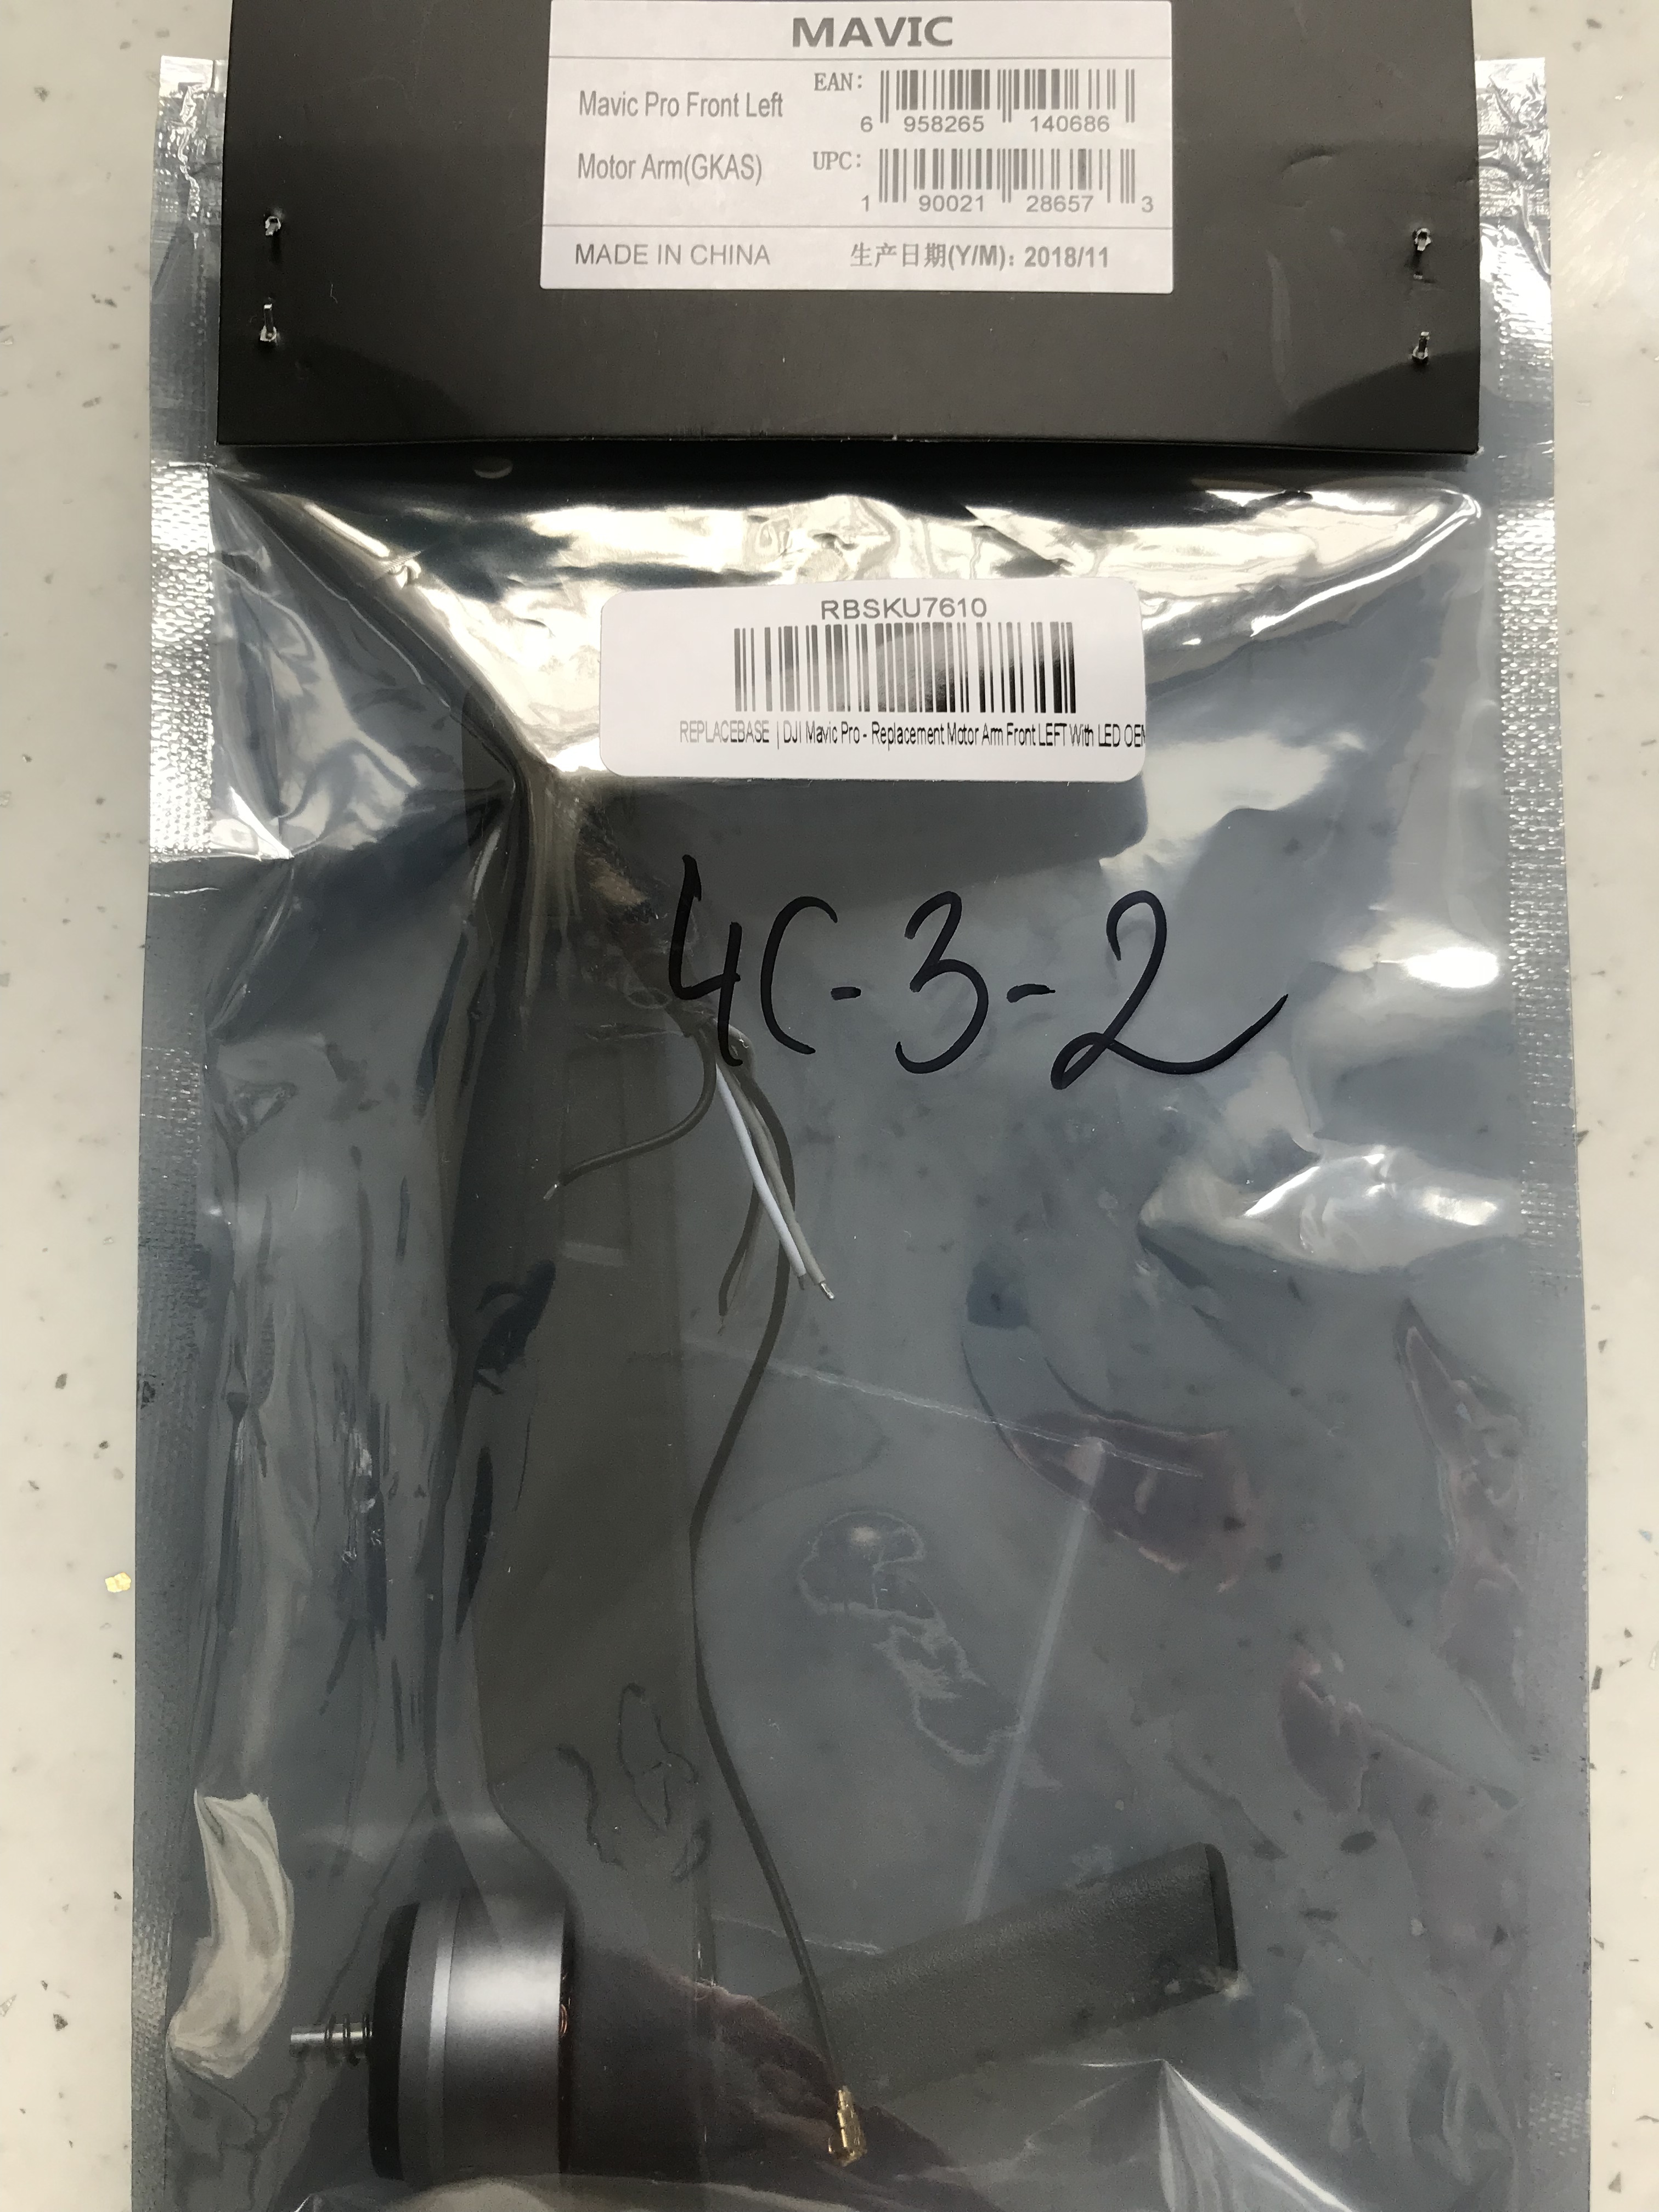
On the plus side I’ve found a parts supplier down the road at Sywell Aerodrome so I’ll be driving down tomorrow to collect the part which alas is the entire arm.
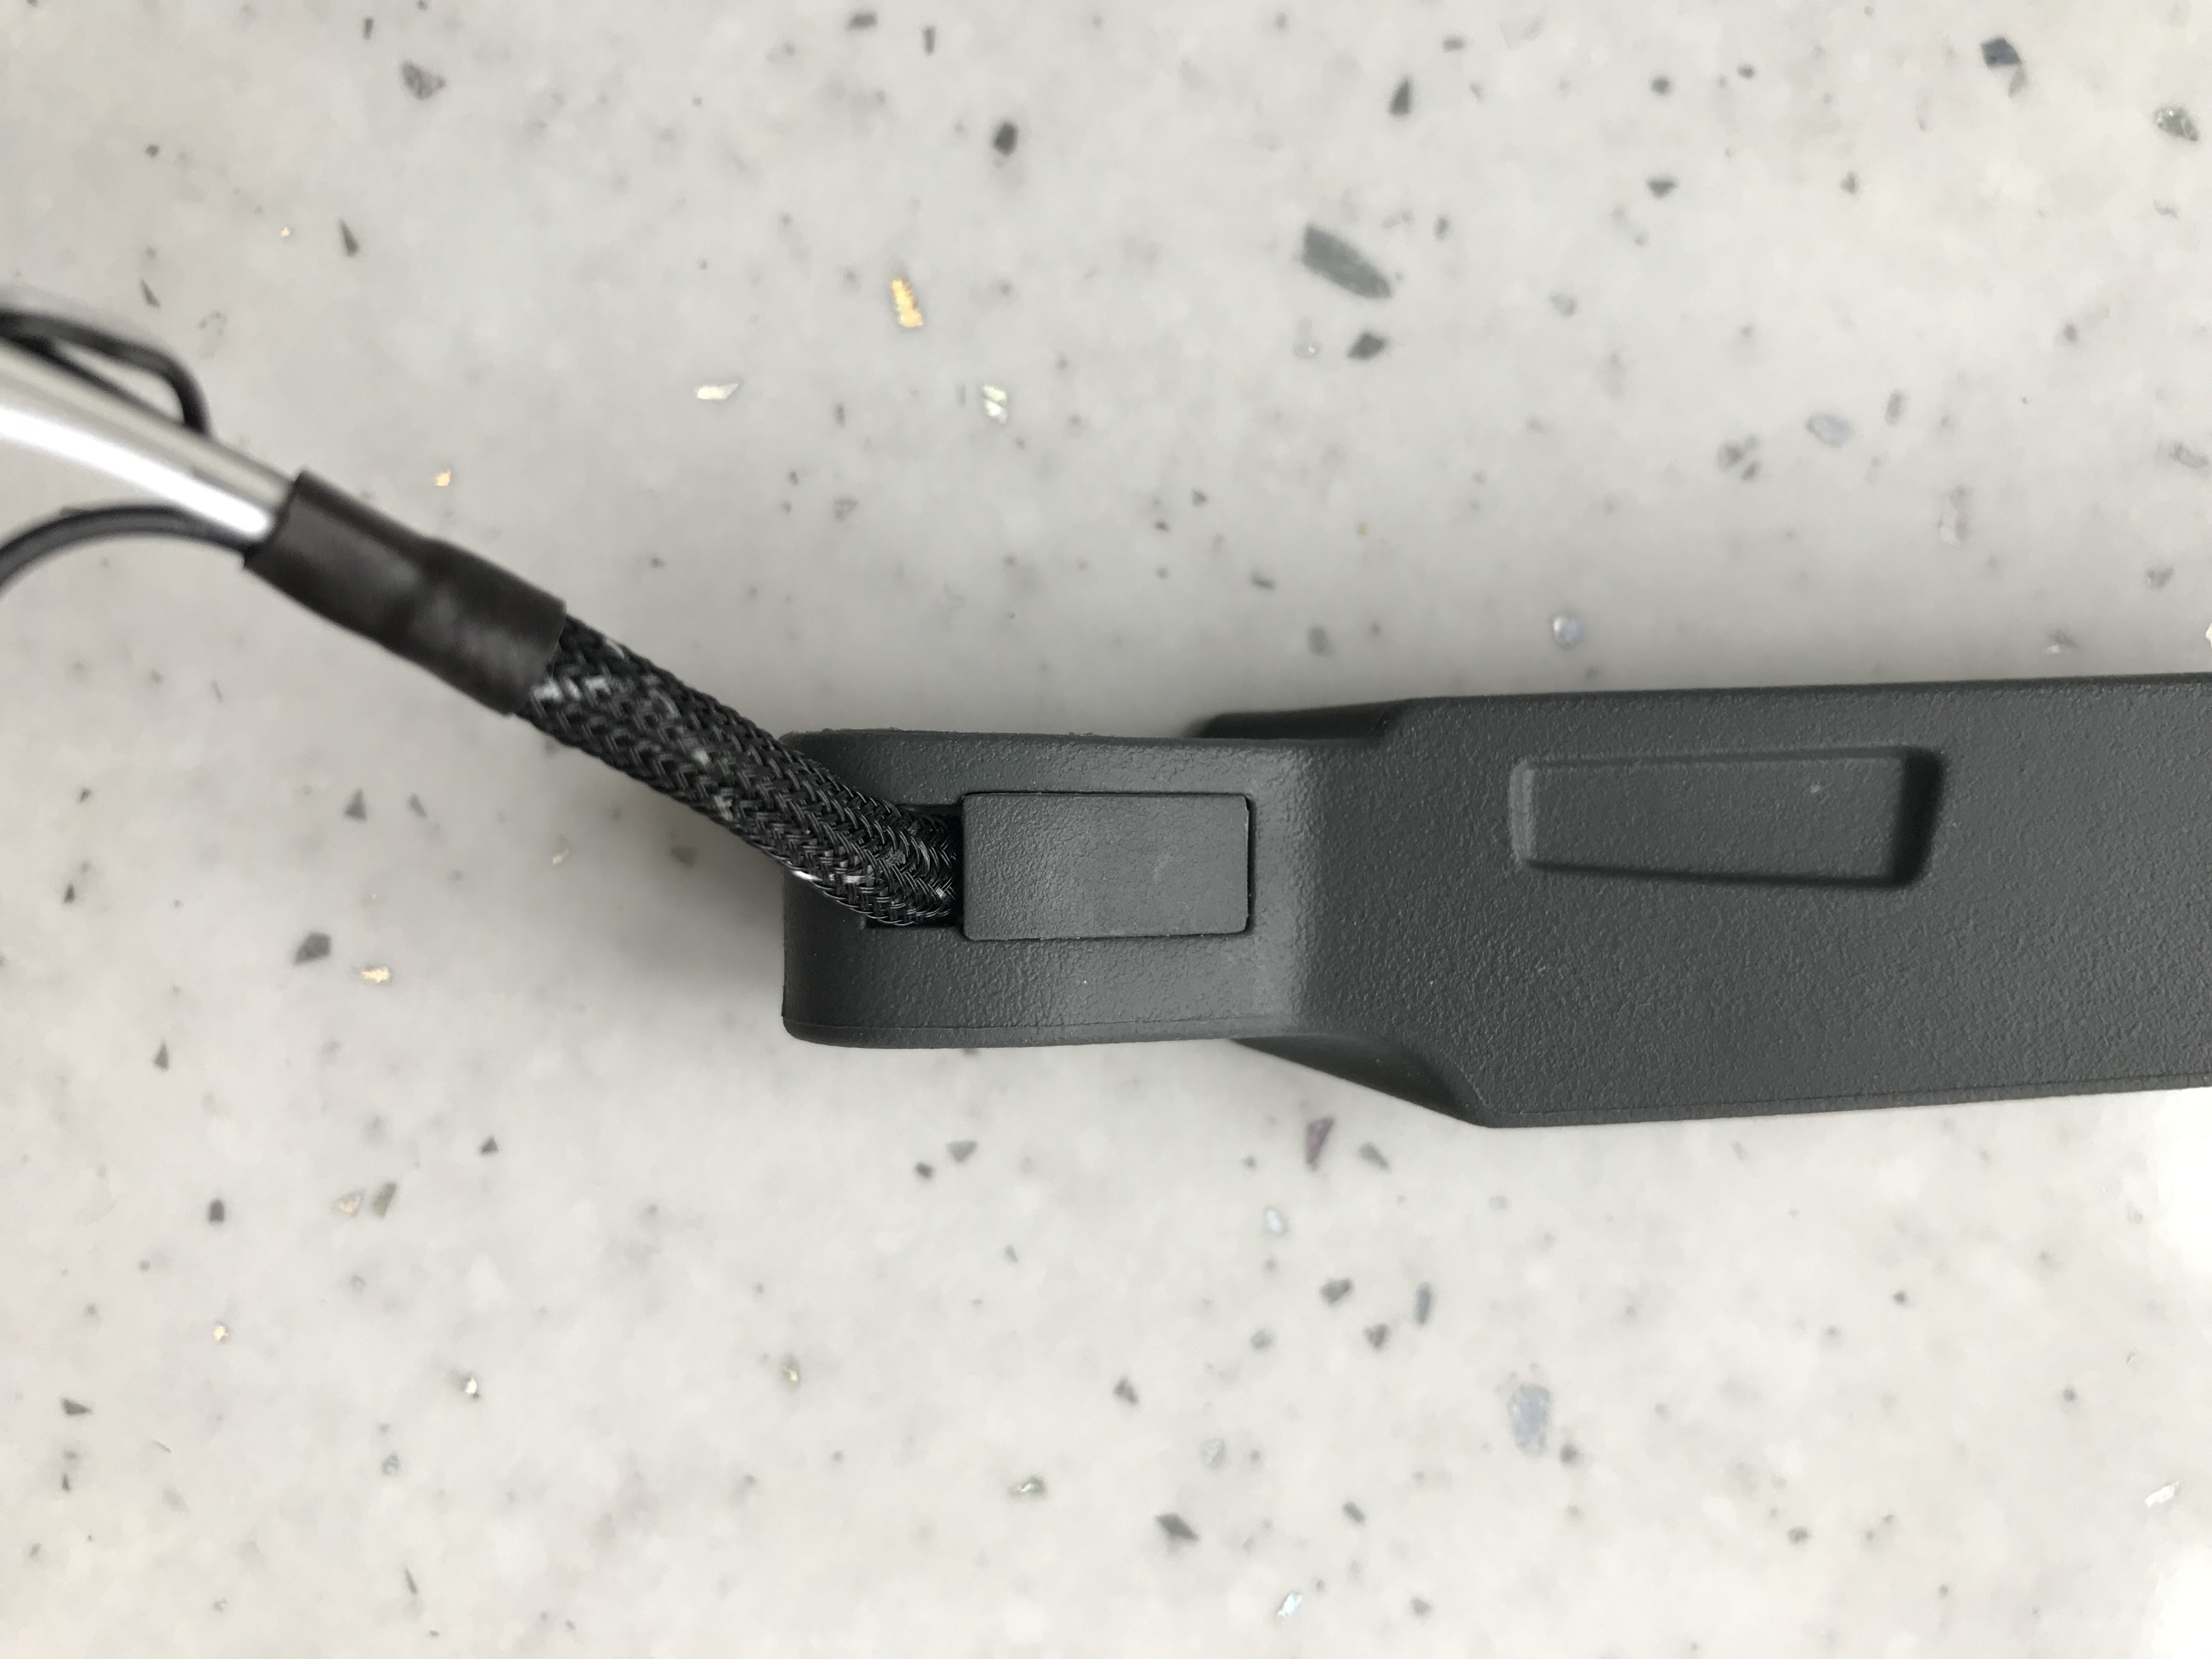
Some may consider this thought lazy, but I’m thinking of just cutting the wires close to the motor for a quick 5 minute job…
The problem is there’s not much slack to play with, the alternative is almost a strip down of the Mavic.
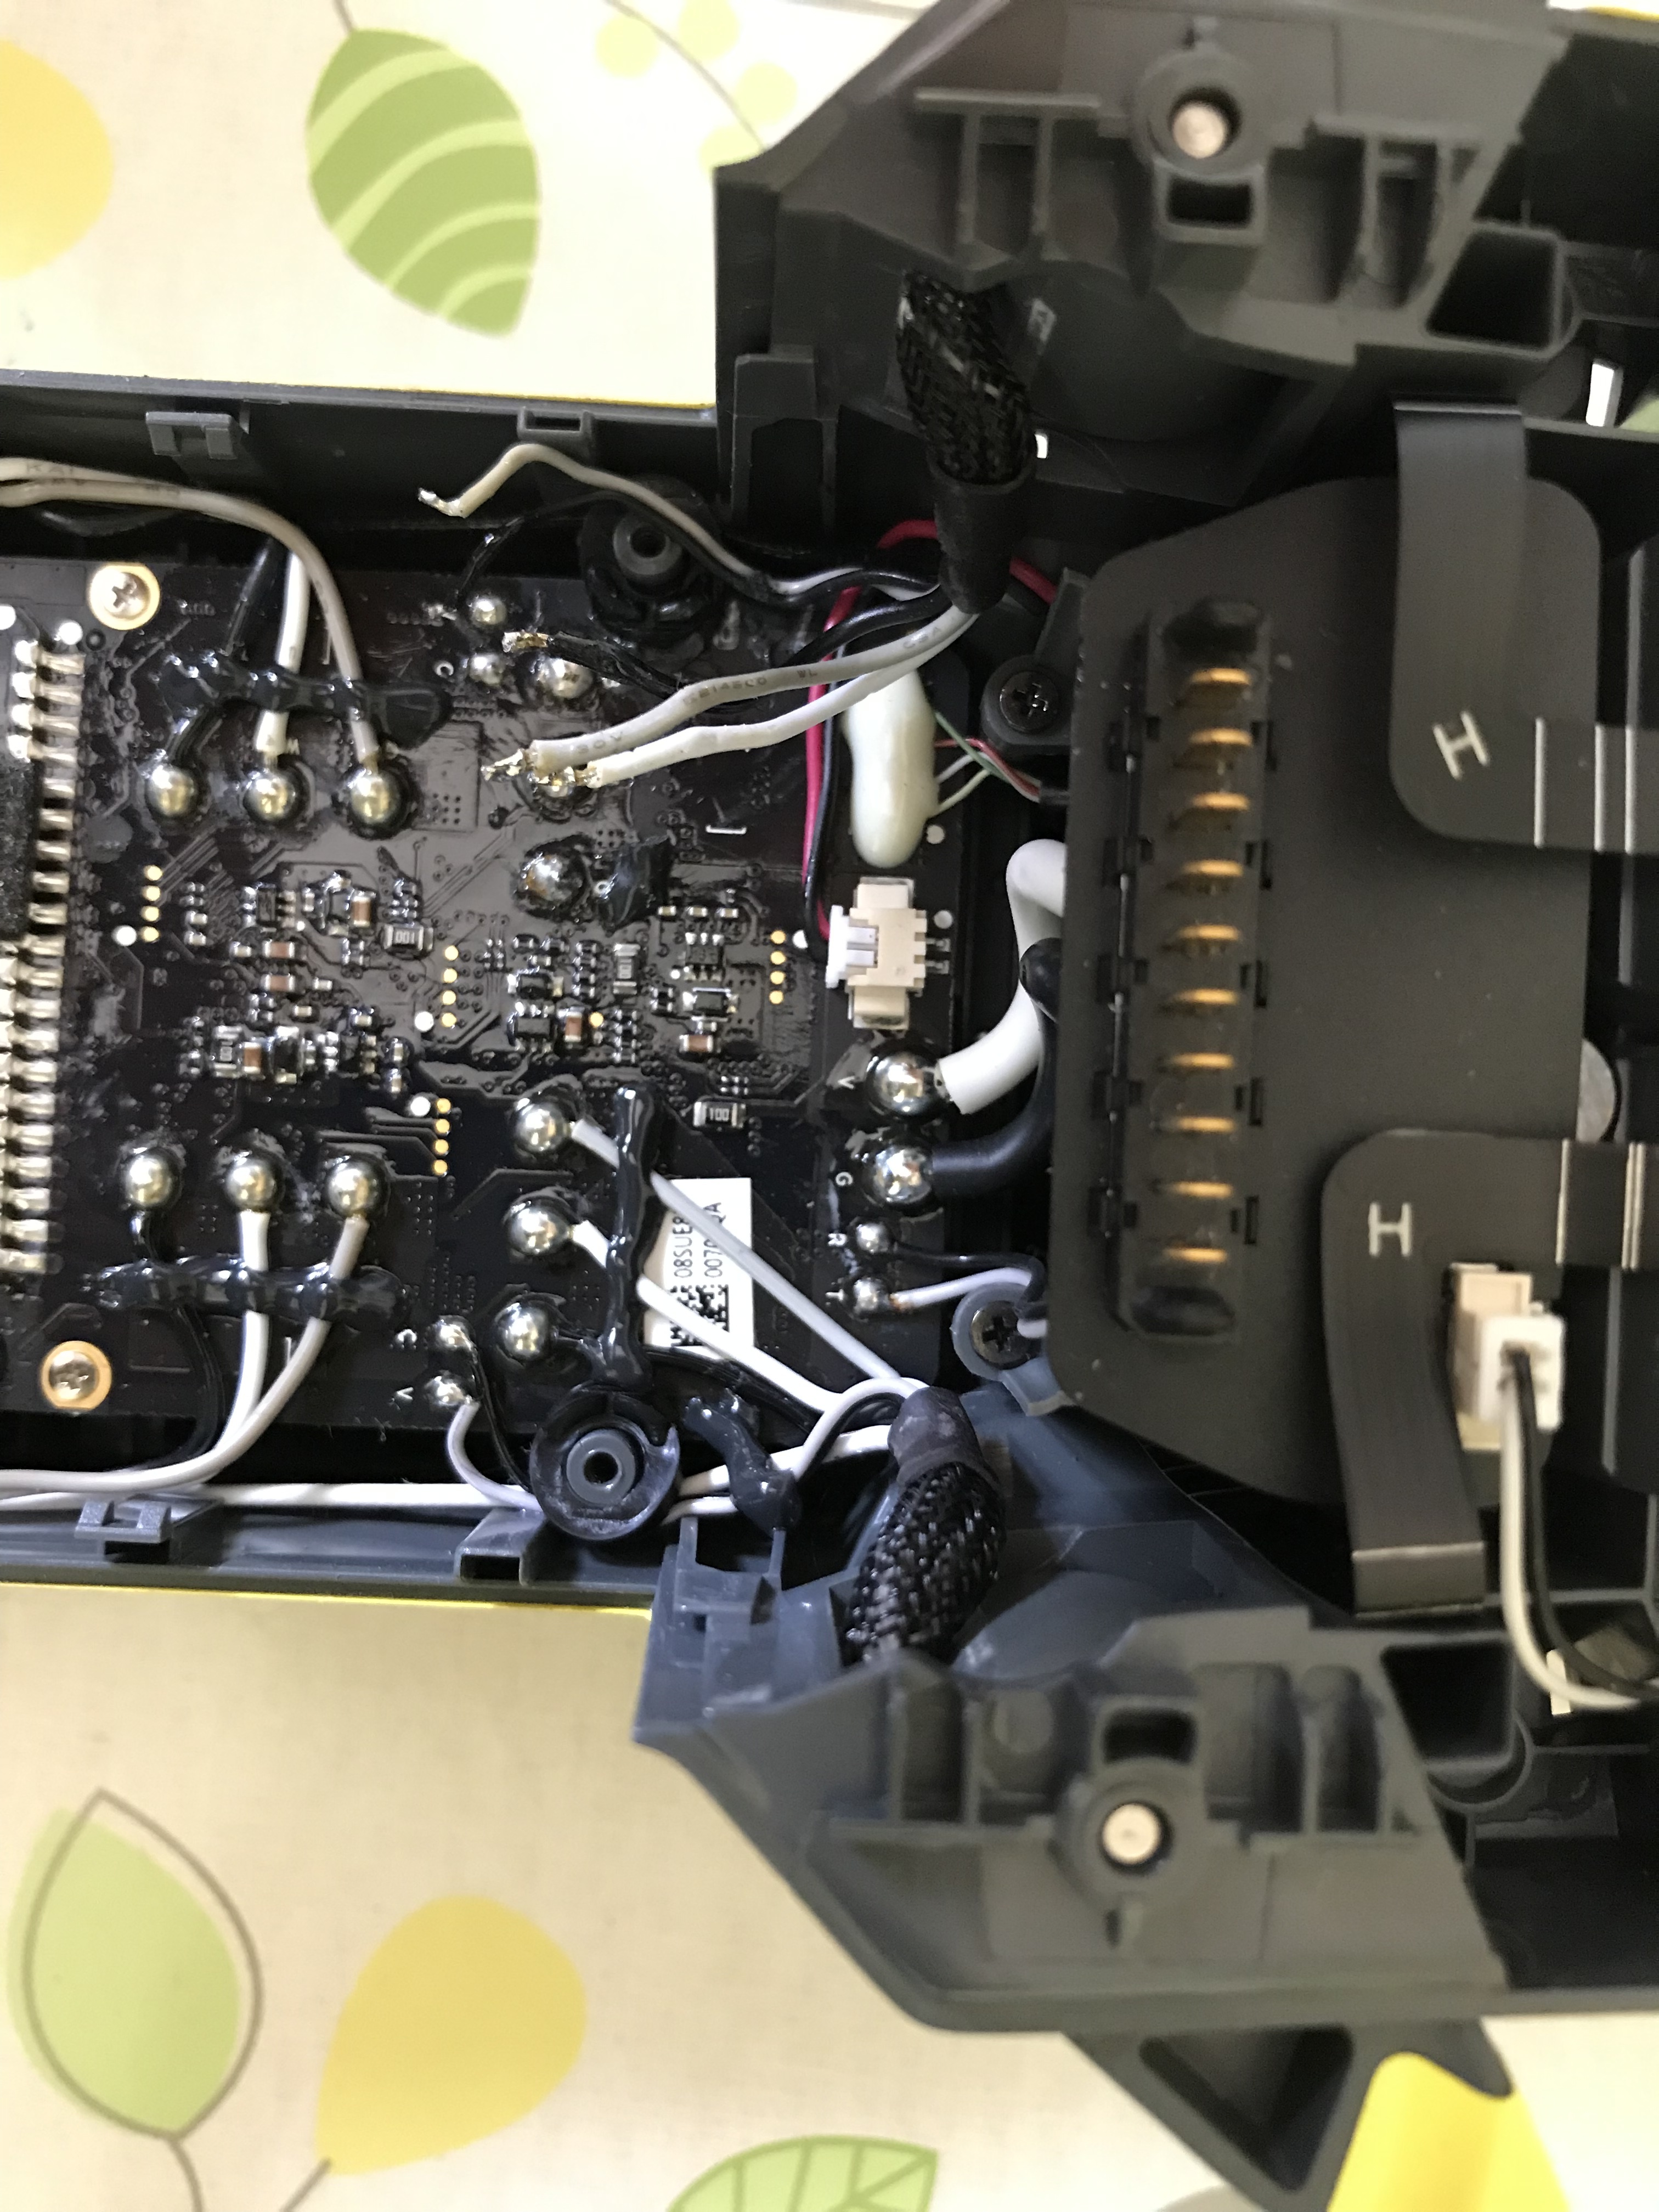
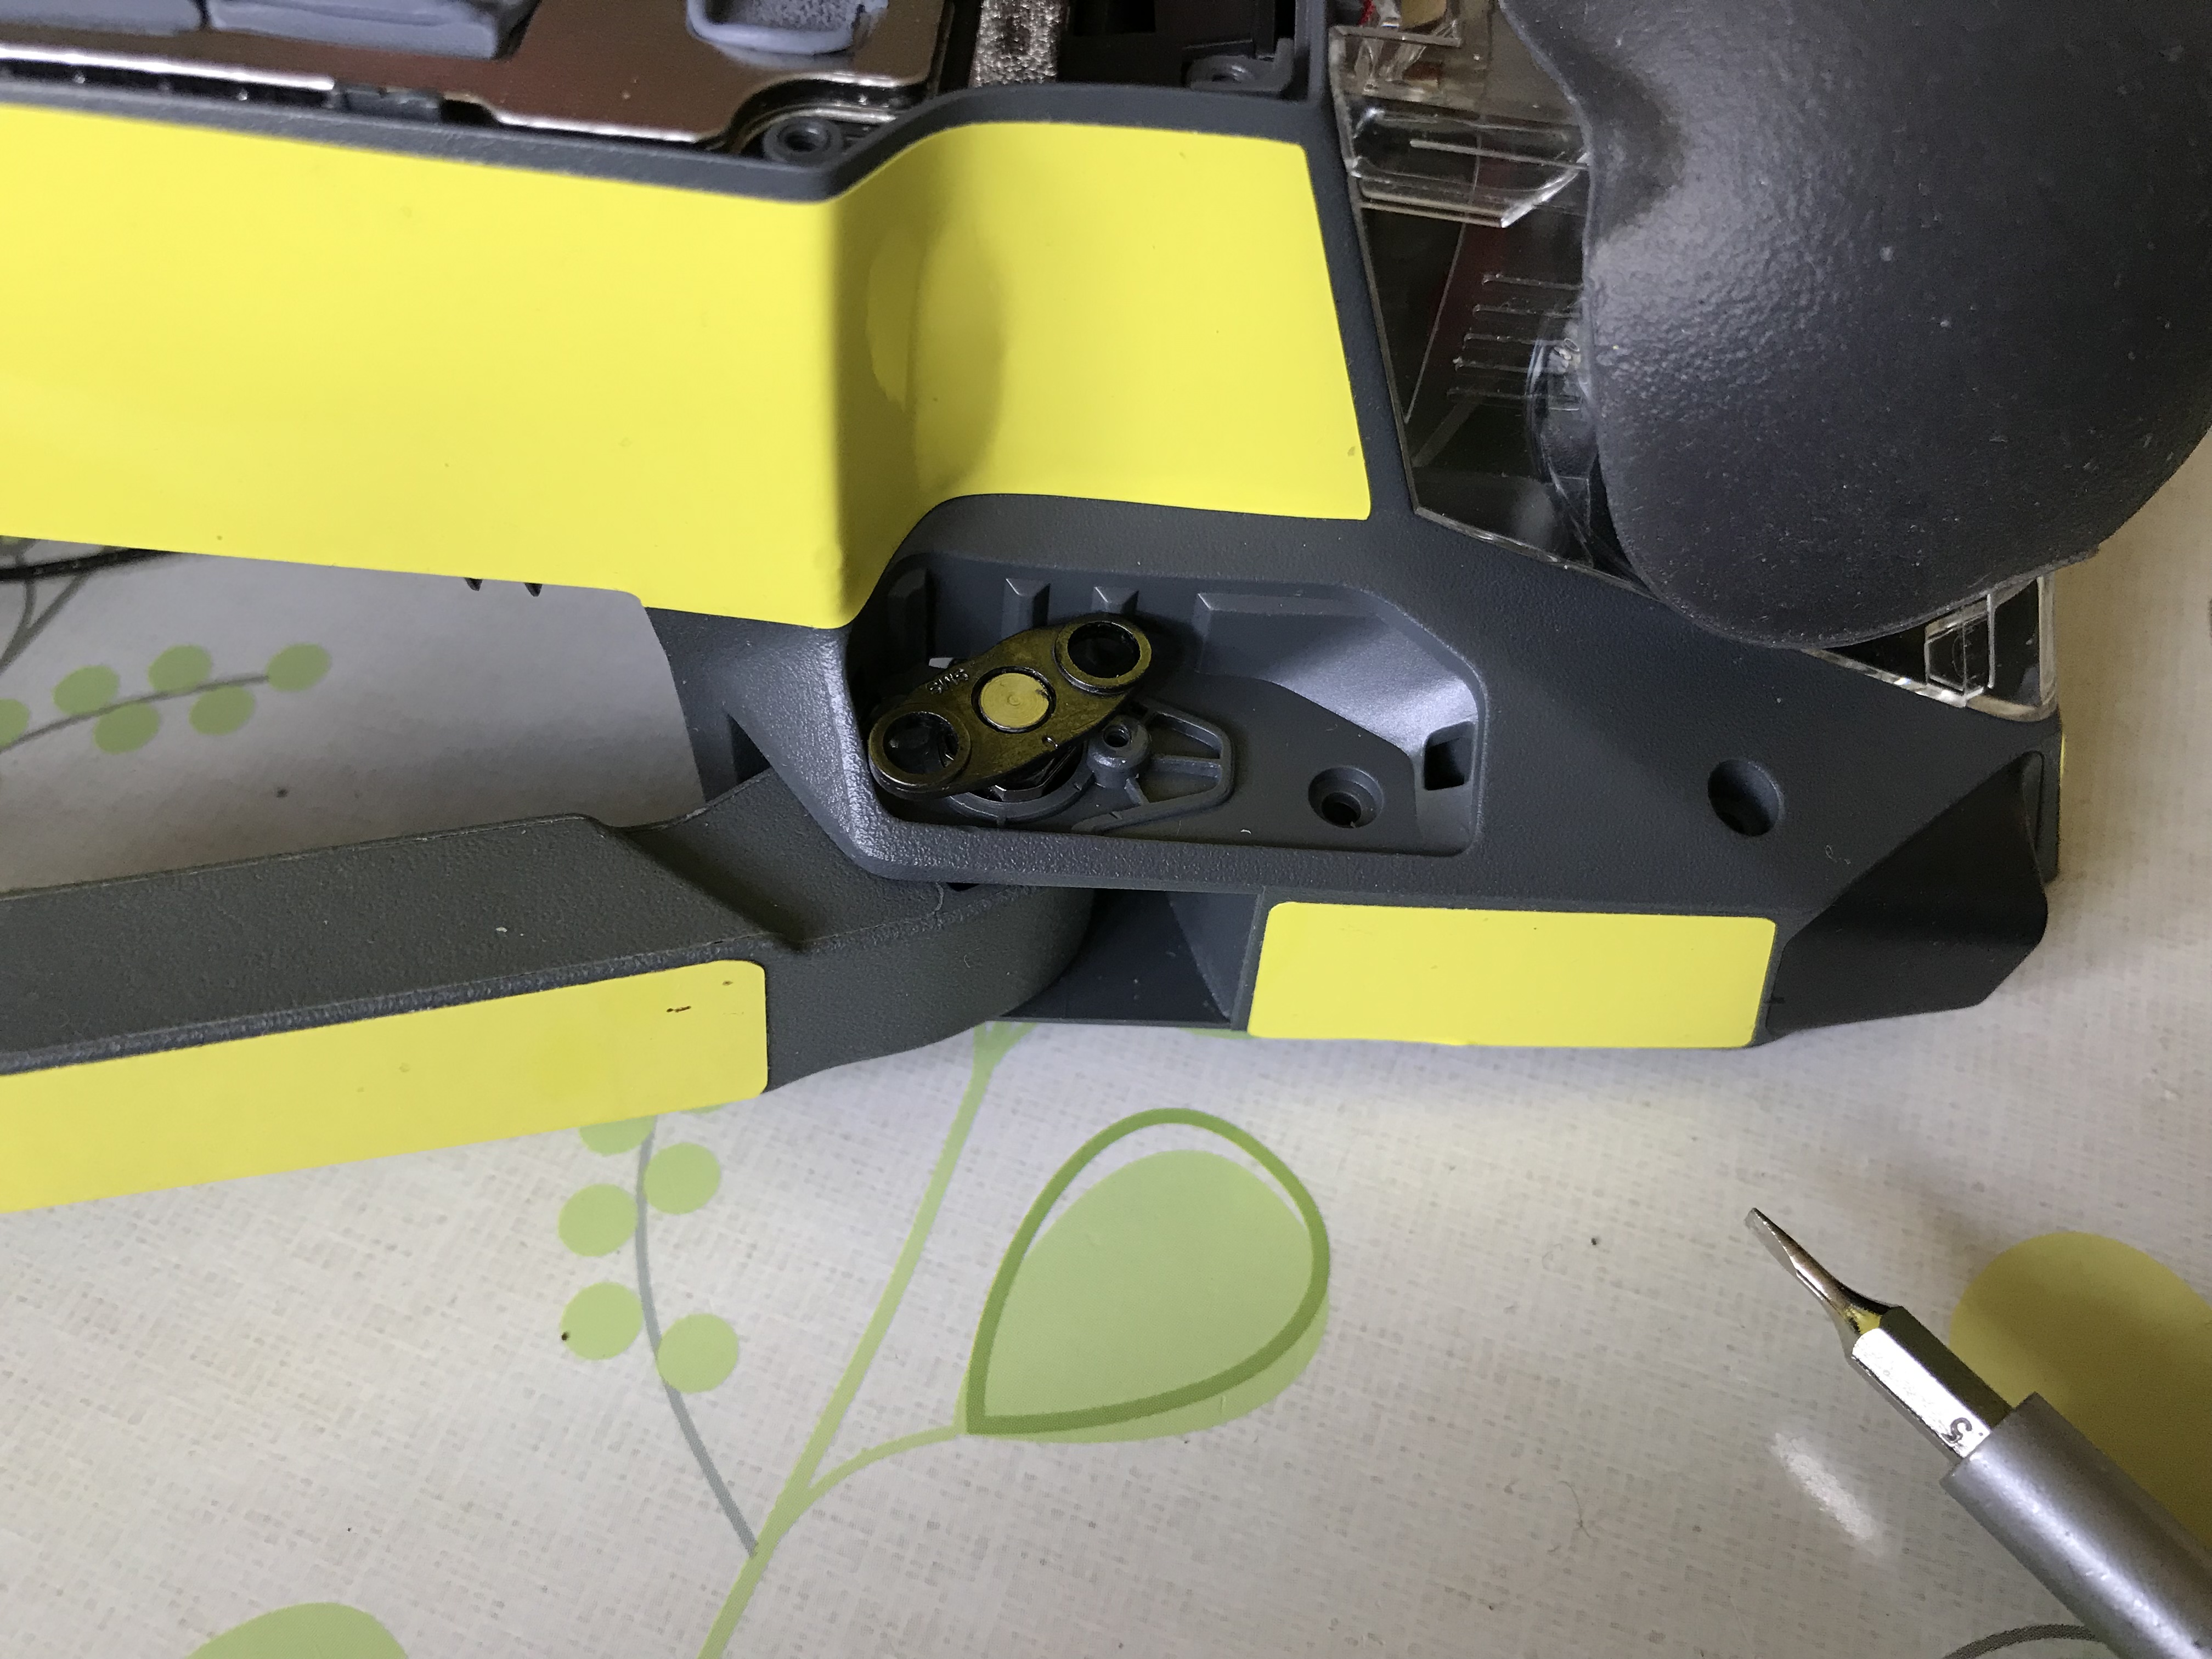
Here’s a video on how to strip it just to change the motor.
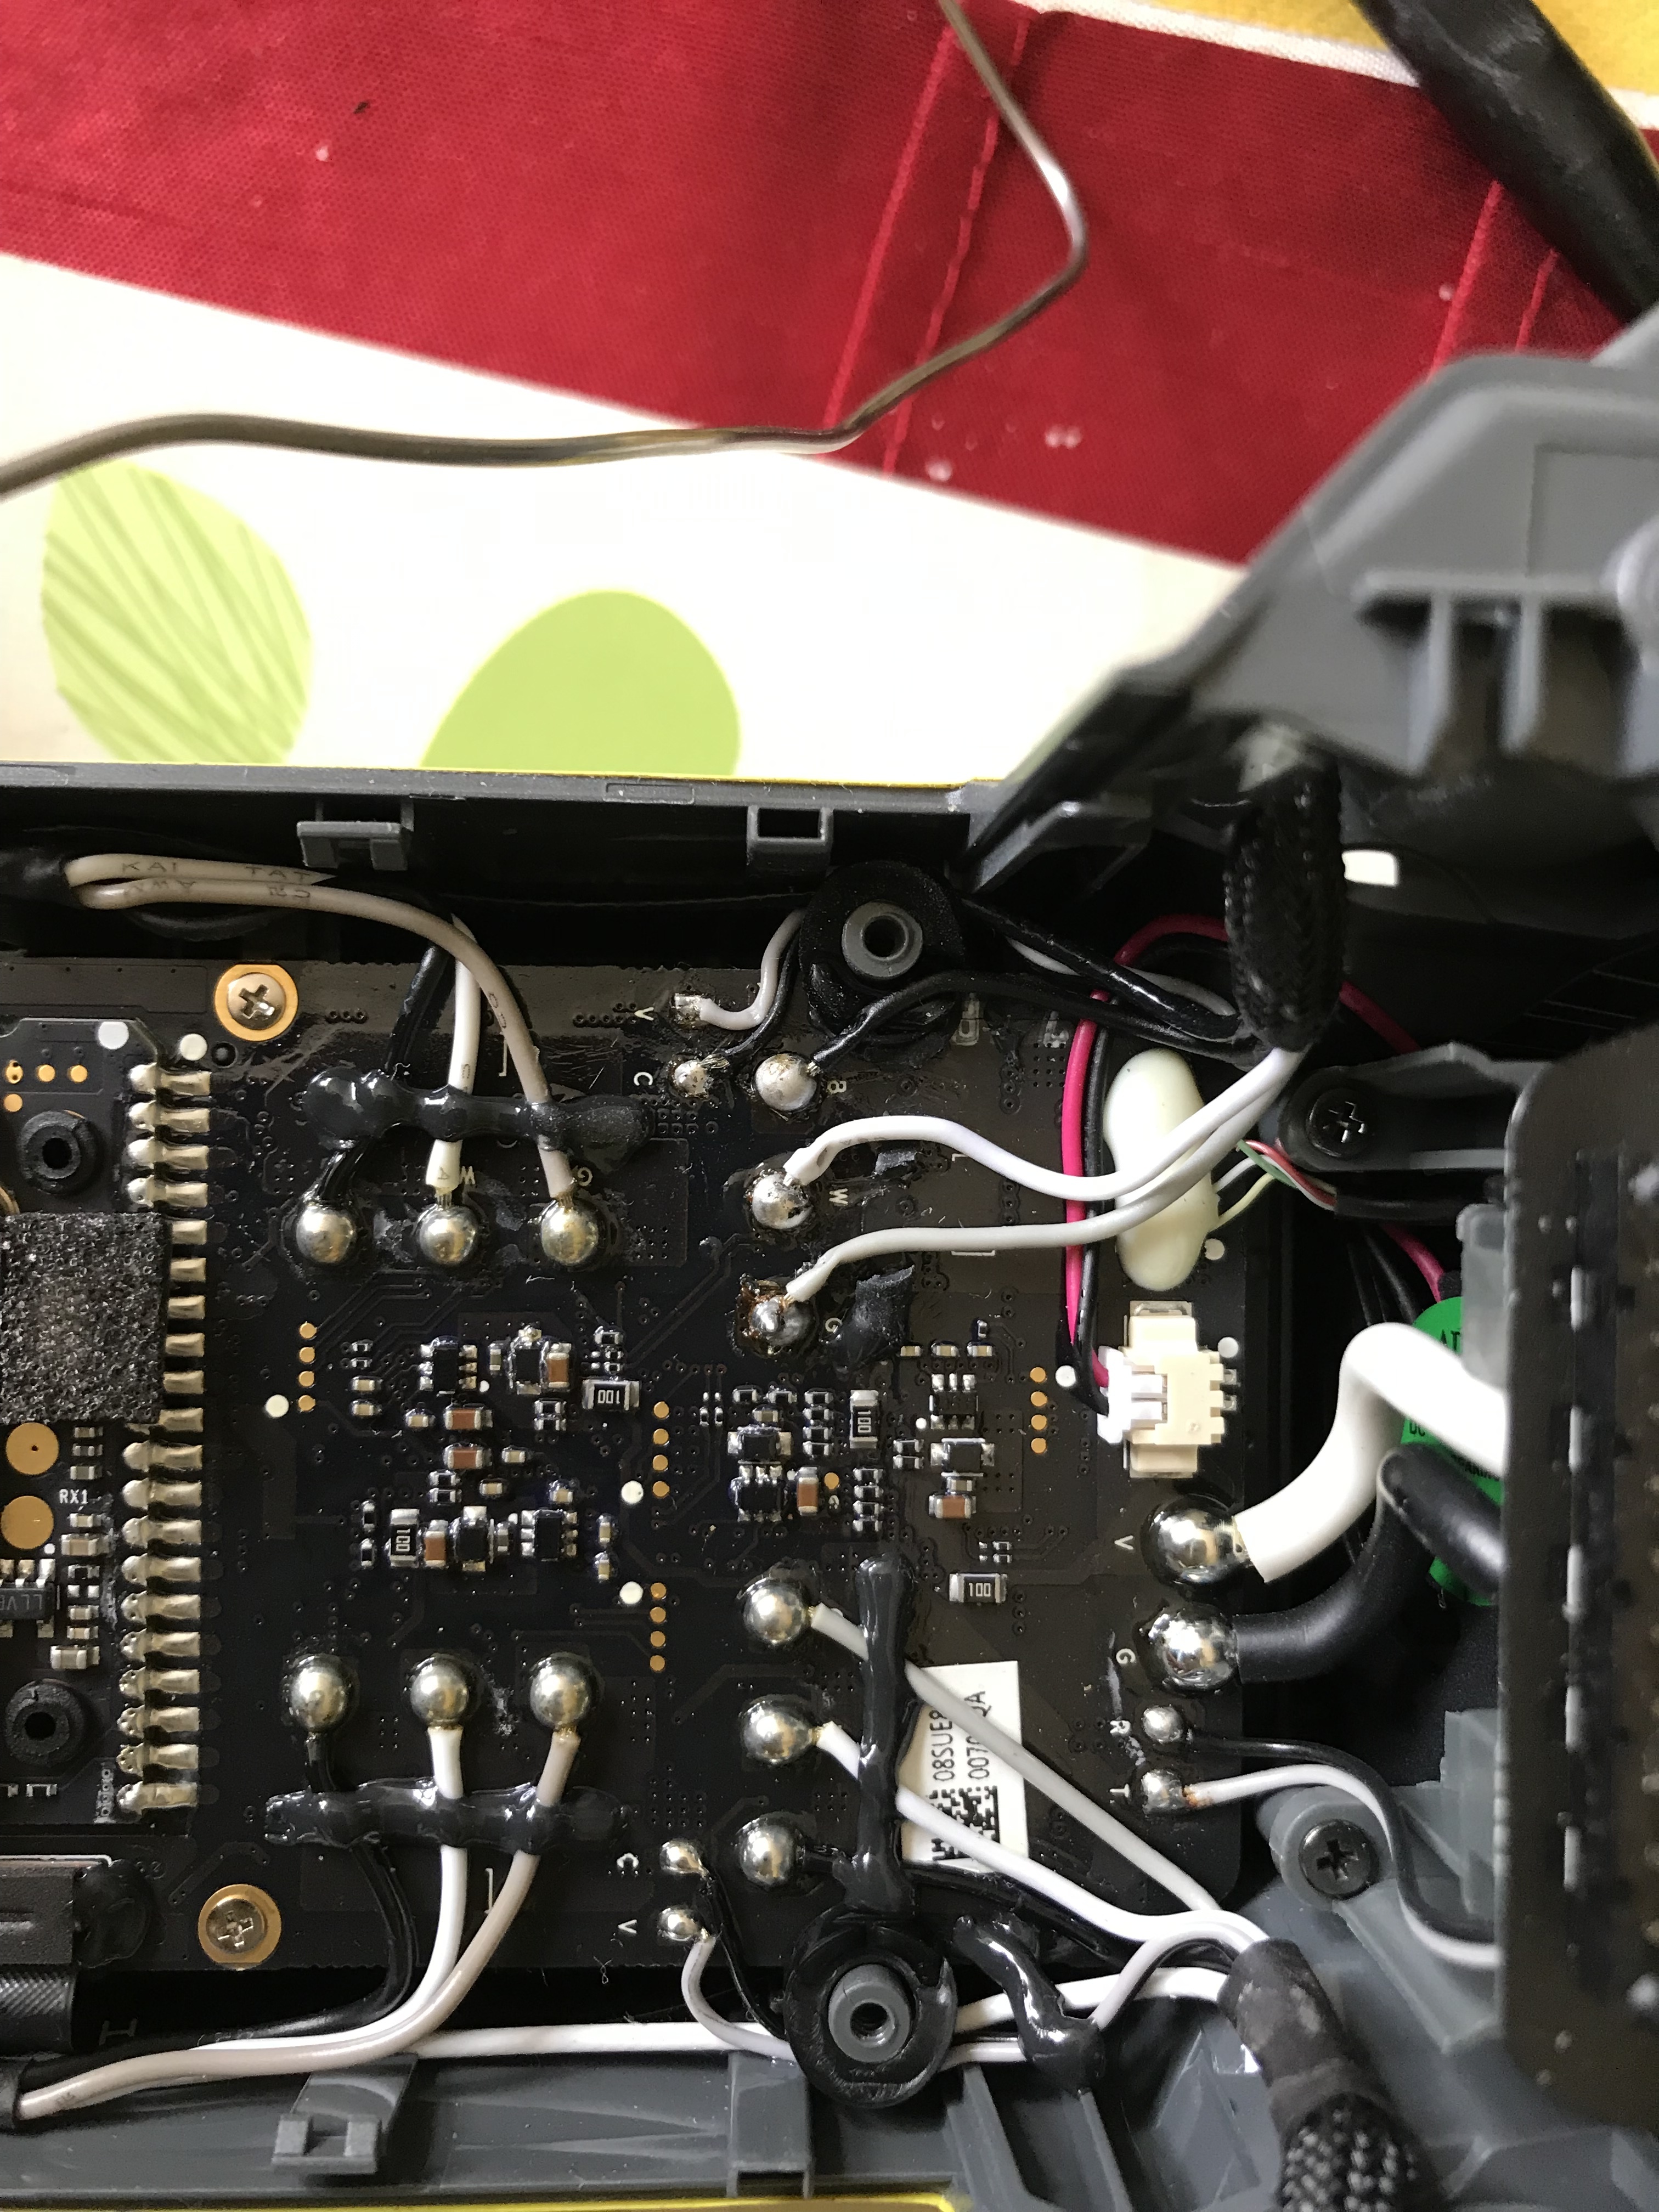
Next I removed the bottom plate and released the antenna wire, pushed it through a bit then replaced the cover back and held it in place with 2 screws.
I had an ESC error after running the motors to check the temperature, I left the Mavic to cool down and the error cleared, I’ve had a short takeoff and it actually sounds different and the slight motor stutter has gone.