This is my 4th MP1 (saga elsewhere) and the only problem I have is that the gimbal bangs against the body on start-up, and sometimes in flight I get a vertical oscillation of the camera.
Inspection of the mounting seems to show that one of the rubber mountings is quite stretched. I’ve bought a replacement board on ebay (£6!) and was about to set about replacing it, but I’m getting cold feet - the instructions on YouTube make it look pretty fiddly.
However, I also don’t want to send it back as DJI will probably send me out a “new” one with another fault. This drone seems to maneuver pretty smoothly.
Has anyone here done this job? Is it really tricky? Would it cost much to get it changed professionally?
I’d guess this would invalidate the warranty - are they seals that need to be broken?
Am sure this can be done without replacing vibration absorbing board, just the rubber mounts that need swapping over.
I believe 90° very fine needle nose tweezers are required to do it with the gimbal in situ.
No doubt will be less fiddly if you remove the gimbal and mounting plate.
Let us know how you get on Jeff
Edit.
Just noticed Dave has done this himself, best to wait for his response. Good luck Jeff
The reason I’d not advise is that it’s damned fiddly when everything’s out to get those bands off, and then on again.
And, when the bands are off, there’s really not enough flex on the ribbon cable to get decent access to them … and I’d say there’s far more than a 50% chance of damaging it in the process … then you have to take it all out anyway … and replacing the ribbon cable is a FAR more fiddly problem than you want to accidentally give yourself. (He says - from experience. )
It would be very difficult to do this without there being physical signs that someone had been inside. (connector cement)
However … from what one can tell, the Euro warranty centre doesn’t open anything up … they do all their testing from the outside, and if anything needs repairing, they seem to send out a replacement and send all repairs back to China.
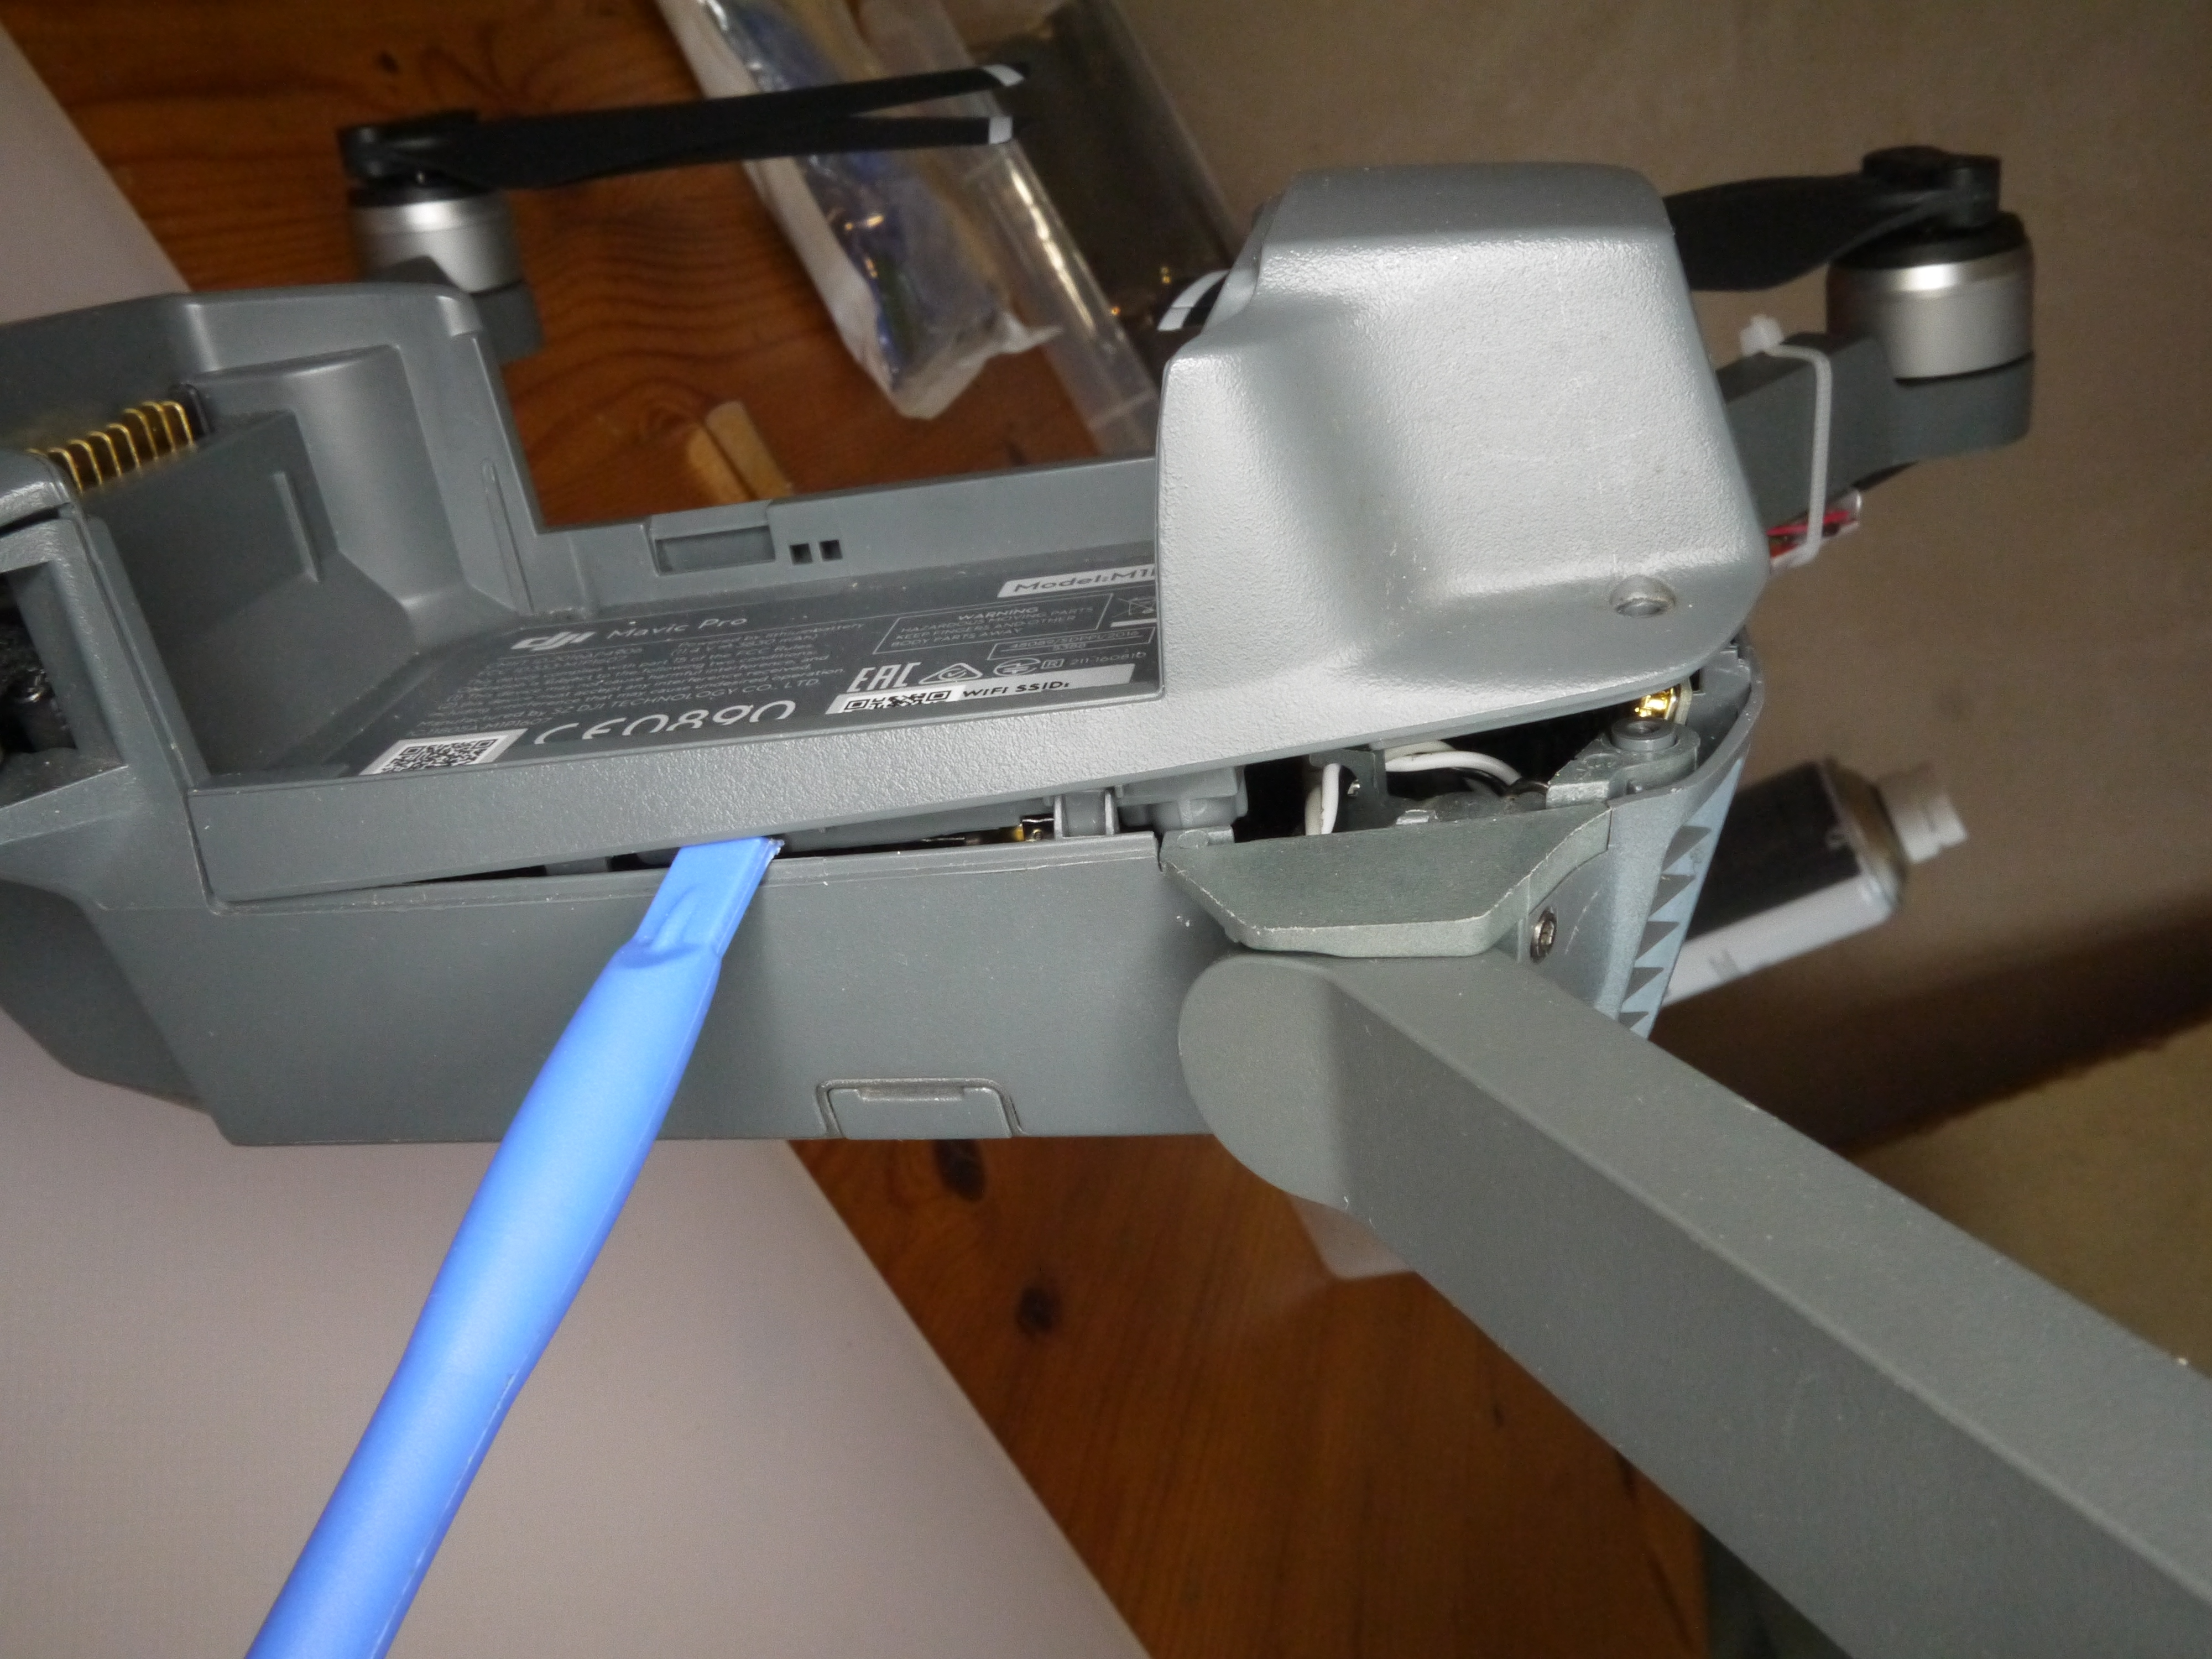
So - the reality is - if you open the case VERY carefully, you’ll not leave any external evidence for them to quibble.
Ah - OK - had you been closer I’d have happily come round and sat in to offer advice, had you wanted.
Rather a long way from Southampton.
Do shout if you want to know anything more.
Yes - essential to not mark the sides at the front. Even then, use as little as possible.
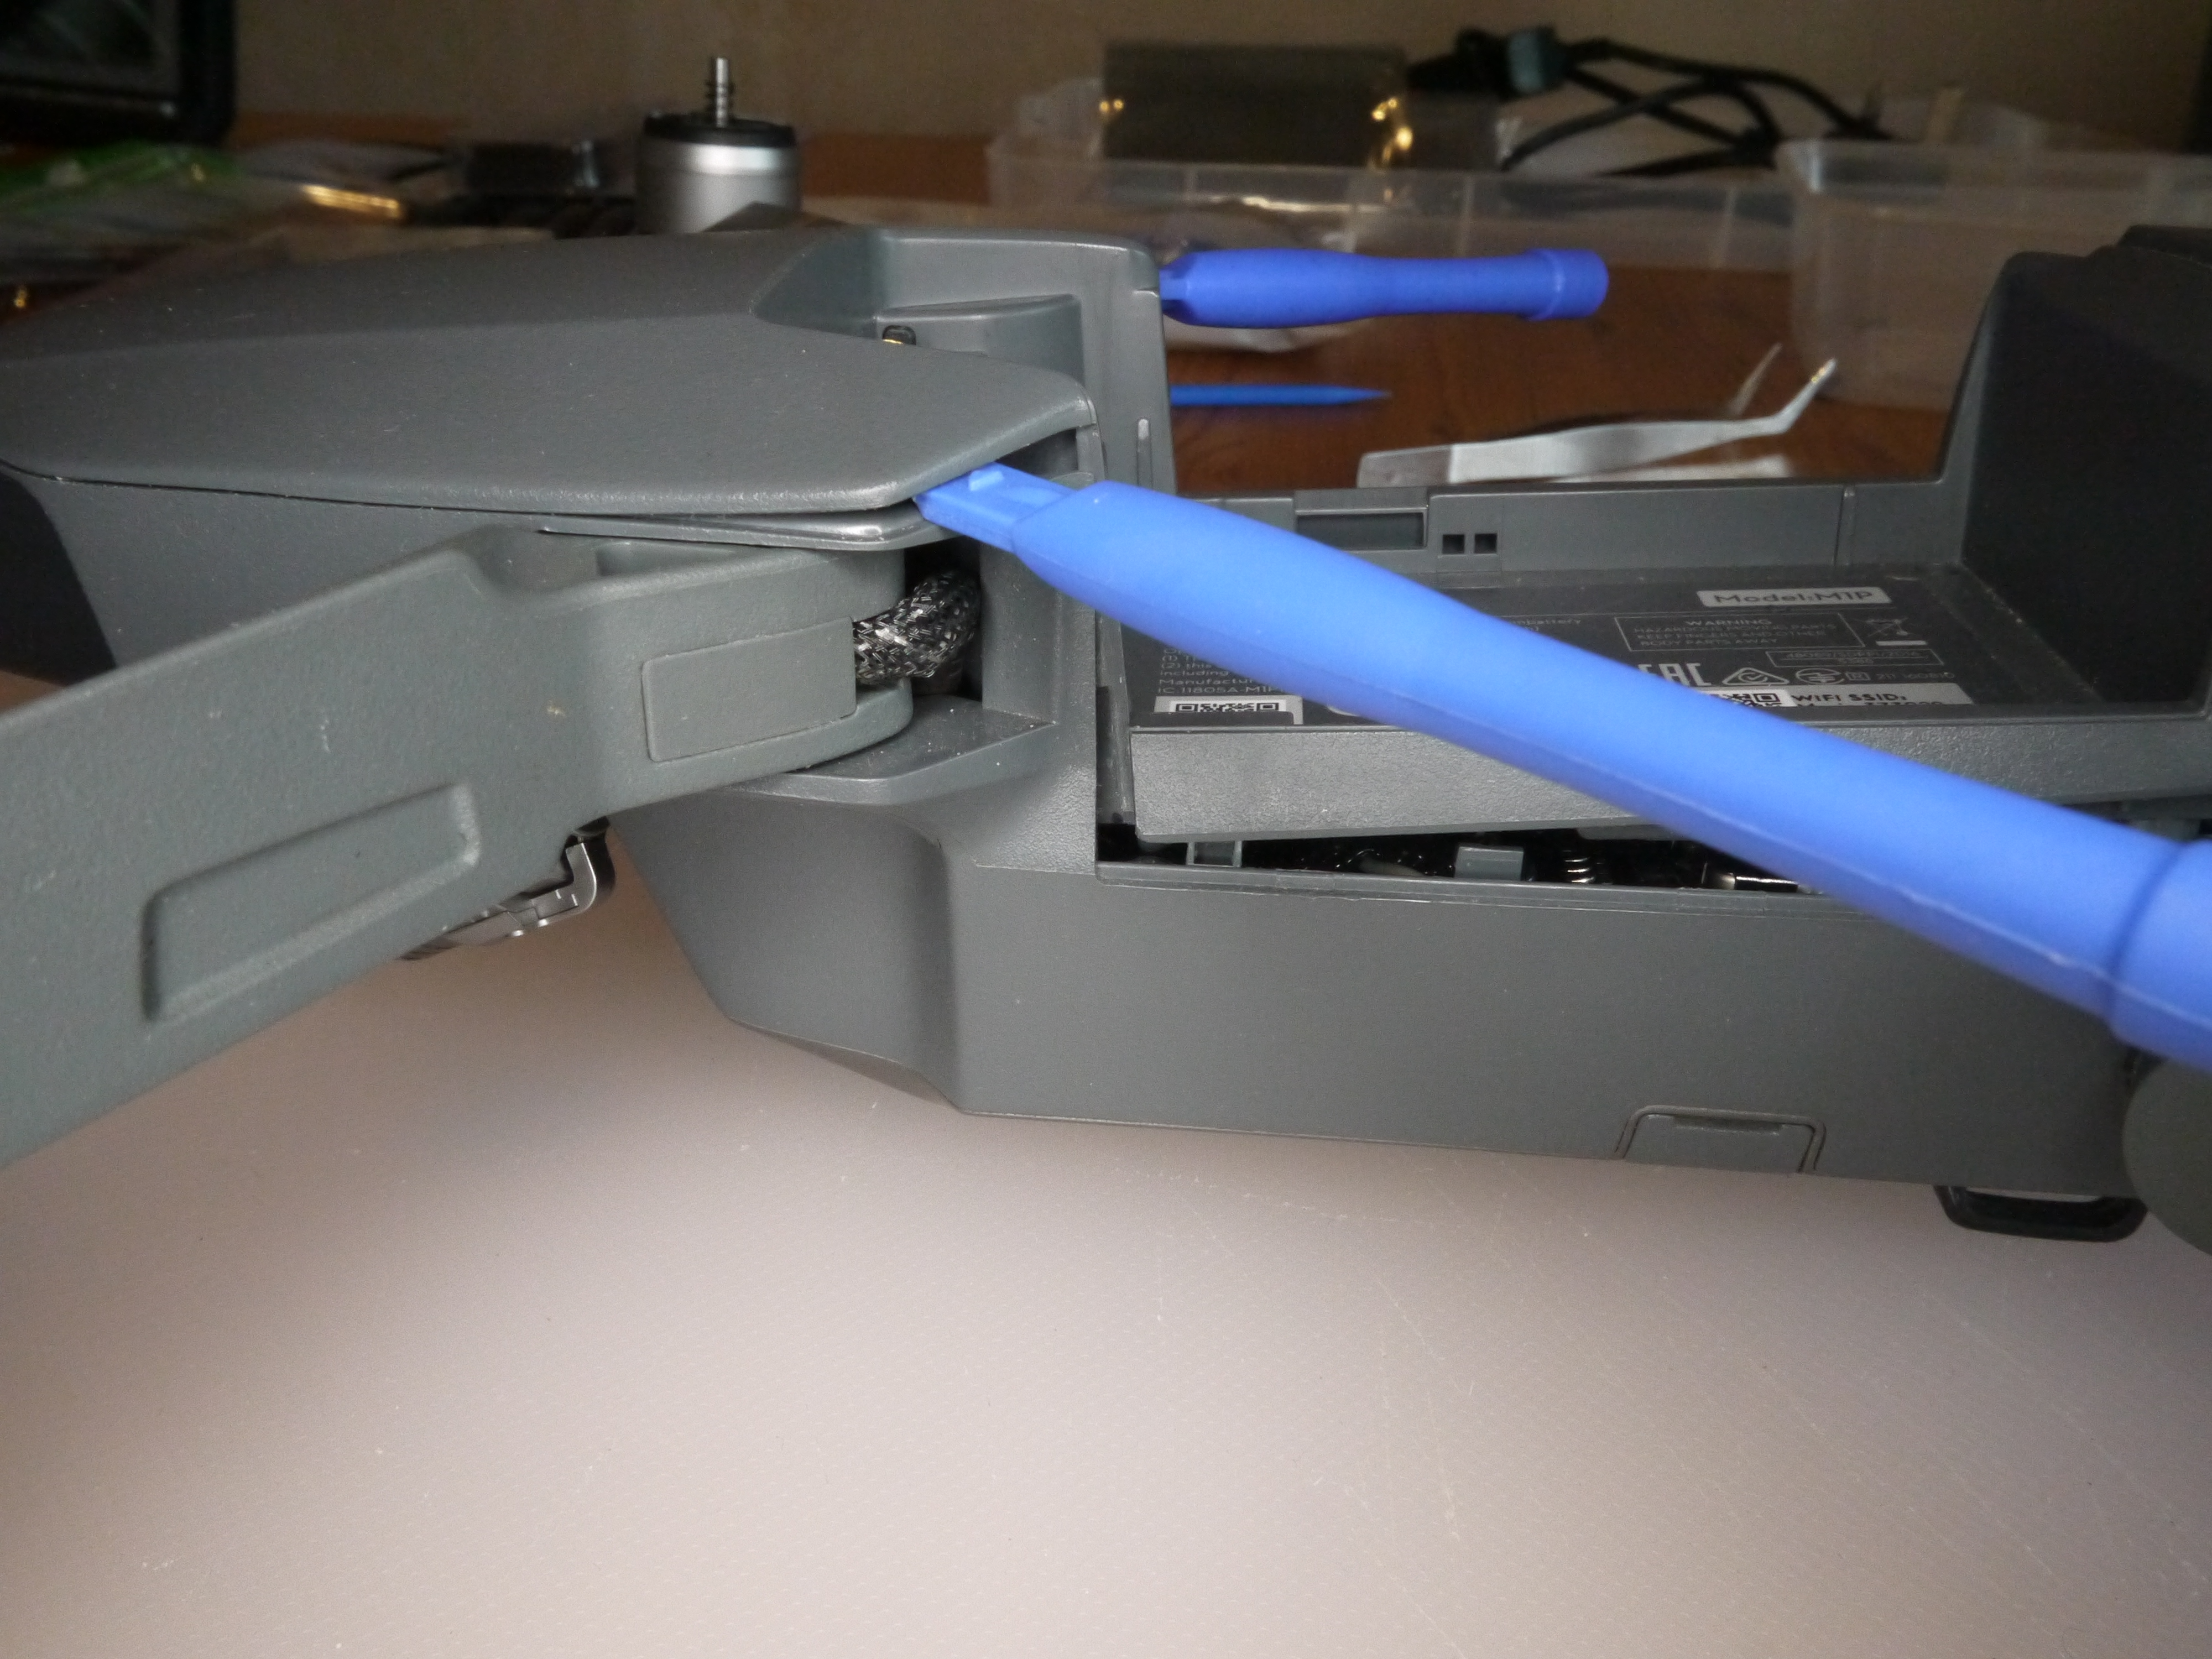
Those sides at the front will come apart with lots of wiggling.
I’ve also found it easier to prise the rear open first, and then use a prise tool to disconnect the GPS connector.
This gives you more chance to wiggle the front open with less use of prise tools.