


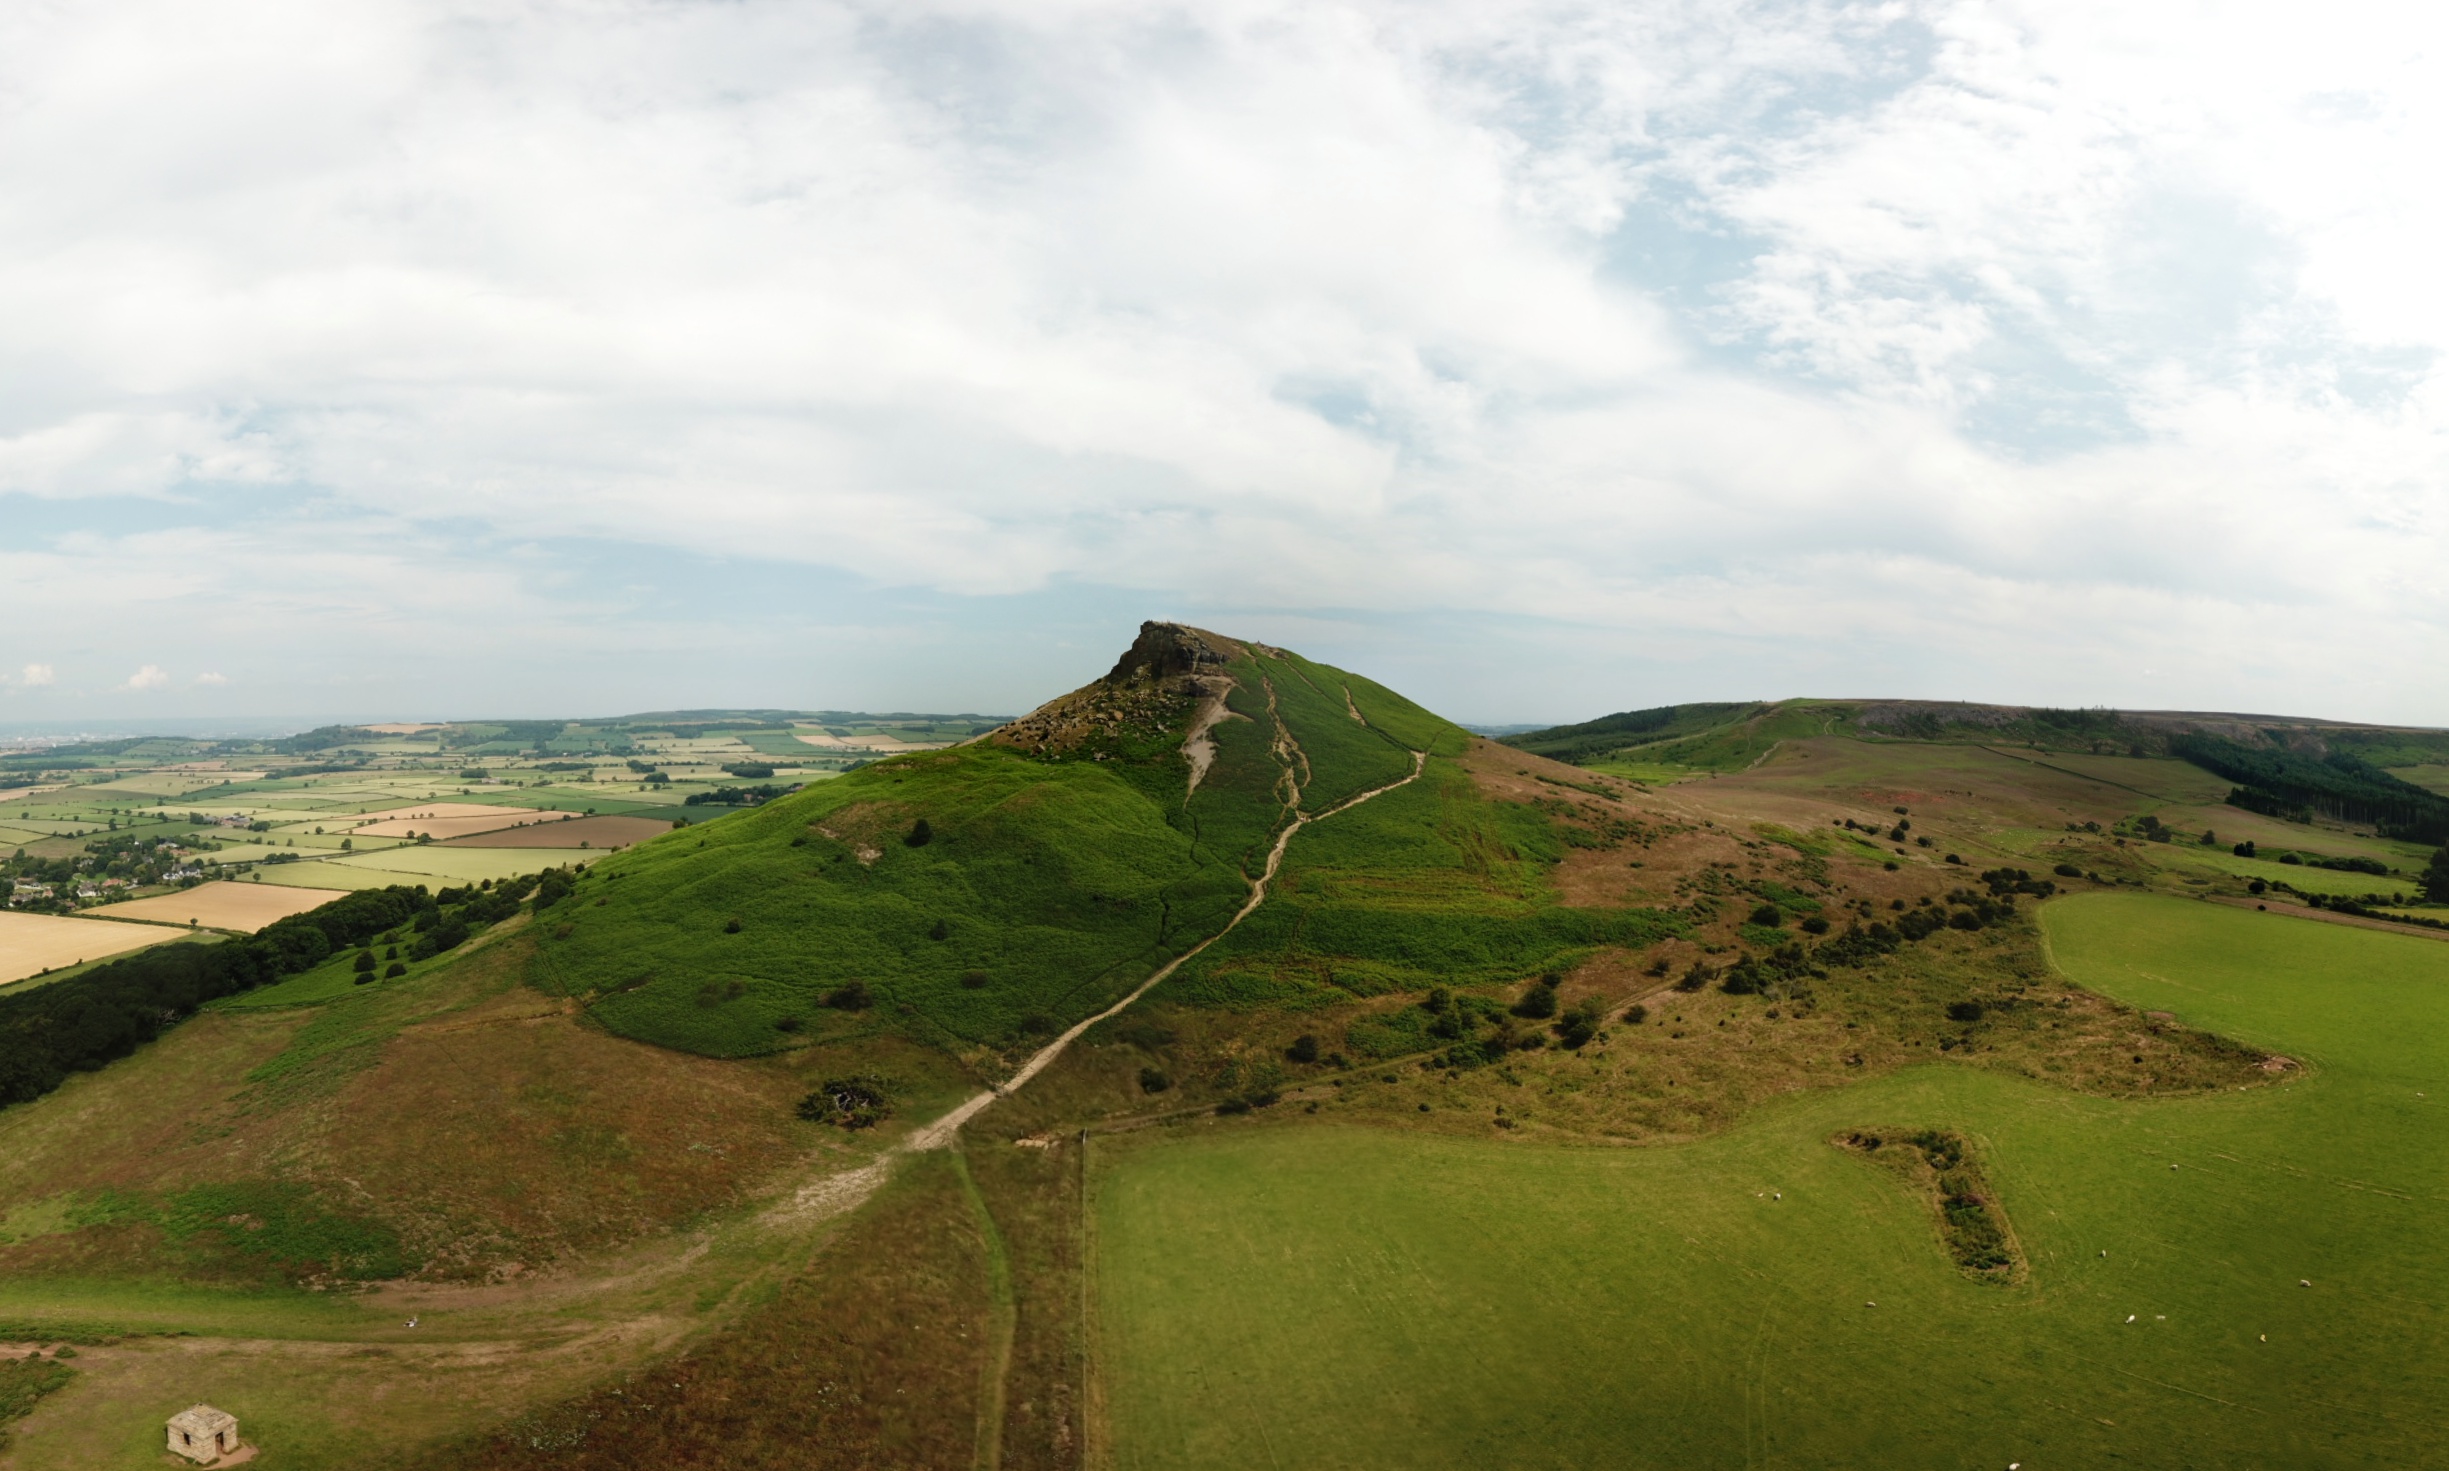
Few shots of roseberry topping, any tips on how to make the sky more blue? I’ve tried light room but still learning.
Thanks in advance.
9 Likes
They should drive a Mr Whippy van up there…then you could have raspberry topping on Roseberry Topping ![]()
![]() … Sry, couldn’t resist… Back to your question… What filters are you using? I found that the sky looks much better if the original footage is taken on sunny days with decent filters at ND32 or ND64 with proper settings on the drone camera. This guy is pretty good. I know this vid is for the M2P but the settings and concepts might be similar?
… Sry, couldn’t resist… Back to your question… What filters are you using? I found that the sky looks much better if the original footage is taken on sunny days with decent filters at ND32 or ND64 with proper settings on the drone camera. This guy is pretty good. I know this vid is for the M2P but the settings and concepts might be similar?

Failing that, you should be able to do a search on YouTube?


1 Like
As Lozzer suggest, an ND filter will let the camera get a better attempt at a balanced image. A polorizer is a good photographers tool, but I’m finding its bad on a drone because you cannot adjust it in flight. Once you’ve burned the pixels though, my simple workflow in Lightroom for pretty much every photo to some degree is:
- Key step: - set the white balance
- Key step: fix exposure so the histogram shows a reasonalby balanced image
** (Your images look to be here already) - reduce highlights (this will pull whites and blues back from washed out)
- lift shadows
- pull the whites right (no clipping)
- pull the blacks left (no clipping)
- Check the dehaze and clarity
- Add some vibrance(selected saturation colours)
- Possibly more saturation
At this point you should have a more contrasty image with all the colours more colourful
If you want more sky at this point, head on into the HSL section and pump the blue saturation.
Hope that helps
5 Likes
That’s great advice Nigel, and ,very well put across for us numpties in
Photograpy !.
Pity everyone does not do a “How To”, so we can easily replicate these effects.
Hi, thanks for the advice. I have 6 filters for my mavic still sussing out which is best to use. Advice taken on board. Thanks again 
This is the reason I joined this group.
Ah ha, you have hit on another key point that people don’t really understand as well. Different ‘cameras’ work differently with the same settings/hardware/filters so it makes it really hard. The M2P sensor is a good quality larger-than-your-average-phone-cam sensor but it’s still not a full frame professional camera, and this is where I’m struggling to get the photos I’m used to… not to mention my own complete lack of videographic capabilities, but that’s a topic for another day.
Since I’m on a roll, and I have a few minutes to blurb, here is some more of what I do, wrong or right. Apologies if you don’t like it.
On my M2P, I strongly advocate use of the historgram on the go app, and shooting in manual and RAW. I aim for a good histogram (lots of coverage) shooting at f4 - f8, and around the 120th of a second shutter with ISO as low as possible. 100 ISO is ideal, but 200 isn’t horrible. This should be ok/safe for most of the reasonable quality drone cameras that I have not had a play with.
Shutter speeds between 60th and 600th are fine. Under a 60th, you’ll have motion blur (looks a little soft) in the day time - night time this is less of an issue and generally cool. Above 600th is fine if you only take one photo, job done. If you want to combine them in any way - HDR or pano for example, then they can be suitably different so can cause blurry bits or badly aligned bits.
Apertures significantly under f4 or over f8 can start to get aberrations and this can detract from the final imaging (certainly when you start adding contrast or sharpening later, you’ll notice purple and green fringing.
I start by setting my ISO to 100 (bearing in mind I can go up to 200 if I need more exposure). Since I don’t do stylistic shots I set the aperture to 5.6 (knowing I can go a stop in either direction) . Finally I set the shutter to 120th. This is when you can check on the ground how green the grass grass is.
- If it’s black, reduce the shutter speed a stop, then ISO up to 200, maybe shutter speed some more, then finally bring f-stop down. If it’s still too dark, go home, or hope you can pull up to 2 stops in post processing a RAW image.
- If it’s white, add ND filters, shutter speed up to 300-600ths. f-stops down to 2.8 if you really have to.
The really tricky bit is about inflight changes cuz the sun pops off behind clouds… My key goal is to keep the deepish focus, so the last thing I tweak is always the aperture. I will fiddle shutter a lot, ISO a bit, more shutter, and lastly, when I have no more option f-stop, or, if I can’t get the shot, I wait, or I come in and adjust the filtering.
Ok, I’m done 
5 Likes