So... what's on your bench at the moment?

I’ve just been through the DVR video and I think I worked out what happened to the Gecko…

In my previous flight I’d had a major Rx Loss. Not being experienced with ExpressLRS I just went… “ExpressLrs, it’s crap!”… and reduced the bit rate. Anyway, that bad RX continued into Brendan’s flight and he lost control and it crashed. The packet rate goes down just before he crashes, not as much as it had been doing at times, but a bit.

Anyway, looking at earlier footage the packet rate is just fine… no issues at all “6:100” most of the time, flying around the same areas… until muggins here has a small crash, just a little bump. Then about a minute later I had my big Rx Loss.

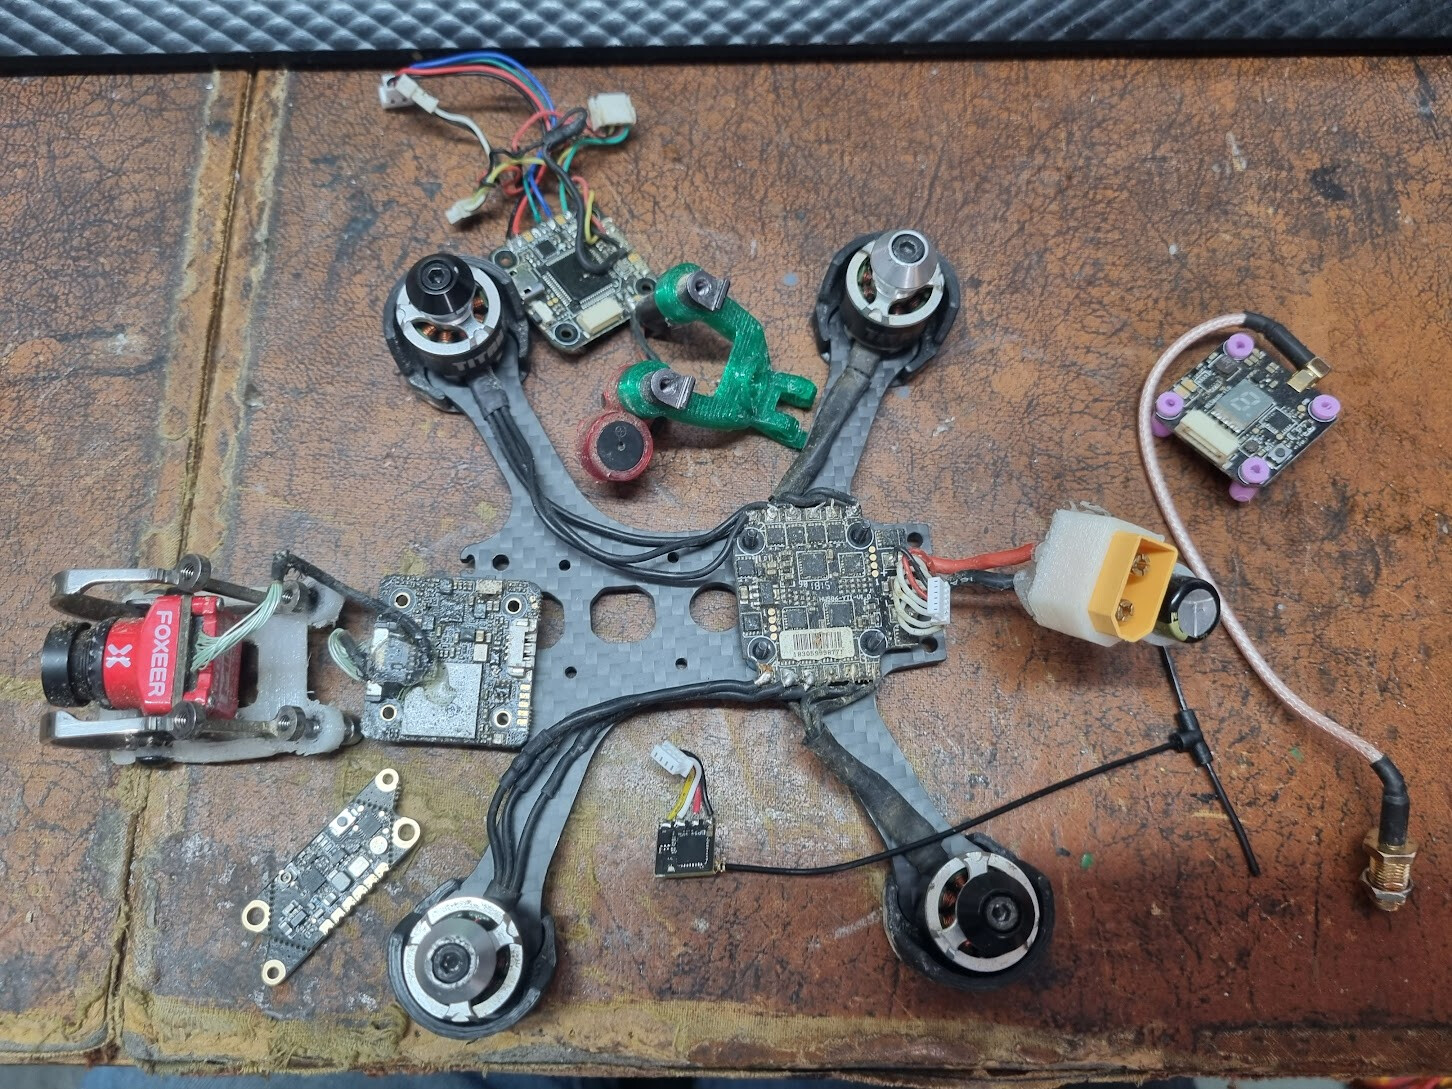
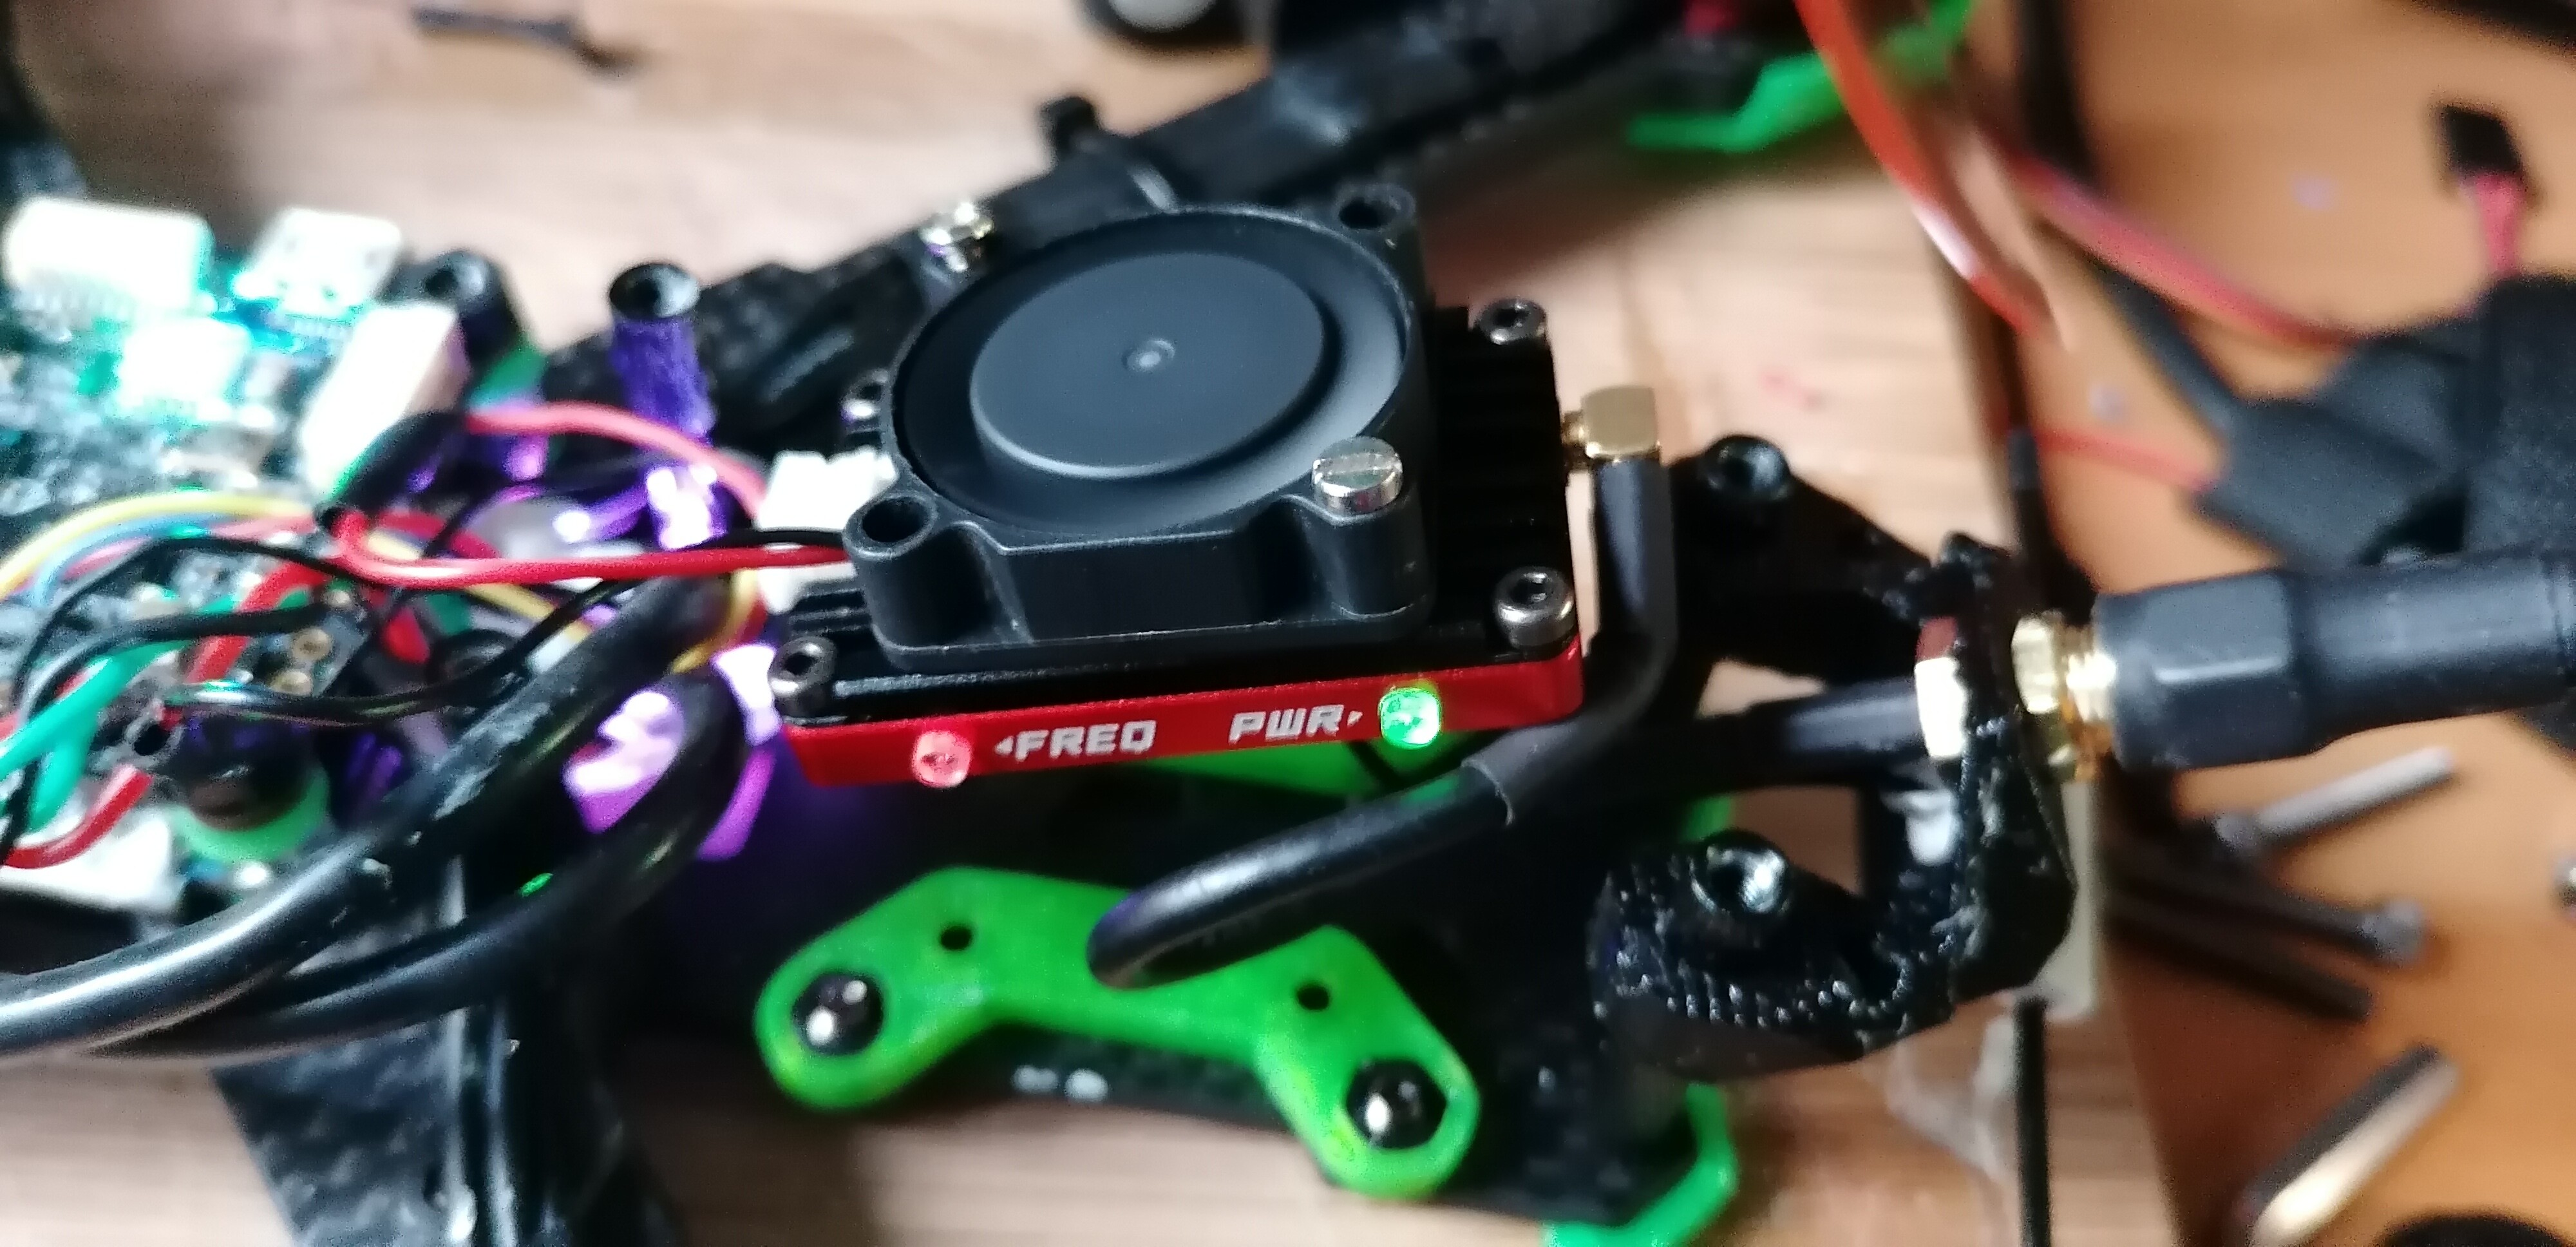
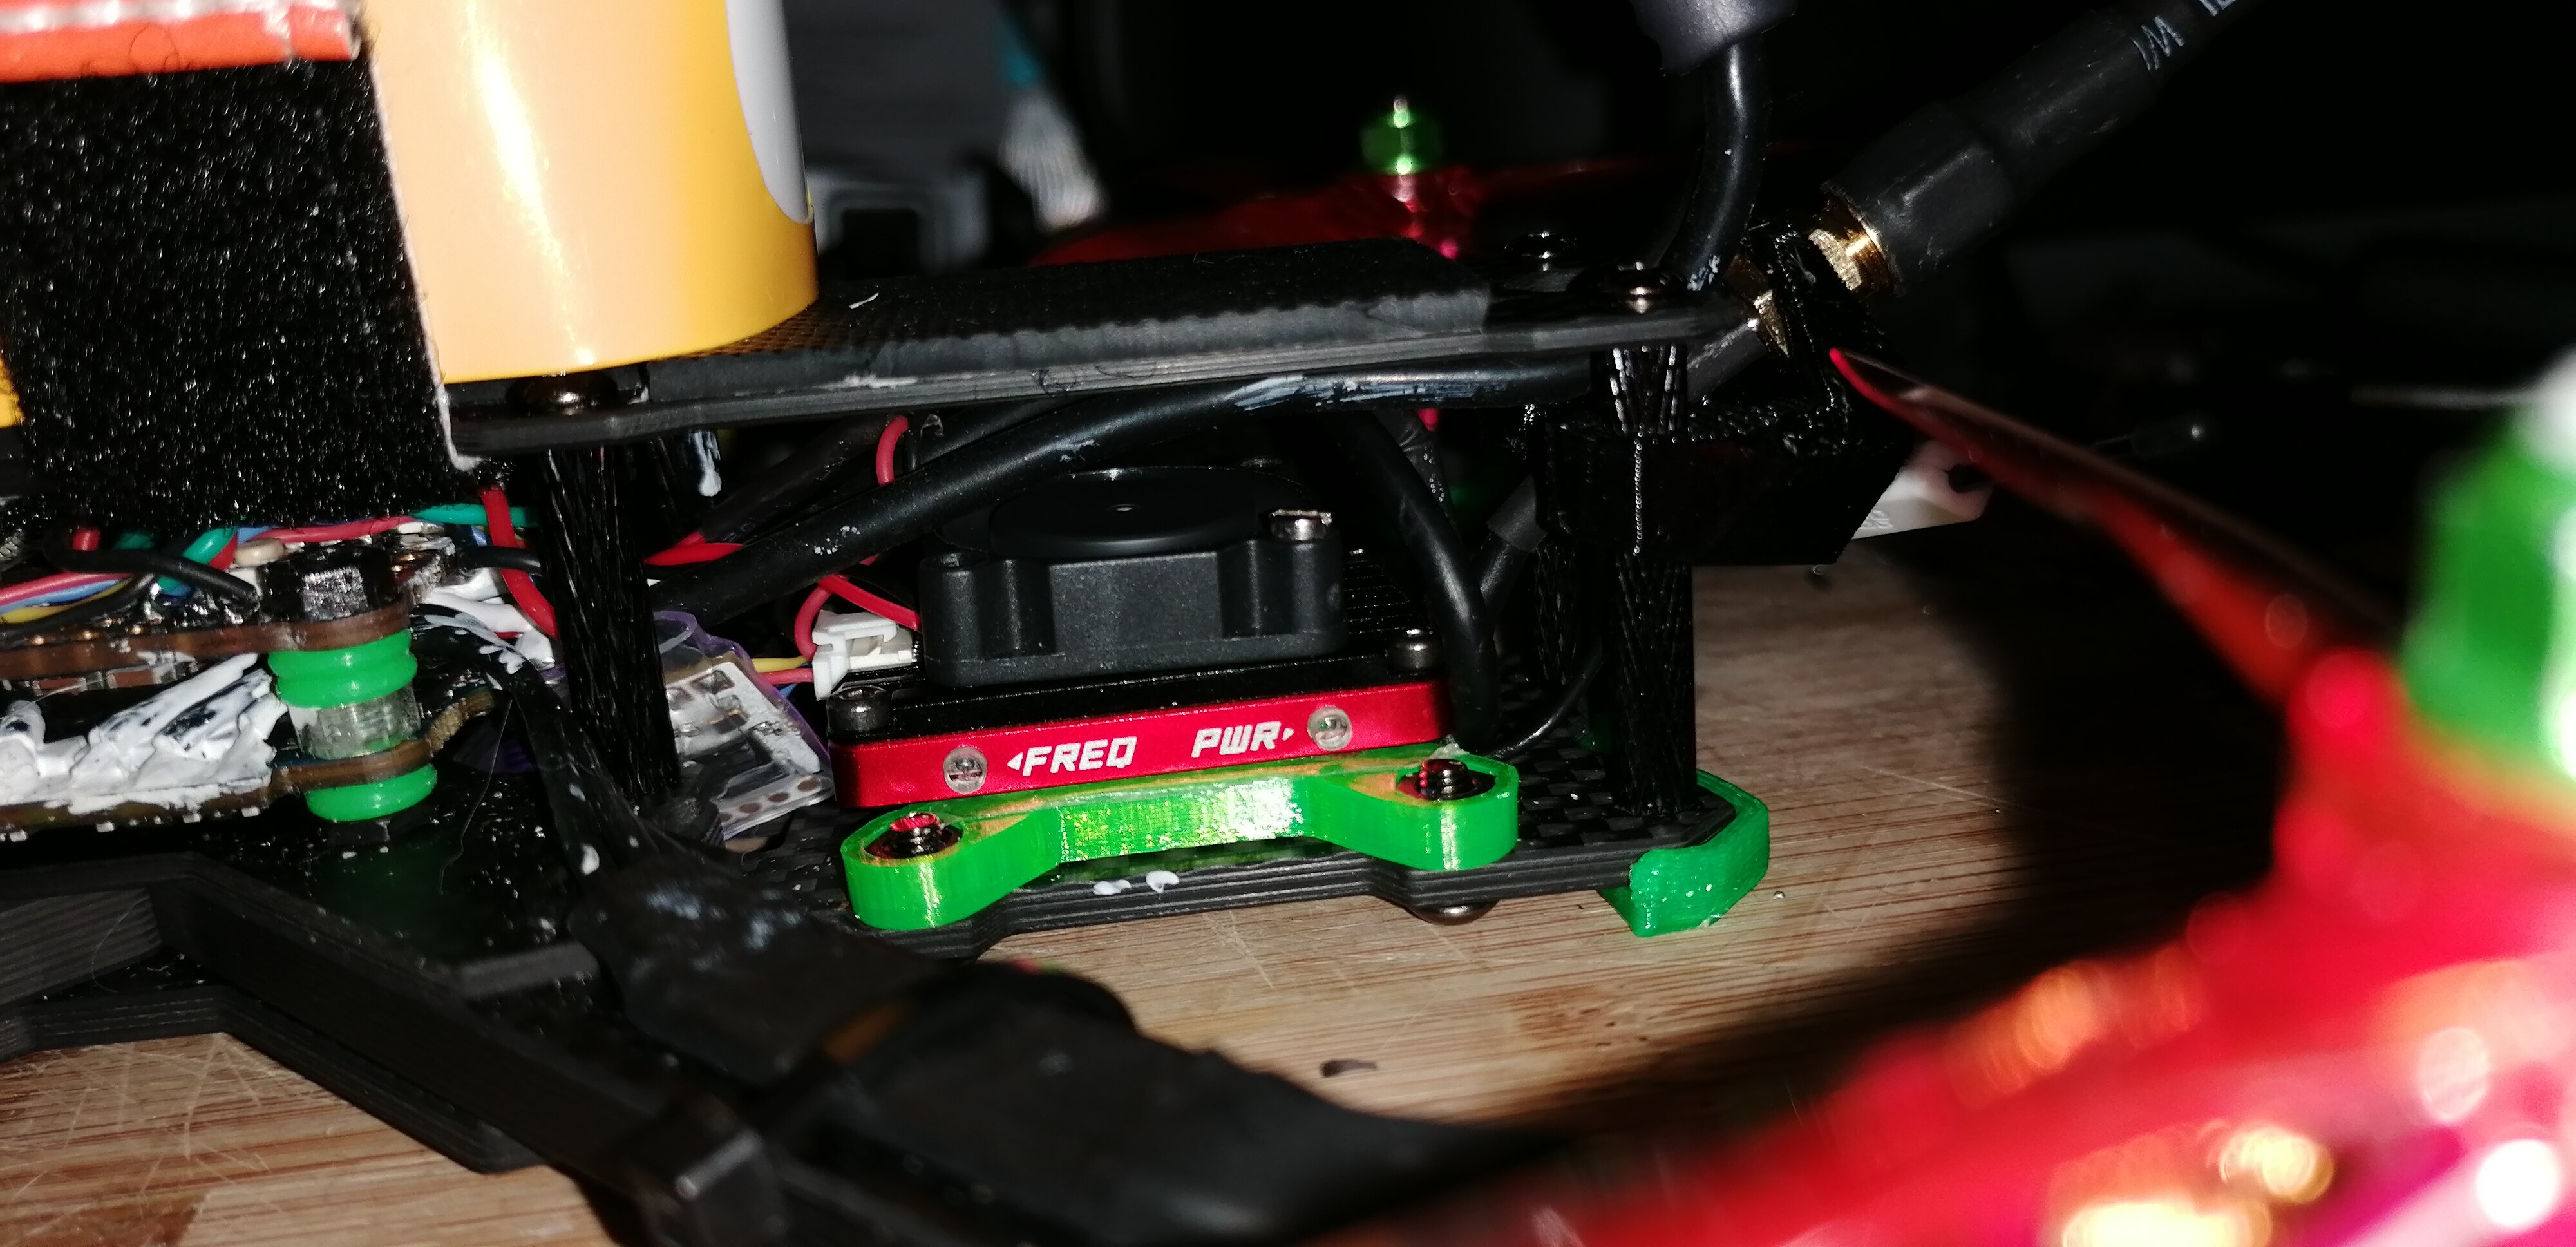
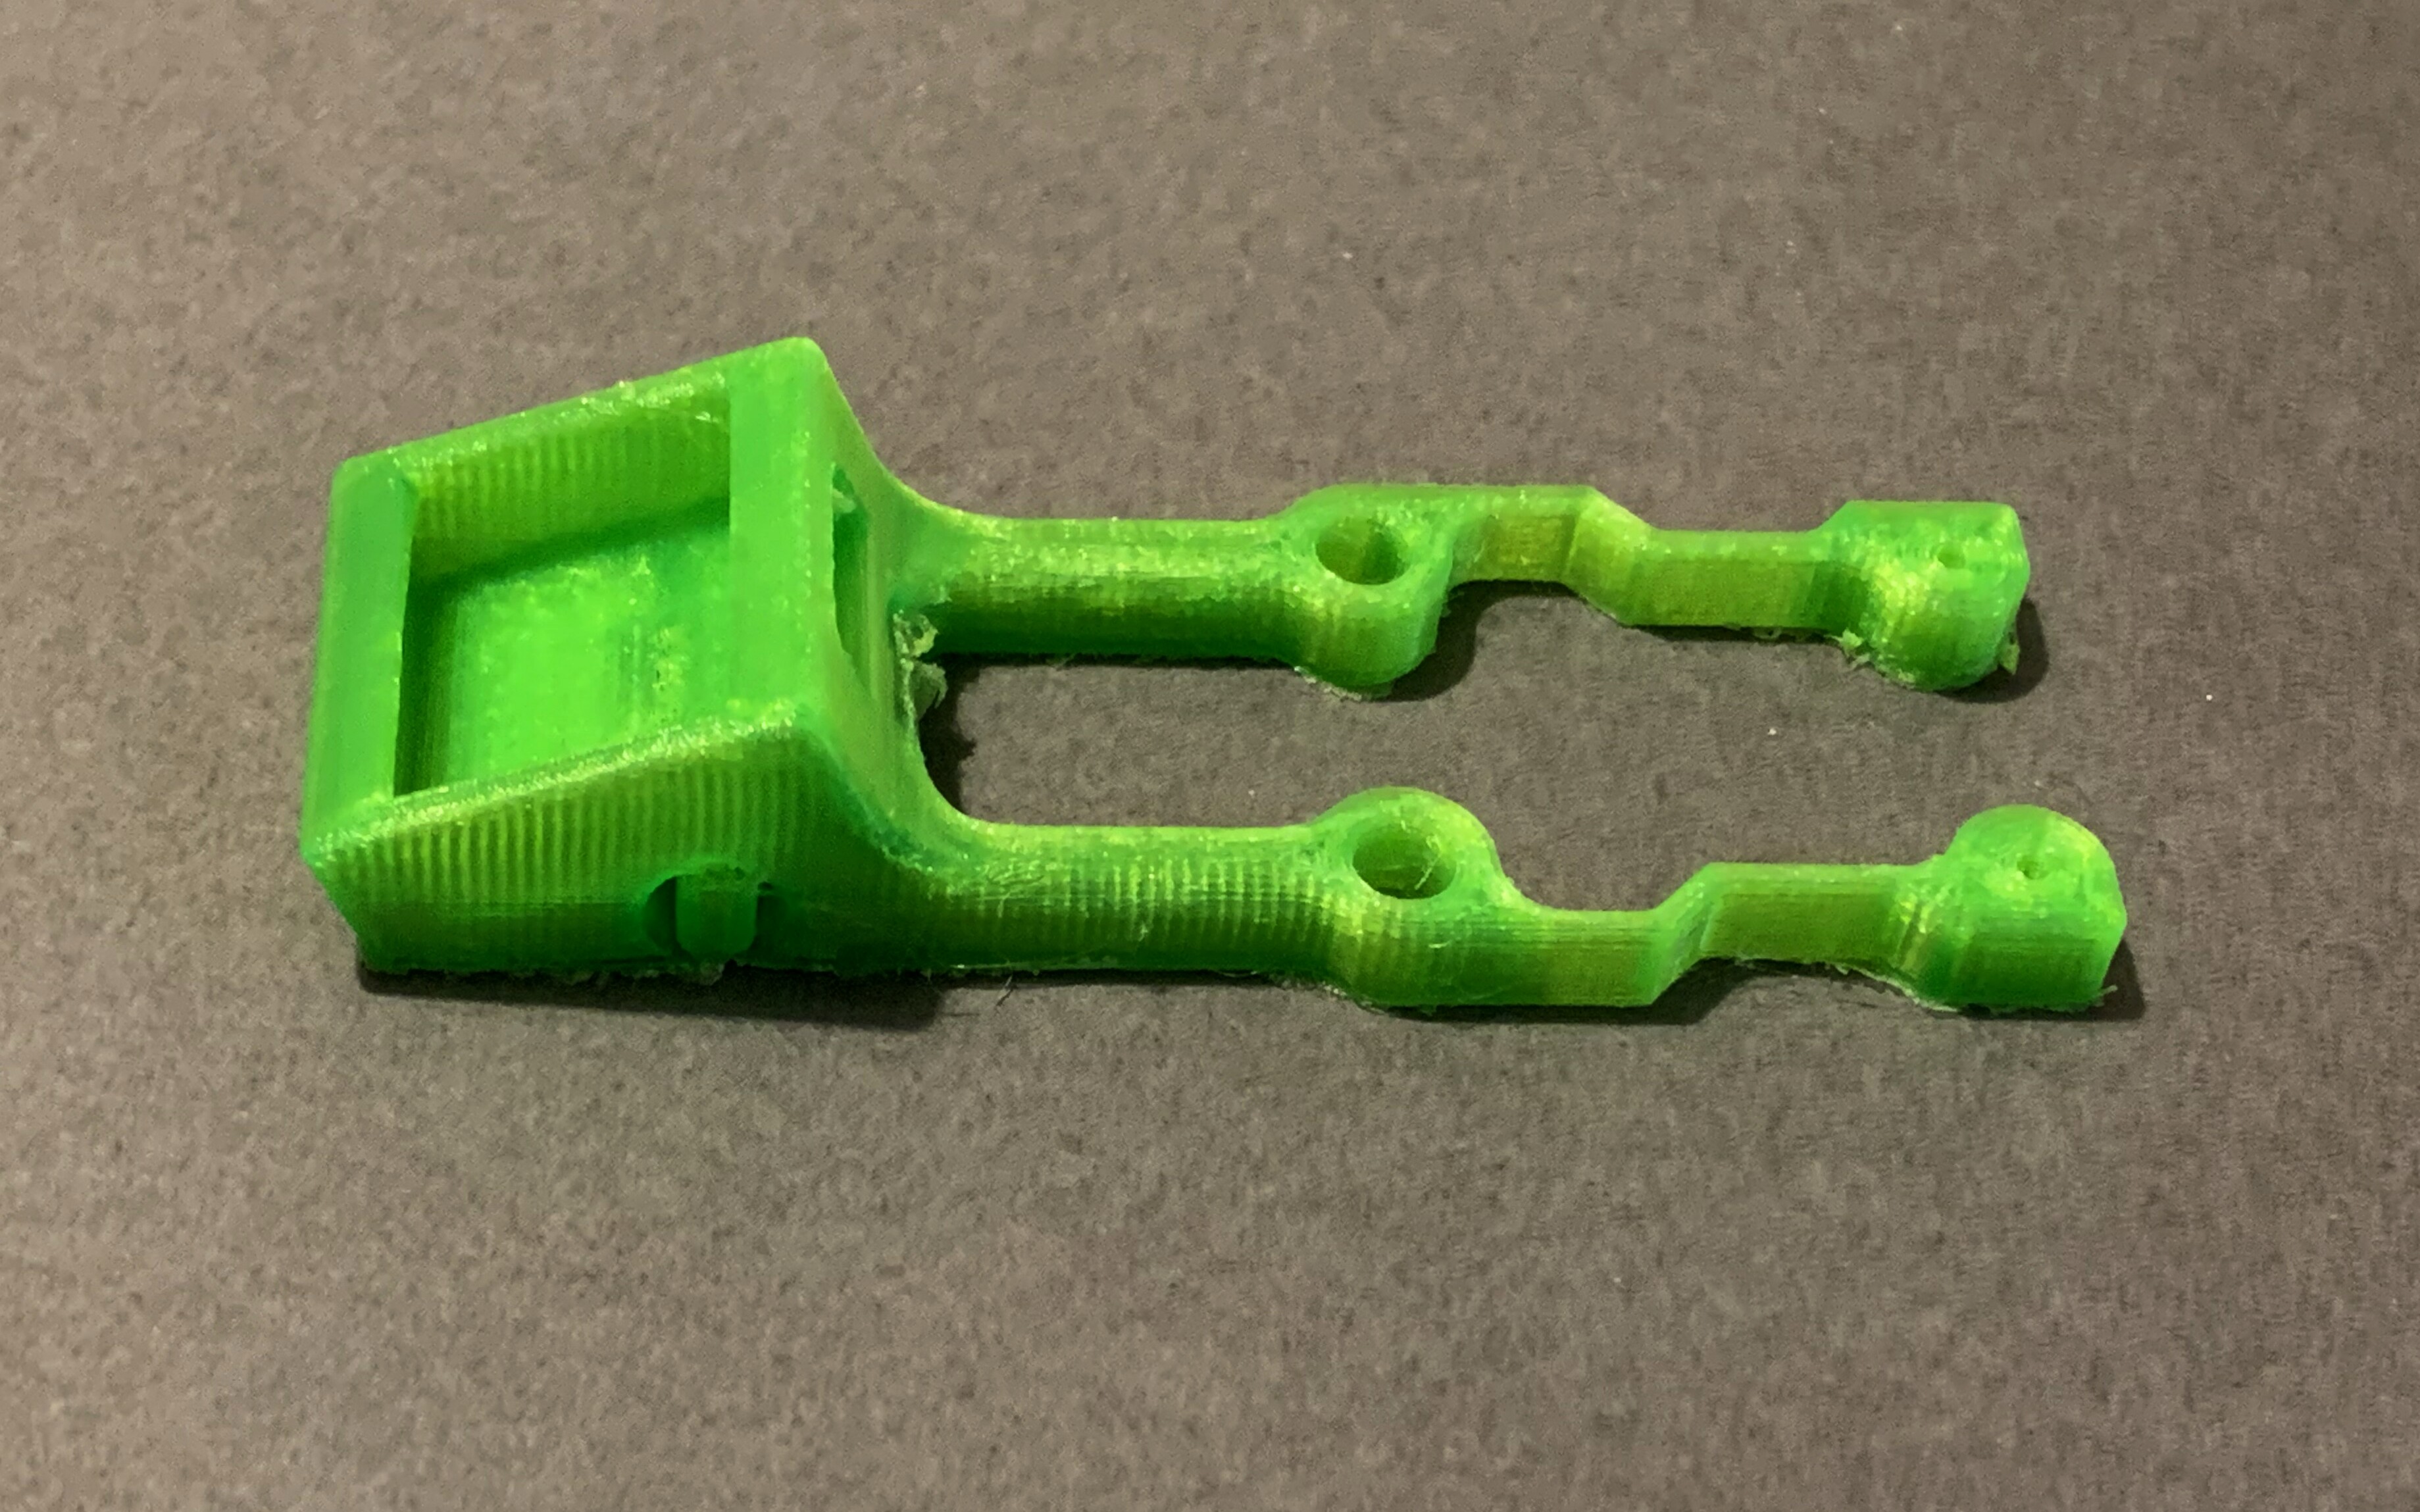
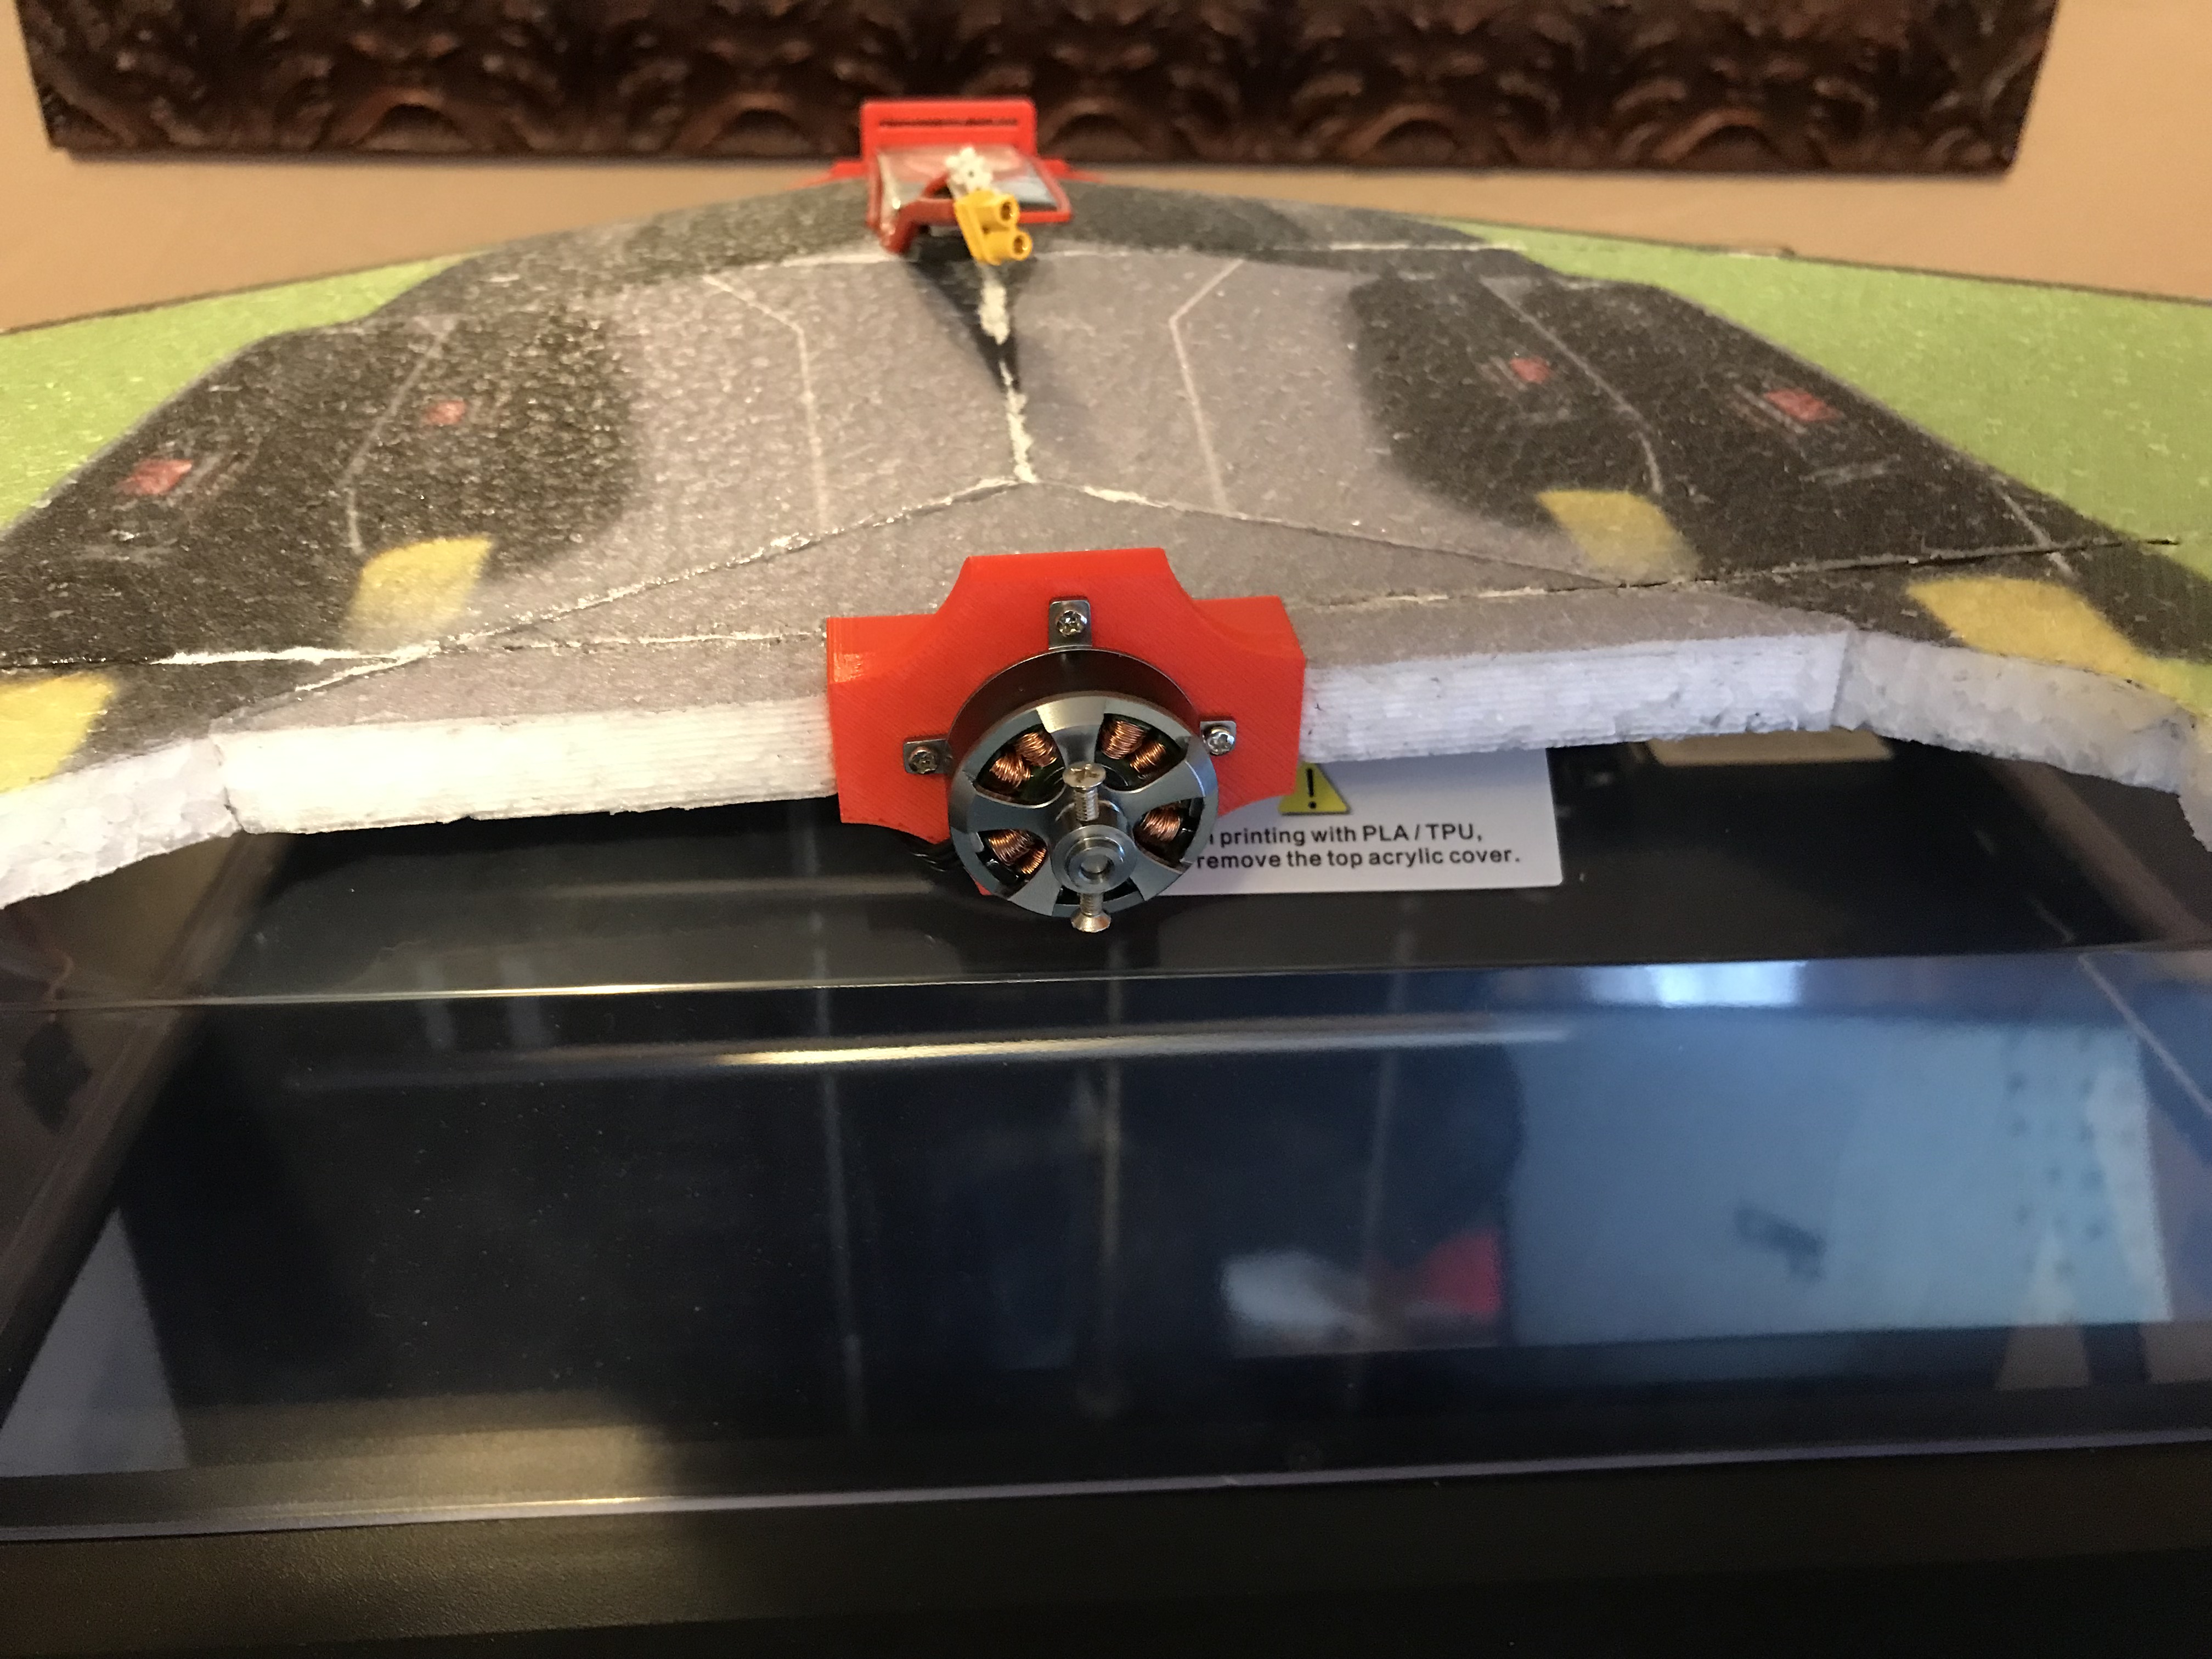
So, whilst ripping the Gecko apart trying to rebuild it I found the Rx antenna had broken off… uh-oh…

What had happened on that little crash is that the way I had jammed the RX board in gave no chance of any flex to the antenna lead and when the rear TPU antenna support flexed it pulled the antenna connection off… and this lead to the disaster.

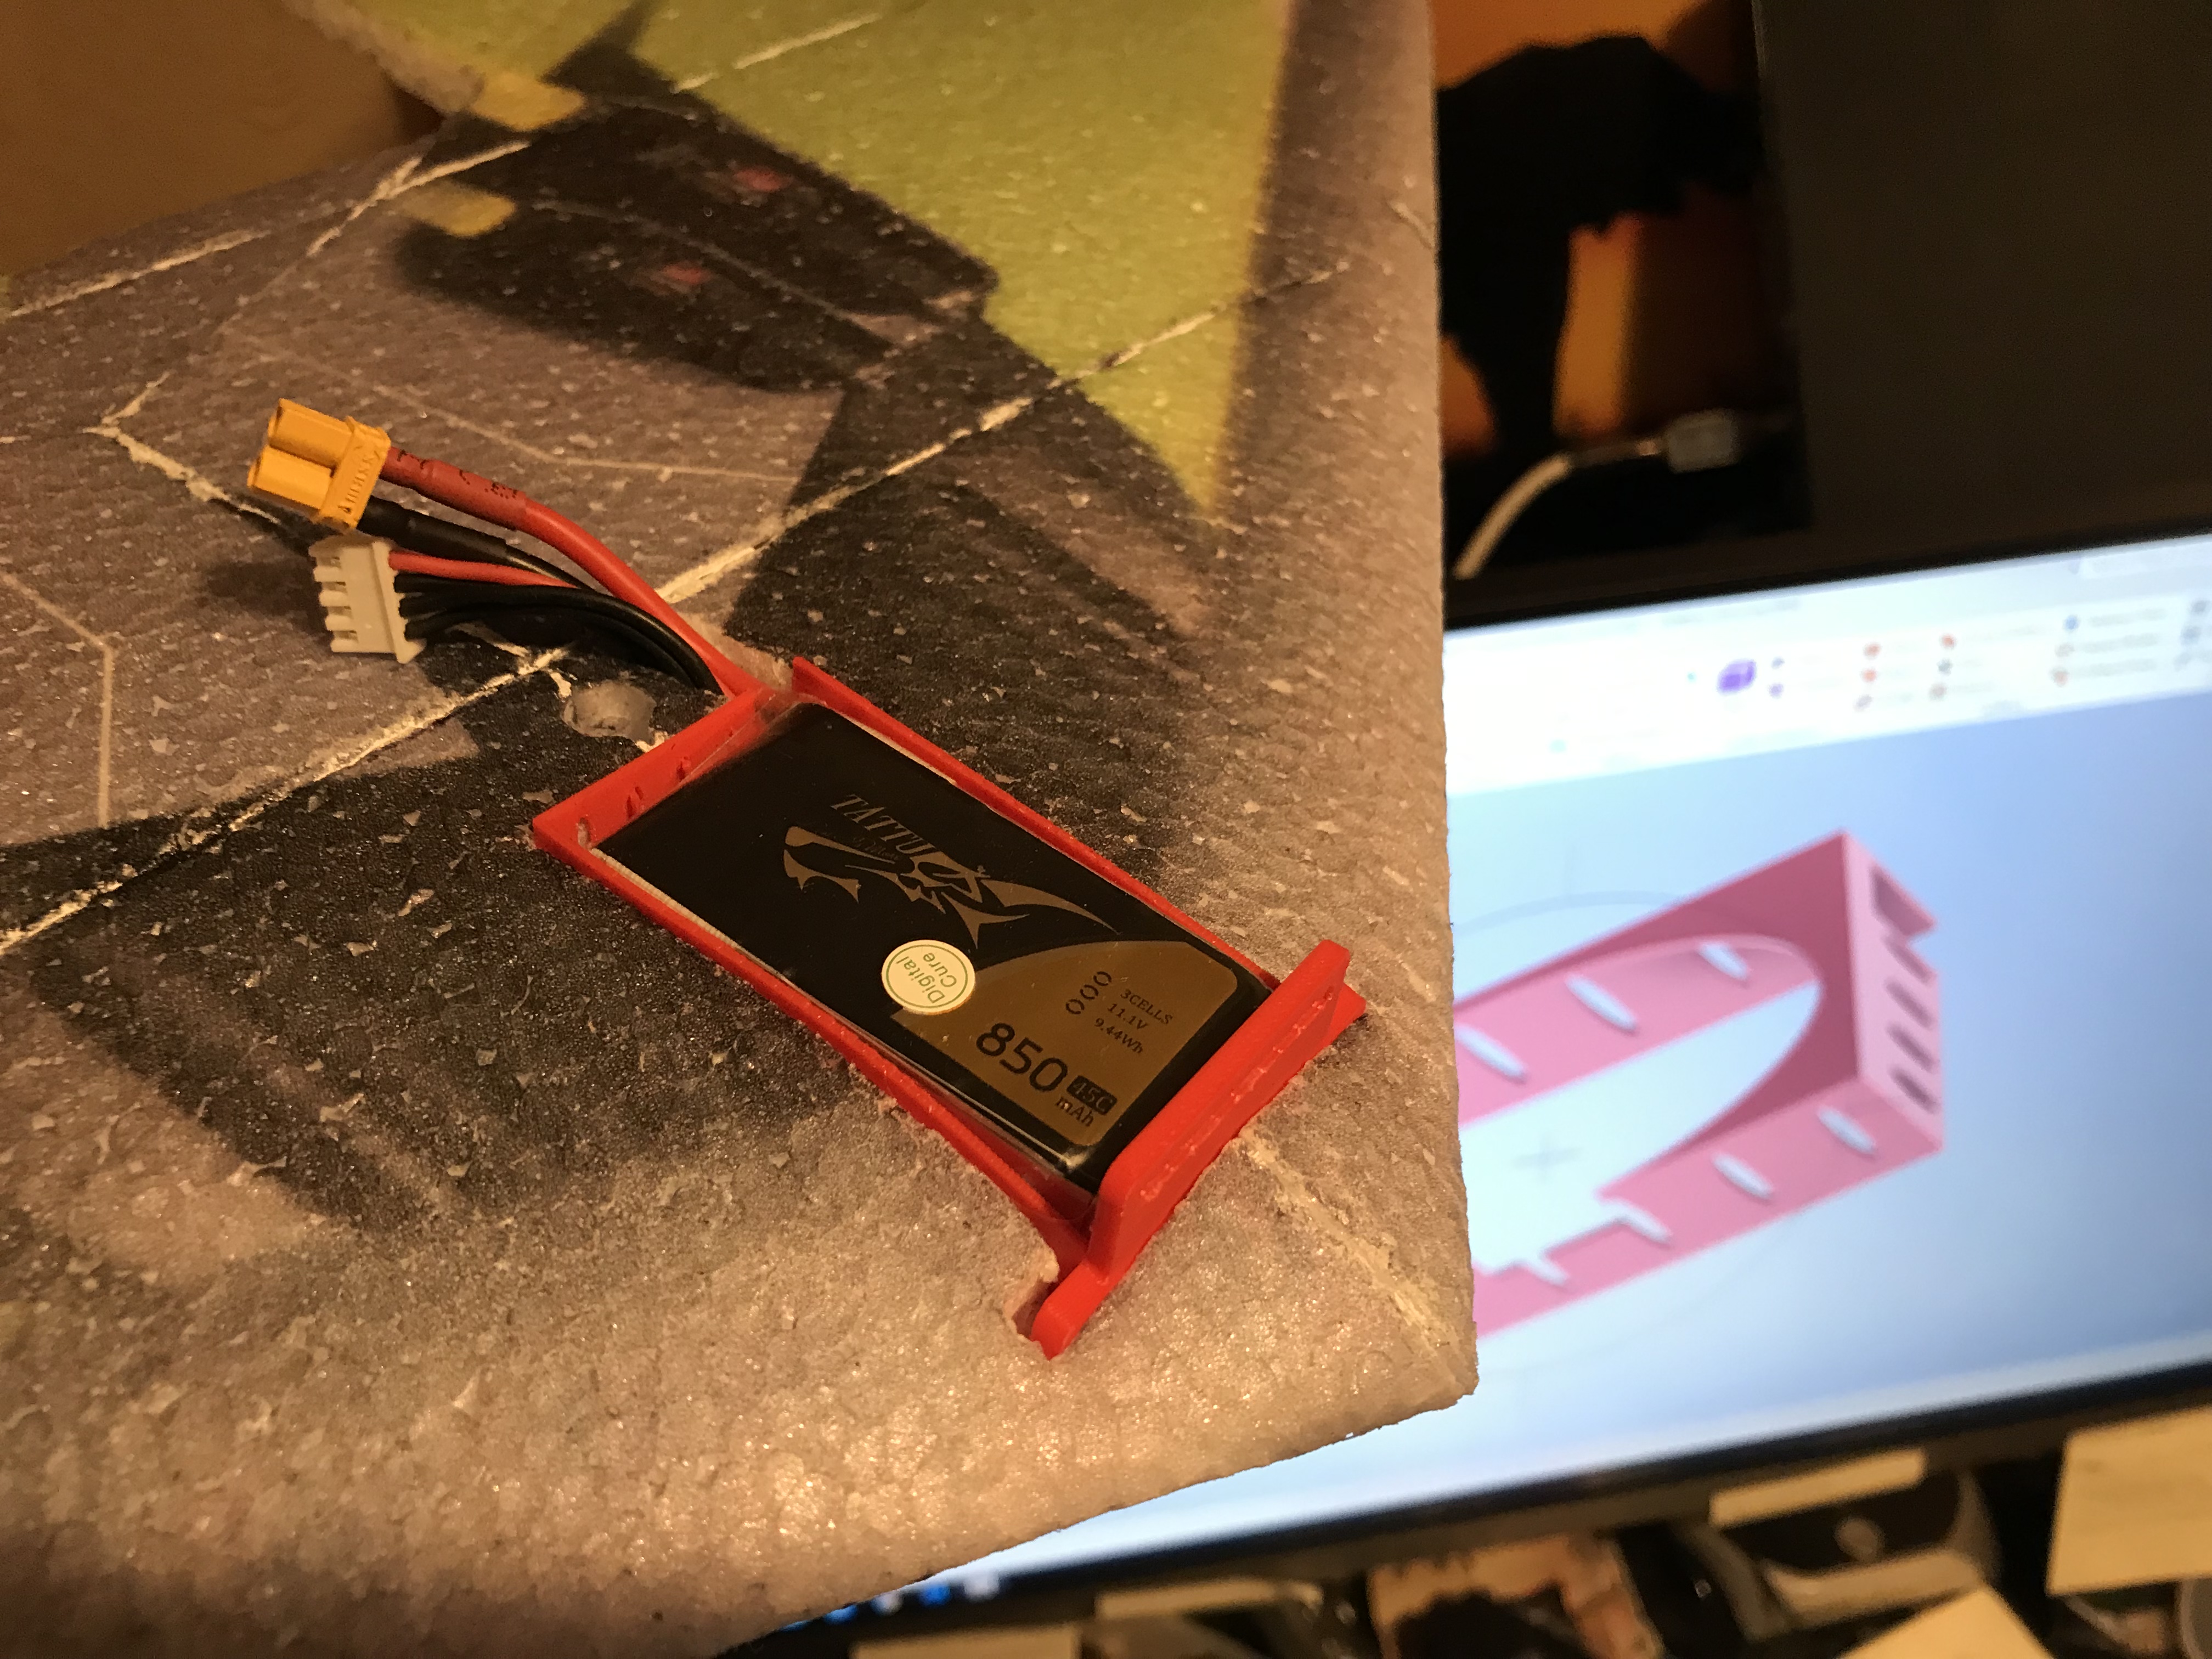
When fitting the T antenna to my 5" I have already by pure chance actually got a load of flex, but then there’s a lot more room in that quad…

So… I need to ensure there is flex in the antenna connection when I rebuild the gecko… though that will be fun. There’s not much room! Luckily the Happy model EP1 RX comes with spare antennas!

1 Like

Can you not use the ELRS RX with the built in ceramic antenna?

1 Like

That board takes more room because of the built in antenna. Its tight because of the foxeer mix as well.
Anyway I actually want good range. I did have one of those on and I didn’t feel it was very good for range.

What I may do is remove the rather large vtx and replace it with a smaller one that I have. I don’t think that vtx is working too well. It’s 600mW and I have one less than half the size at 400mW. I just need a new pigtail for it.

The reduction in size will give the space I need.

1 Like

Gecko… laid out with the electronics. ESC and Motors in place. I just need some longer M2 screws as I’m switching from nylon standoffs of the original build to the long screw method of mounting which I find less fiddly.

Also I’m going to replace the VTX on the right with the little Eachine nano V3 on the bottom left, I have a UFL to SMA pigtail on order.

1 Like

So… wired all back together… Added new VTX… Power on… Current spike! luckily I was using my current limiting power supply

Thought I saw smoke from a motor… but ESC seemed to be doing stuff… thought I saw smoke from another motor.

Unsoldered motors from ESC… soldered each back on in turn. All made tones, no smoke.

Tried VTX… nothing… wtf… checked voltage to VTX…

12V…

ARGH!!! The new VTX is a 5V one and now is dead as a dodo… The old one was attached to Vbat, but the wire covered up the silk screen so I didn’t notice… fool!

Plugged FC back into ESC, without broken VTX… got all motors running.

Went and got a beer and watched telly… Munich : The Edge of War… pretty good.

As I watched something terrible occurred to me. The VTX just passed the input voltage to the camera… The Foxeer Mix, not just an analog camera. That better take 12V! Looked at specs, I think it does.

To check, wired camera to 5V on FC… plugged in… waved at camera. Took SD card and loaded into PC. First time, nothing… second time, my idiot face glared back… phew!

Thought I’d quickly check the VTX again. Wired 5V direct from power supply, nothing… it really is dead.

So, back to FC… wired in… nothing… high current… wtf… what have I broken now!

So, removed all motors… ESC still drawing high current… oh god… I couldn’t see any burned out components though… hmmm…

Then glanced at power supply… idiot… I’d put the terminals back in swapped around when I had given up with the VTX…

Put the terminals back in correctly… attached ESC… low current.

Soldered motors back onto ESC one after the other… all worked…

Fastened FC back on… phew… all 5 tones… though it had me worried because the FC tones took several seconds to chime.

Tentatively powered up each motor with Betaflight… all work…

So… only thing broken is the new VTX…

Went on YourFPV and ordered one first class. the HGLRC Zeus nano (which actually comes with a pigtail and antenna!)

Decided to write this post as it’s late now and I feel like an idiot.

5 Likes

Sounds like a normal text book rebuild to me

3 Likes

Easily done. And as we become more proficient at buggering things up we find more ingenious ways to justify upgrades.

I did something very similar just over a week ago which saw the demise of a vTx and possible compromise of the flight controller. The end result was to swap the mini 411 flight controller for a H7 flight controller, and the cheap AKK vTx for a much better quality Rush Tank Solo.

1 Like

Got onto the PC and 3D printer today and knocked this out, battery housing which will also have a lid onto which the camera and Vtx will be mounted.
MK1

2 Likes

Ah forgot. Pm me your address if you want this aio fpv cam

2 Likes

Will do….:+1:

Gecko now fixed.

I’ve made sure that both antenna leads have a bit of flex to them…

I just need to print some new motor wire guards… The printer is busy with other bits right now.

Today’s little job has been to fit a cooling fan to my 2Watt capable VTx, the RushFPV Solo Tank, an add on that it definitely needs.

Even on the 25mW setting the heat sink reaches a temp of 60C when sat on the bench. With the fan running this is reduced to around 25C.

The fan has mounting holes spaced at 20mm so would also be ideal for a mini stack.

The fans are £7.99 for four from Amazon Prime.

Mounted to the VTx

And within the iFlight Titan frame.

3 Likes

Nice. Do the screws just grab into the gaps in the heatsink?

And presumably, you just power it from a spare 5V pad on the FC somewhere?

The heatsink on the VTx has the holes pretapped to accept a fan with 20mm mounting points. Power is supplied from the 5Volt output reserved for a camera, but as I’m powering the camera from the FC it made the wiring simpler and neater.

2 Likes

Fresh off the printer - GPS mount for my Evoque

4 Likes

Motor mount for the Zorro…

1 Like

That’s a nice quality print :+1: 
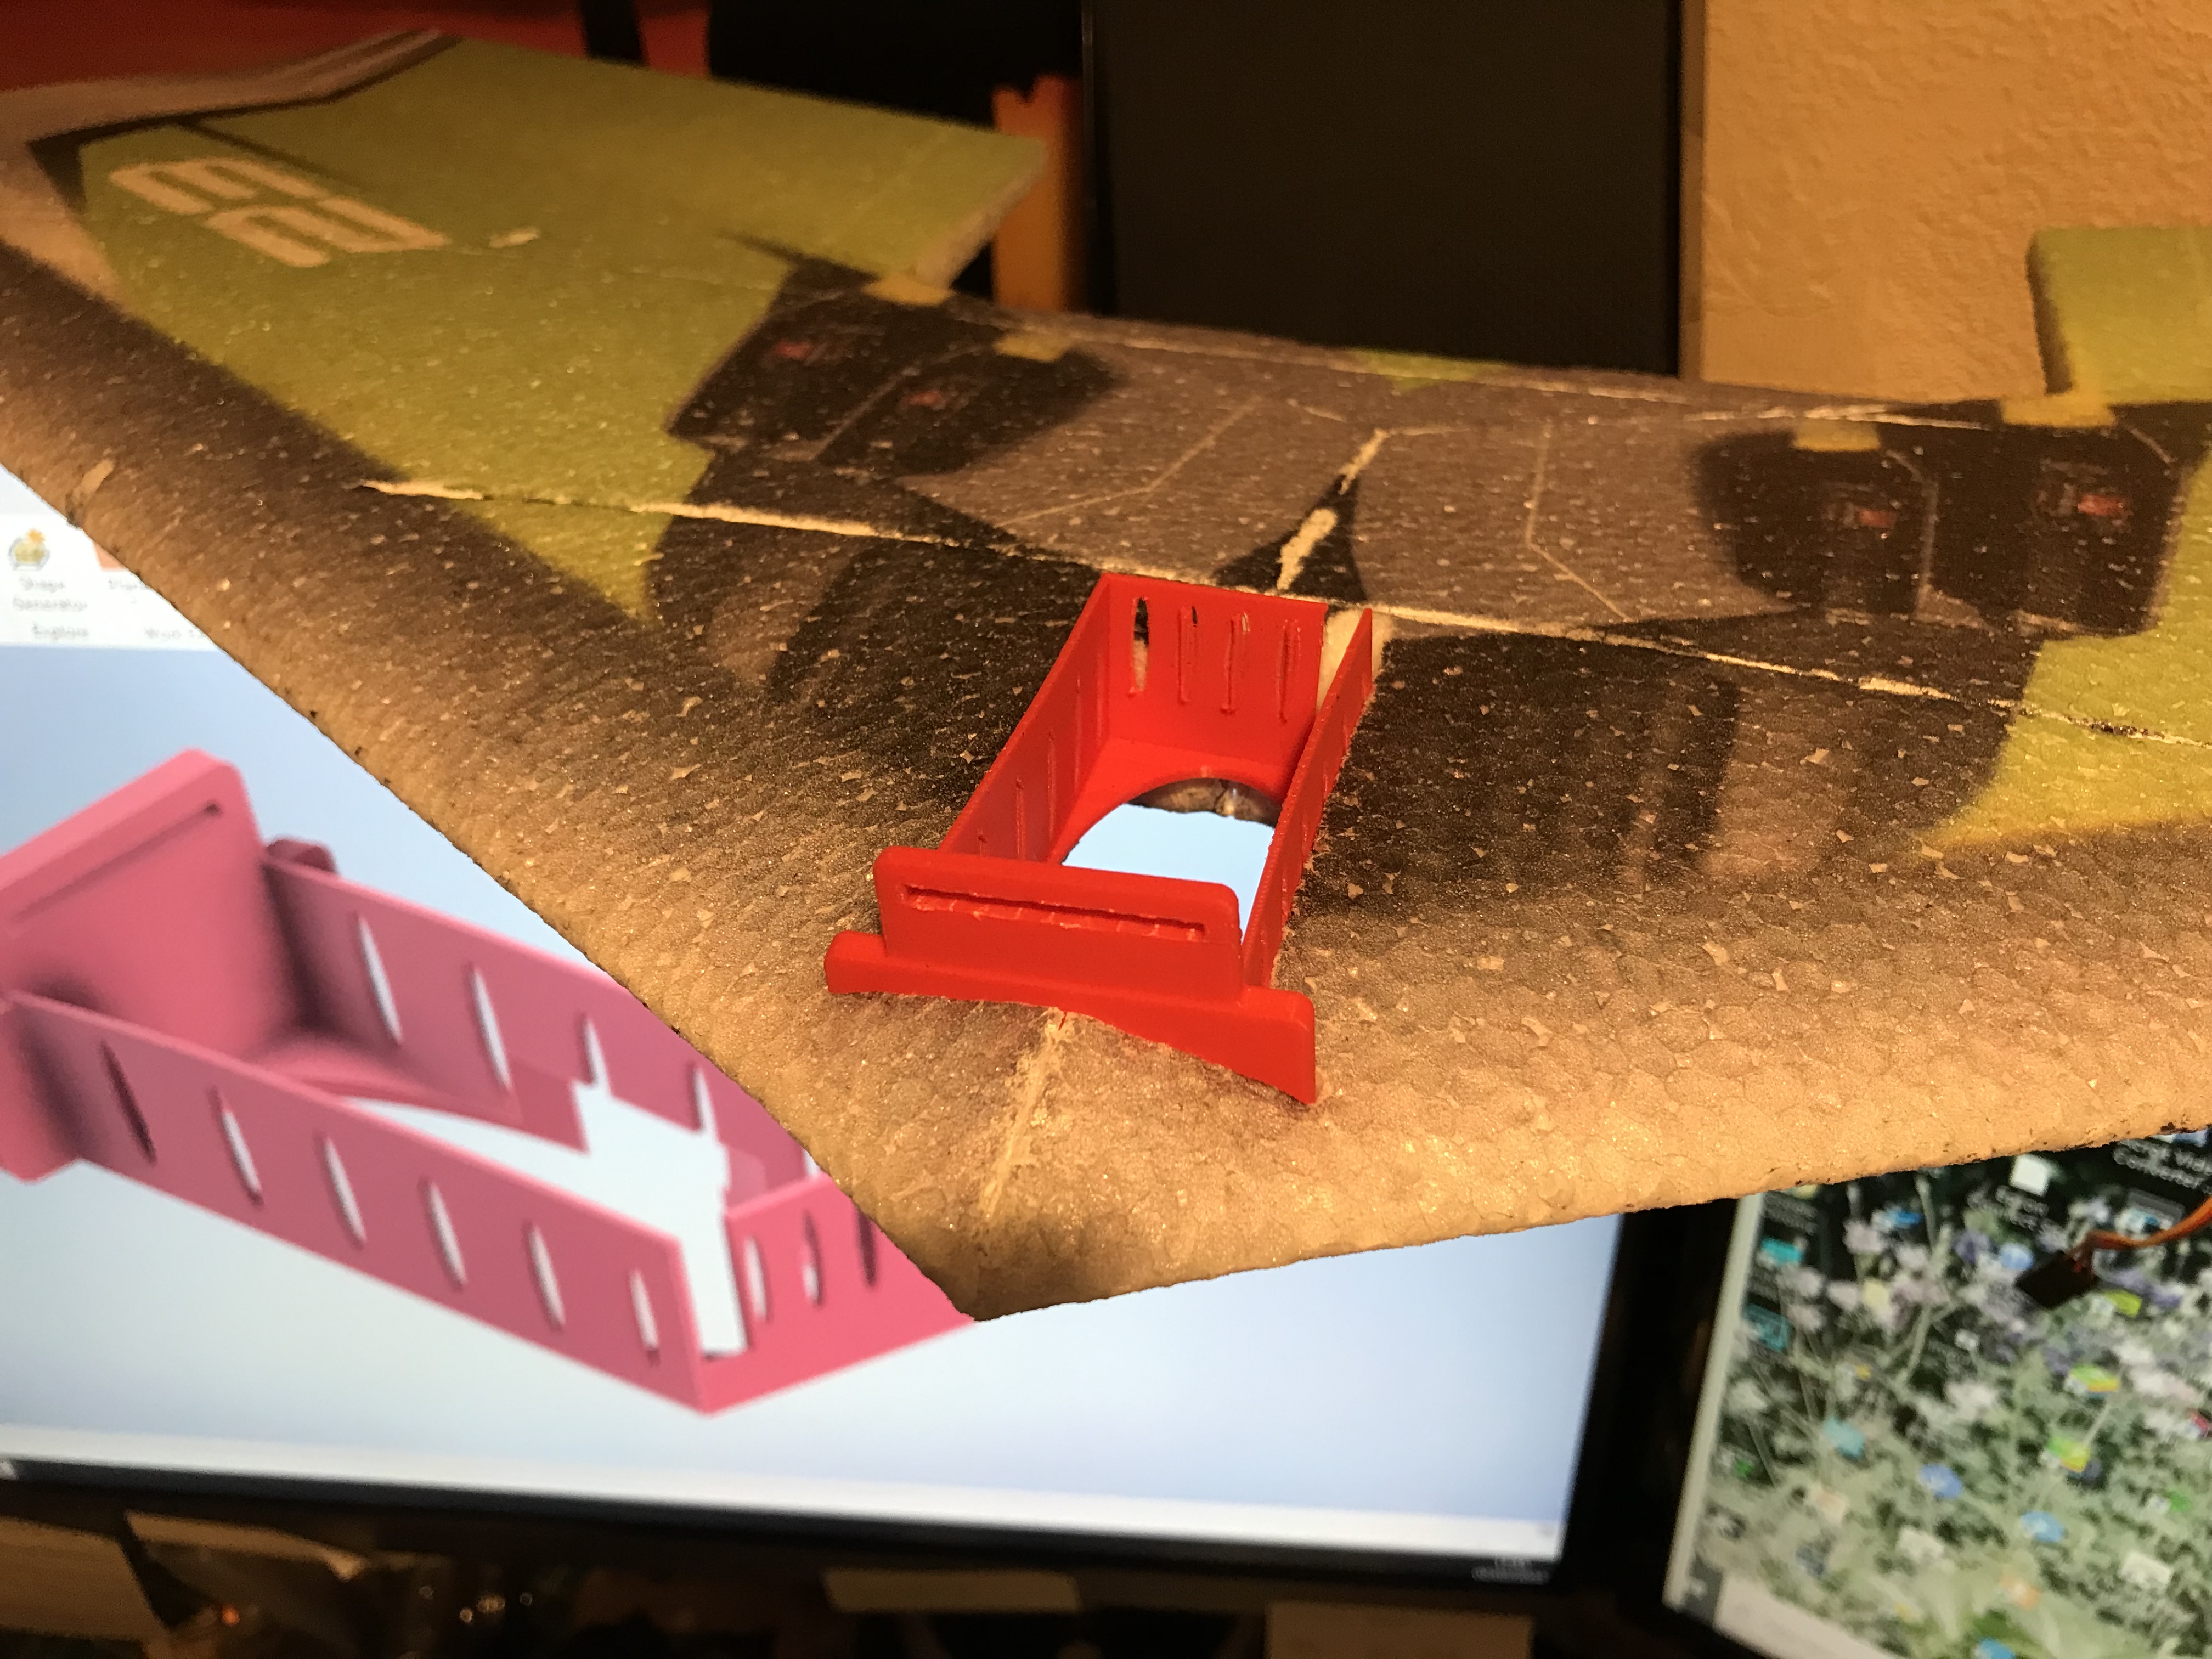
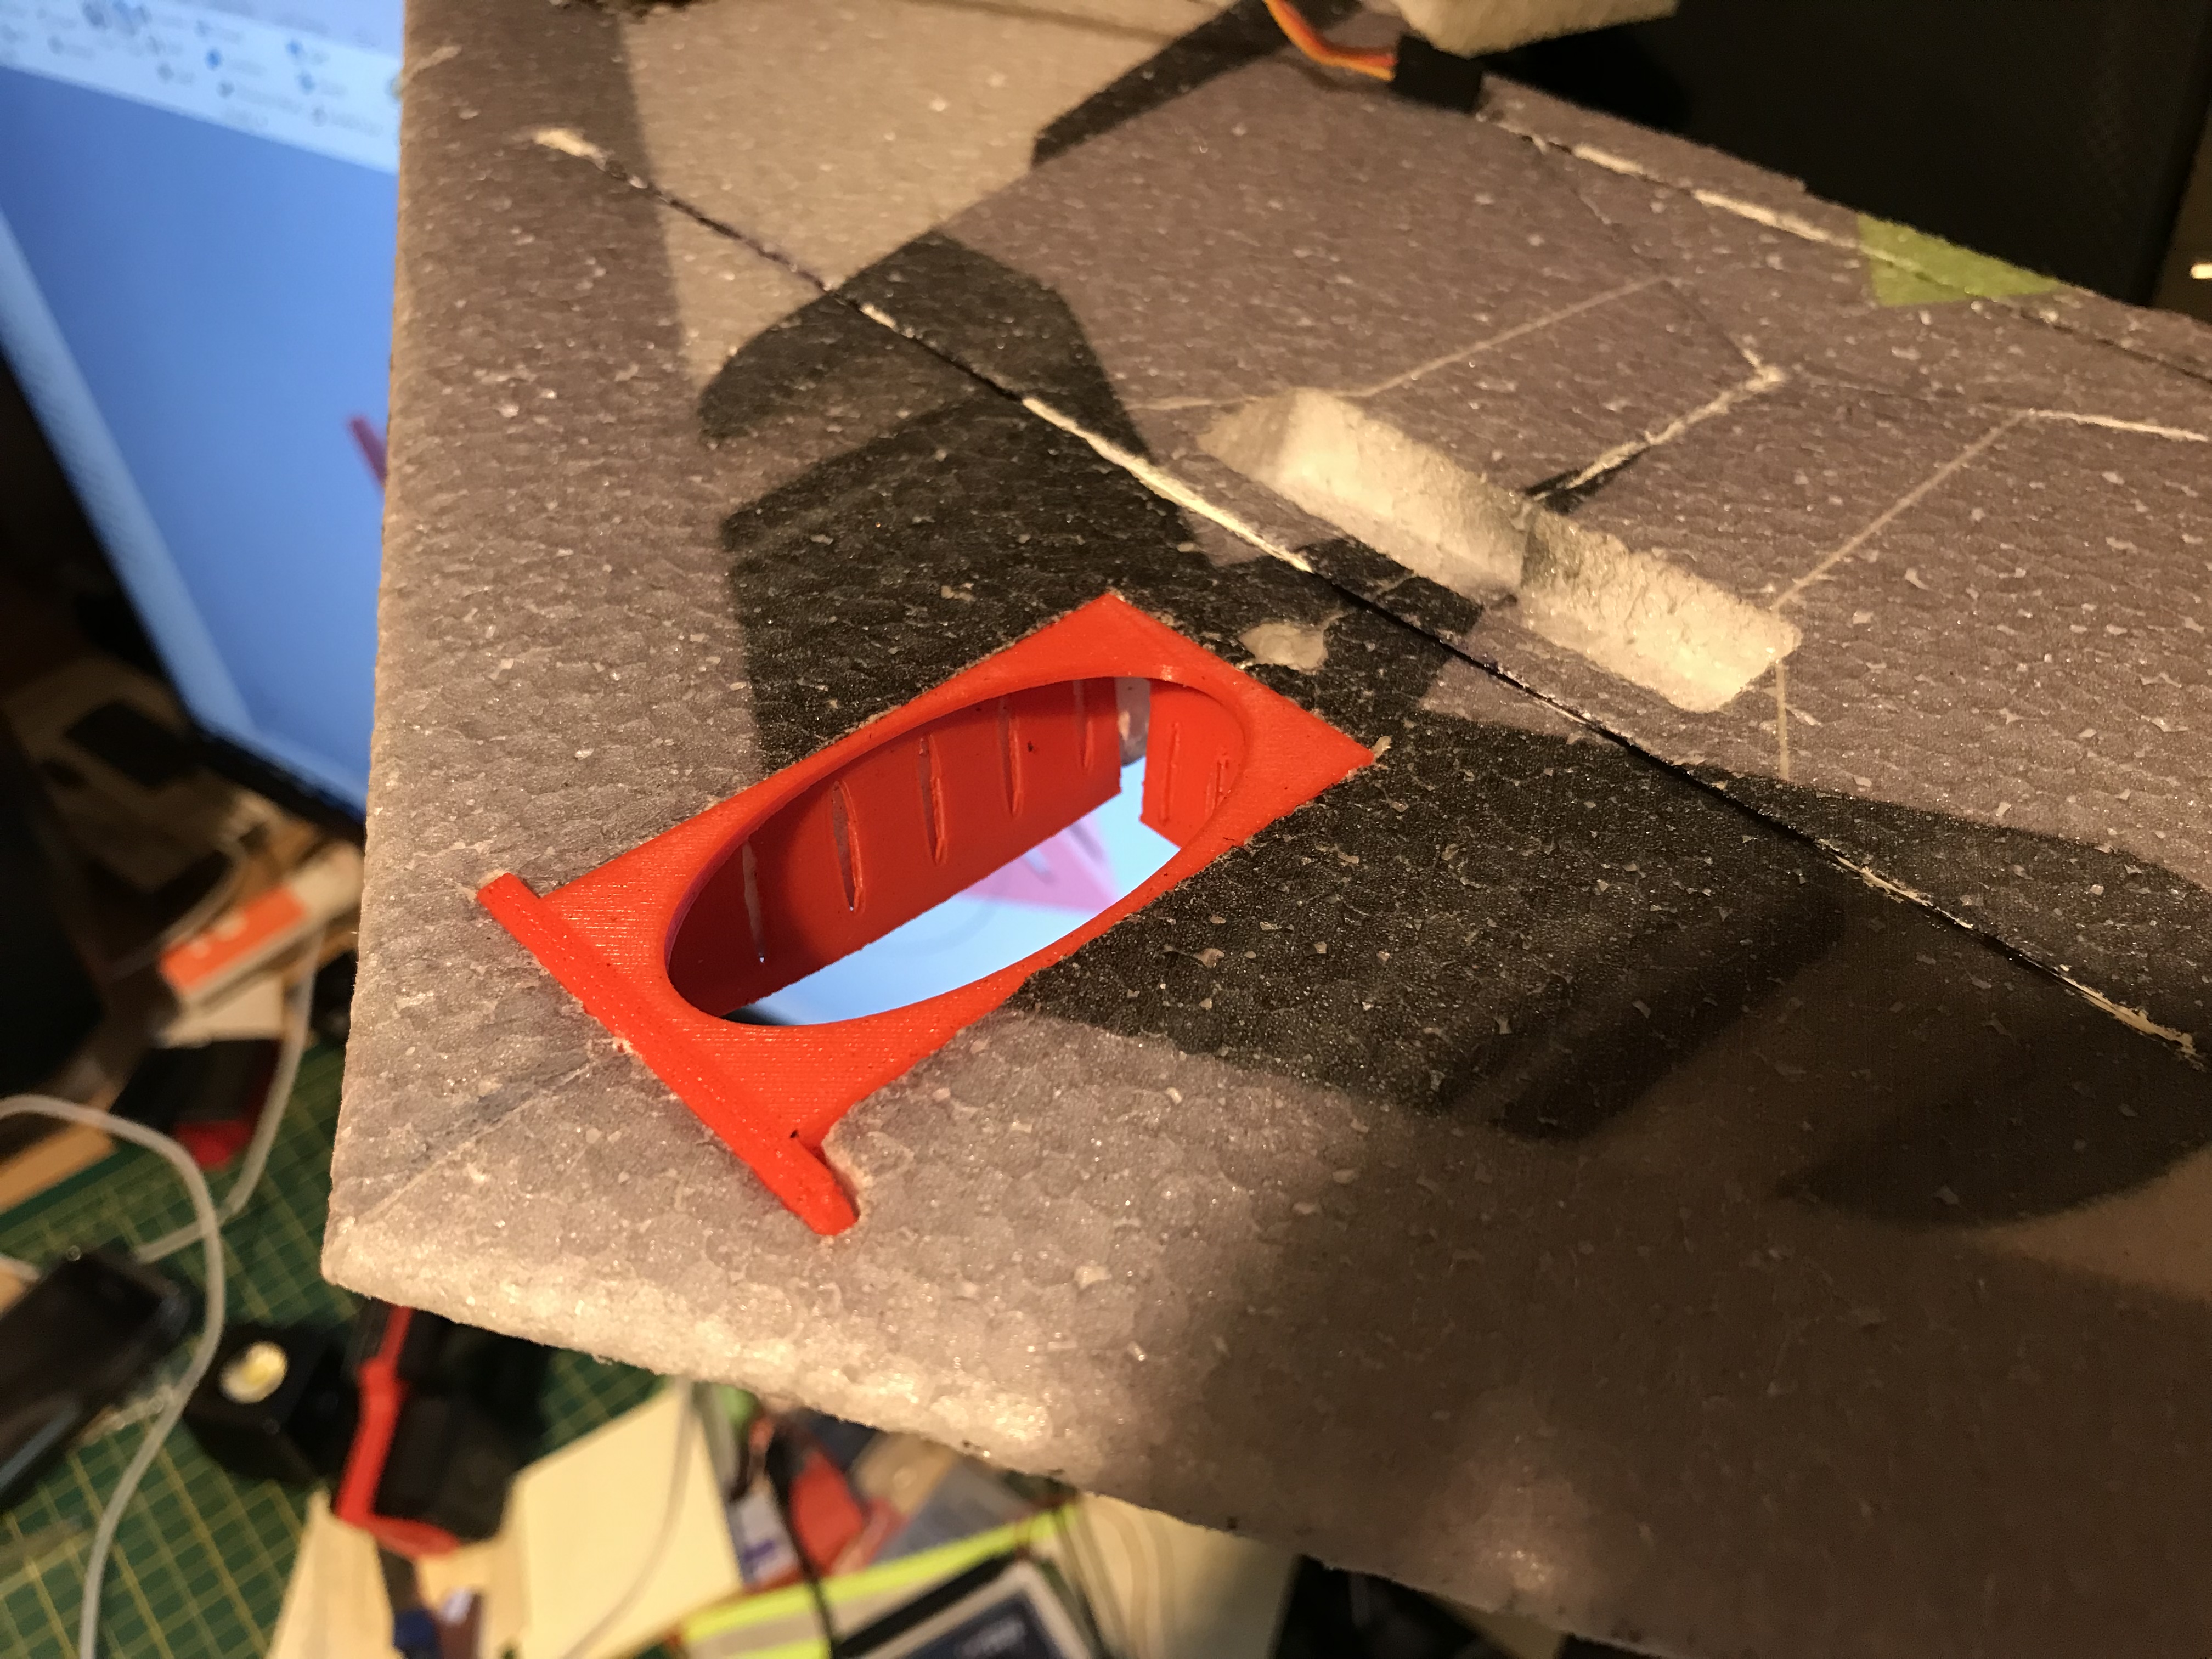
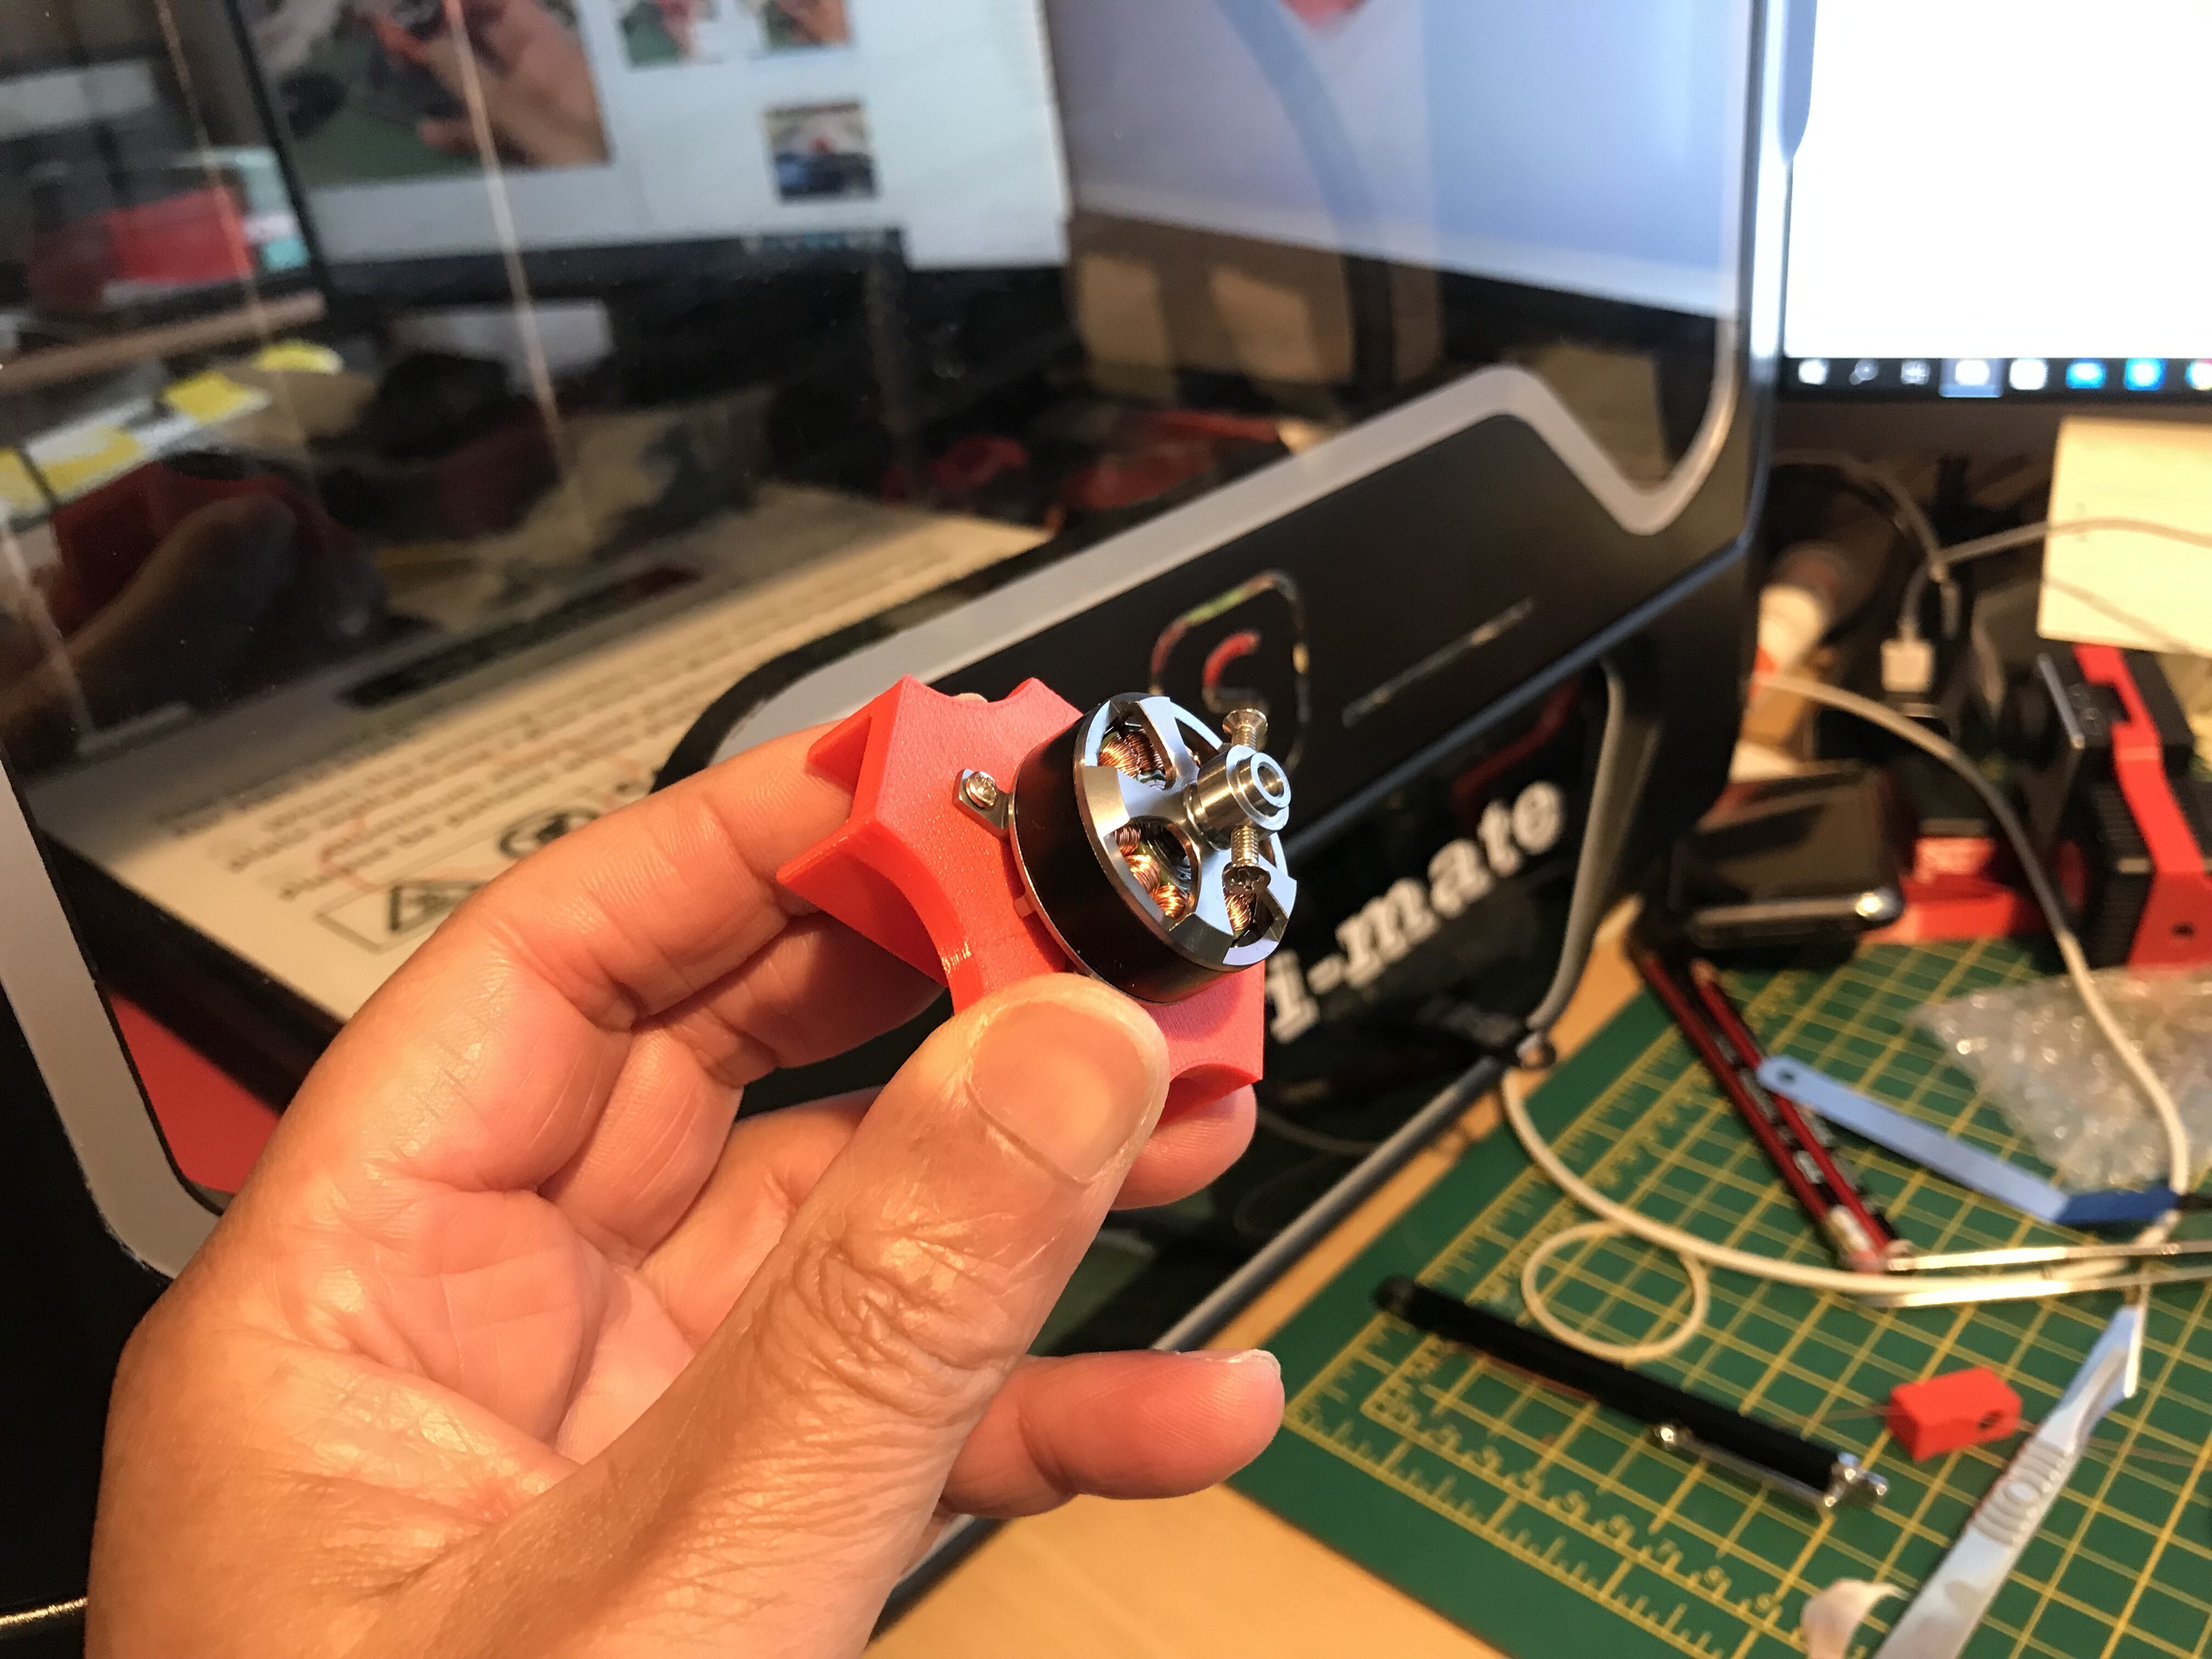
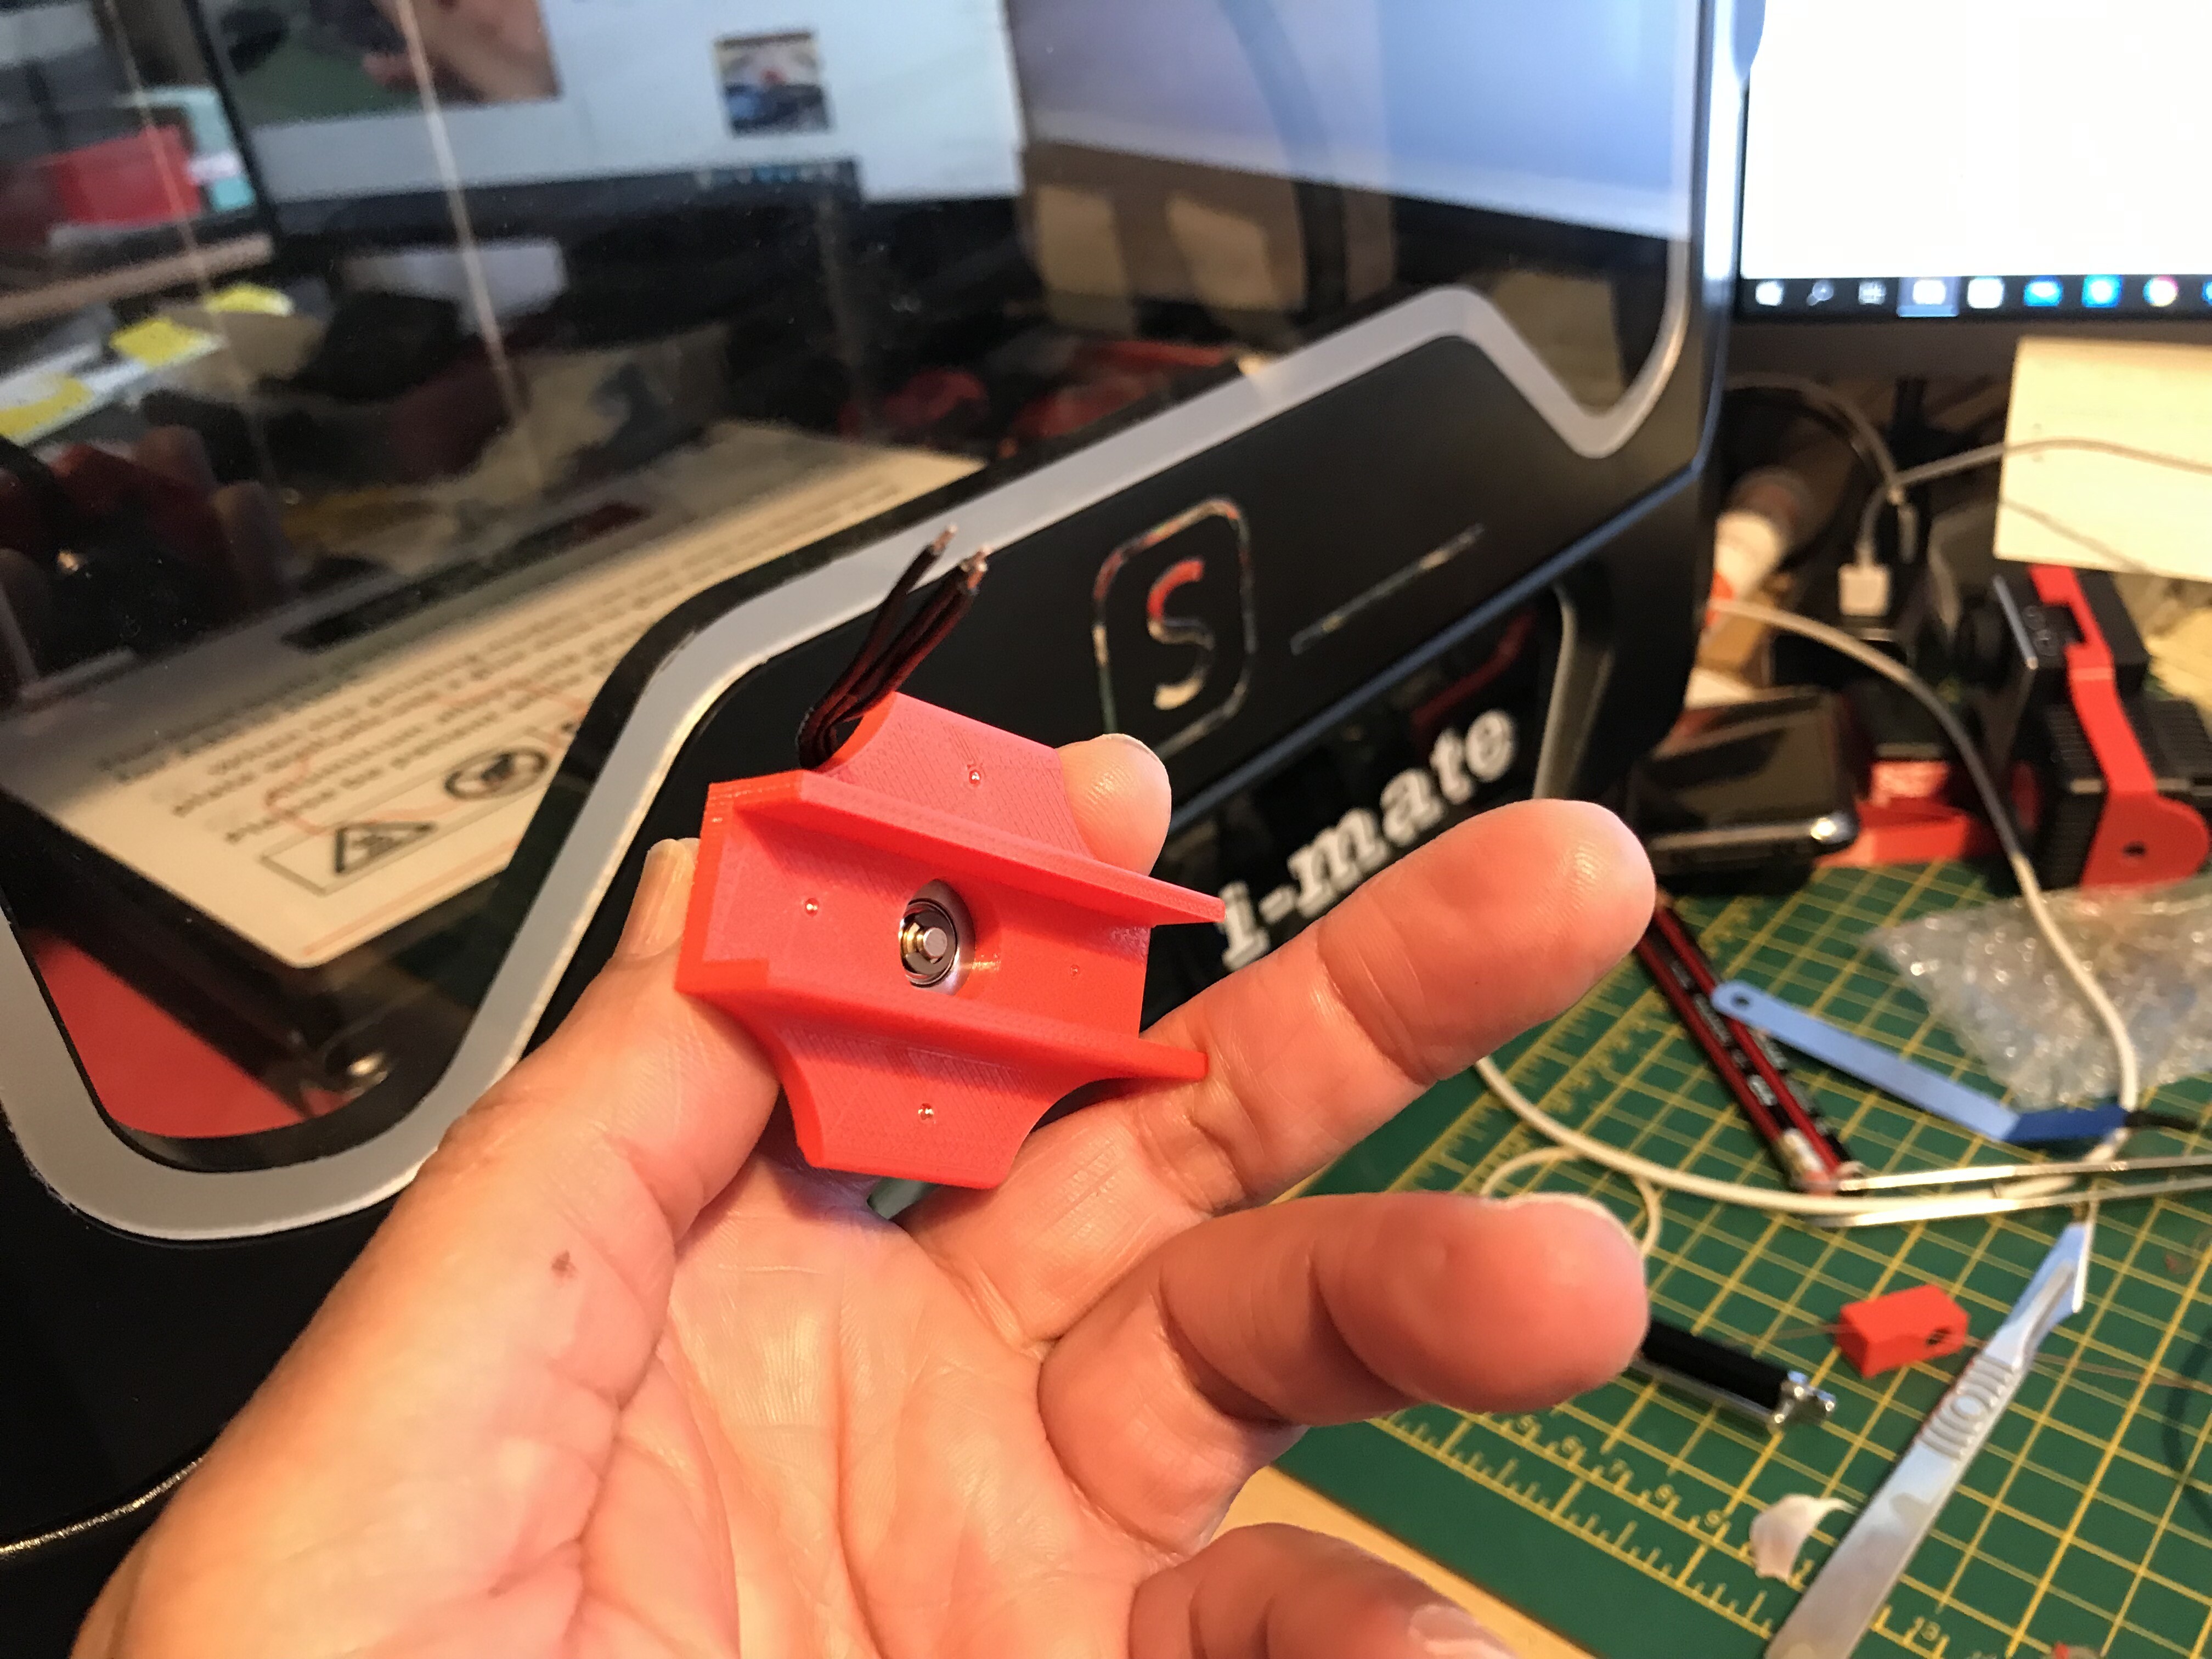
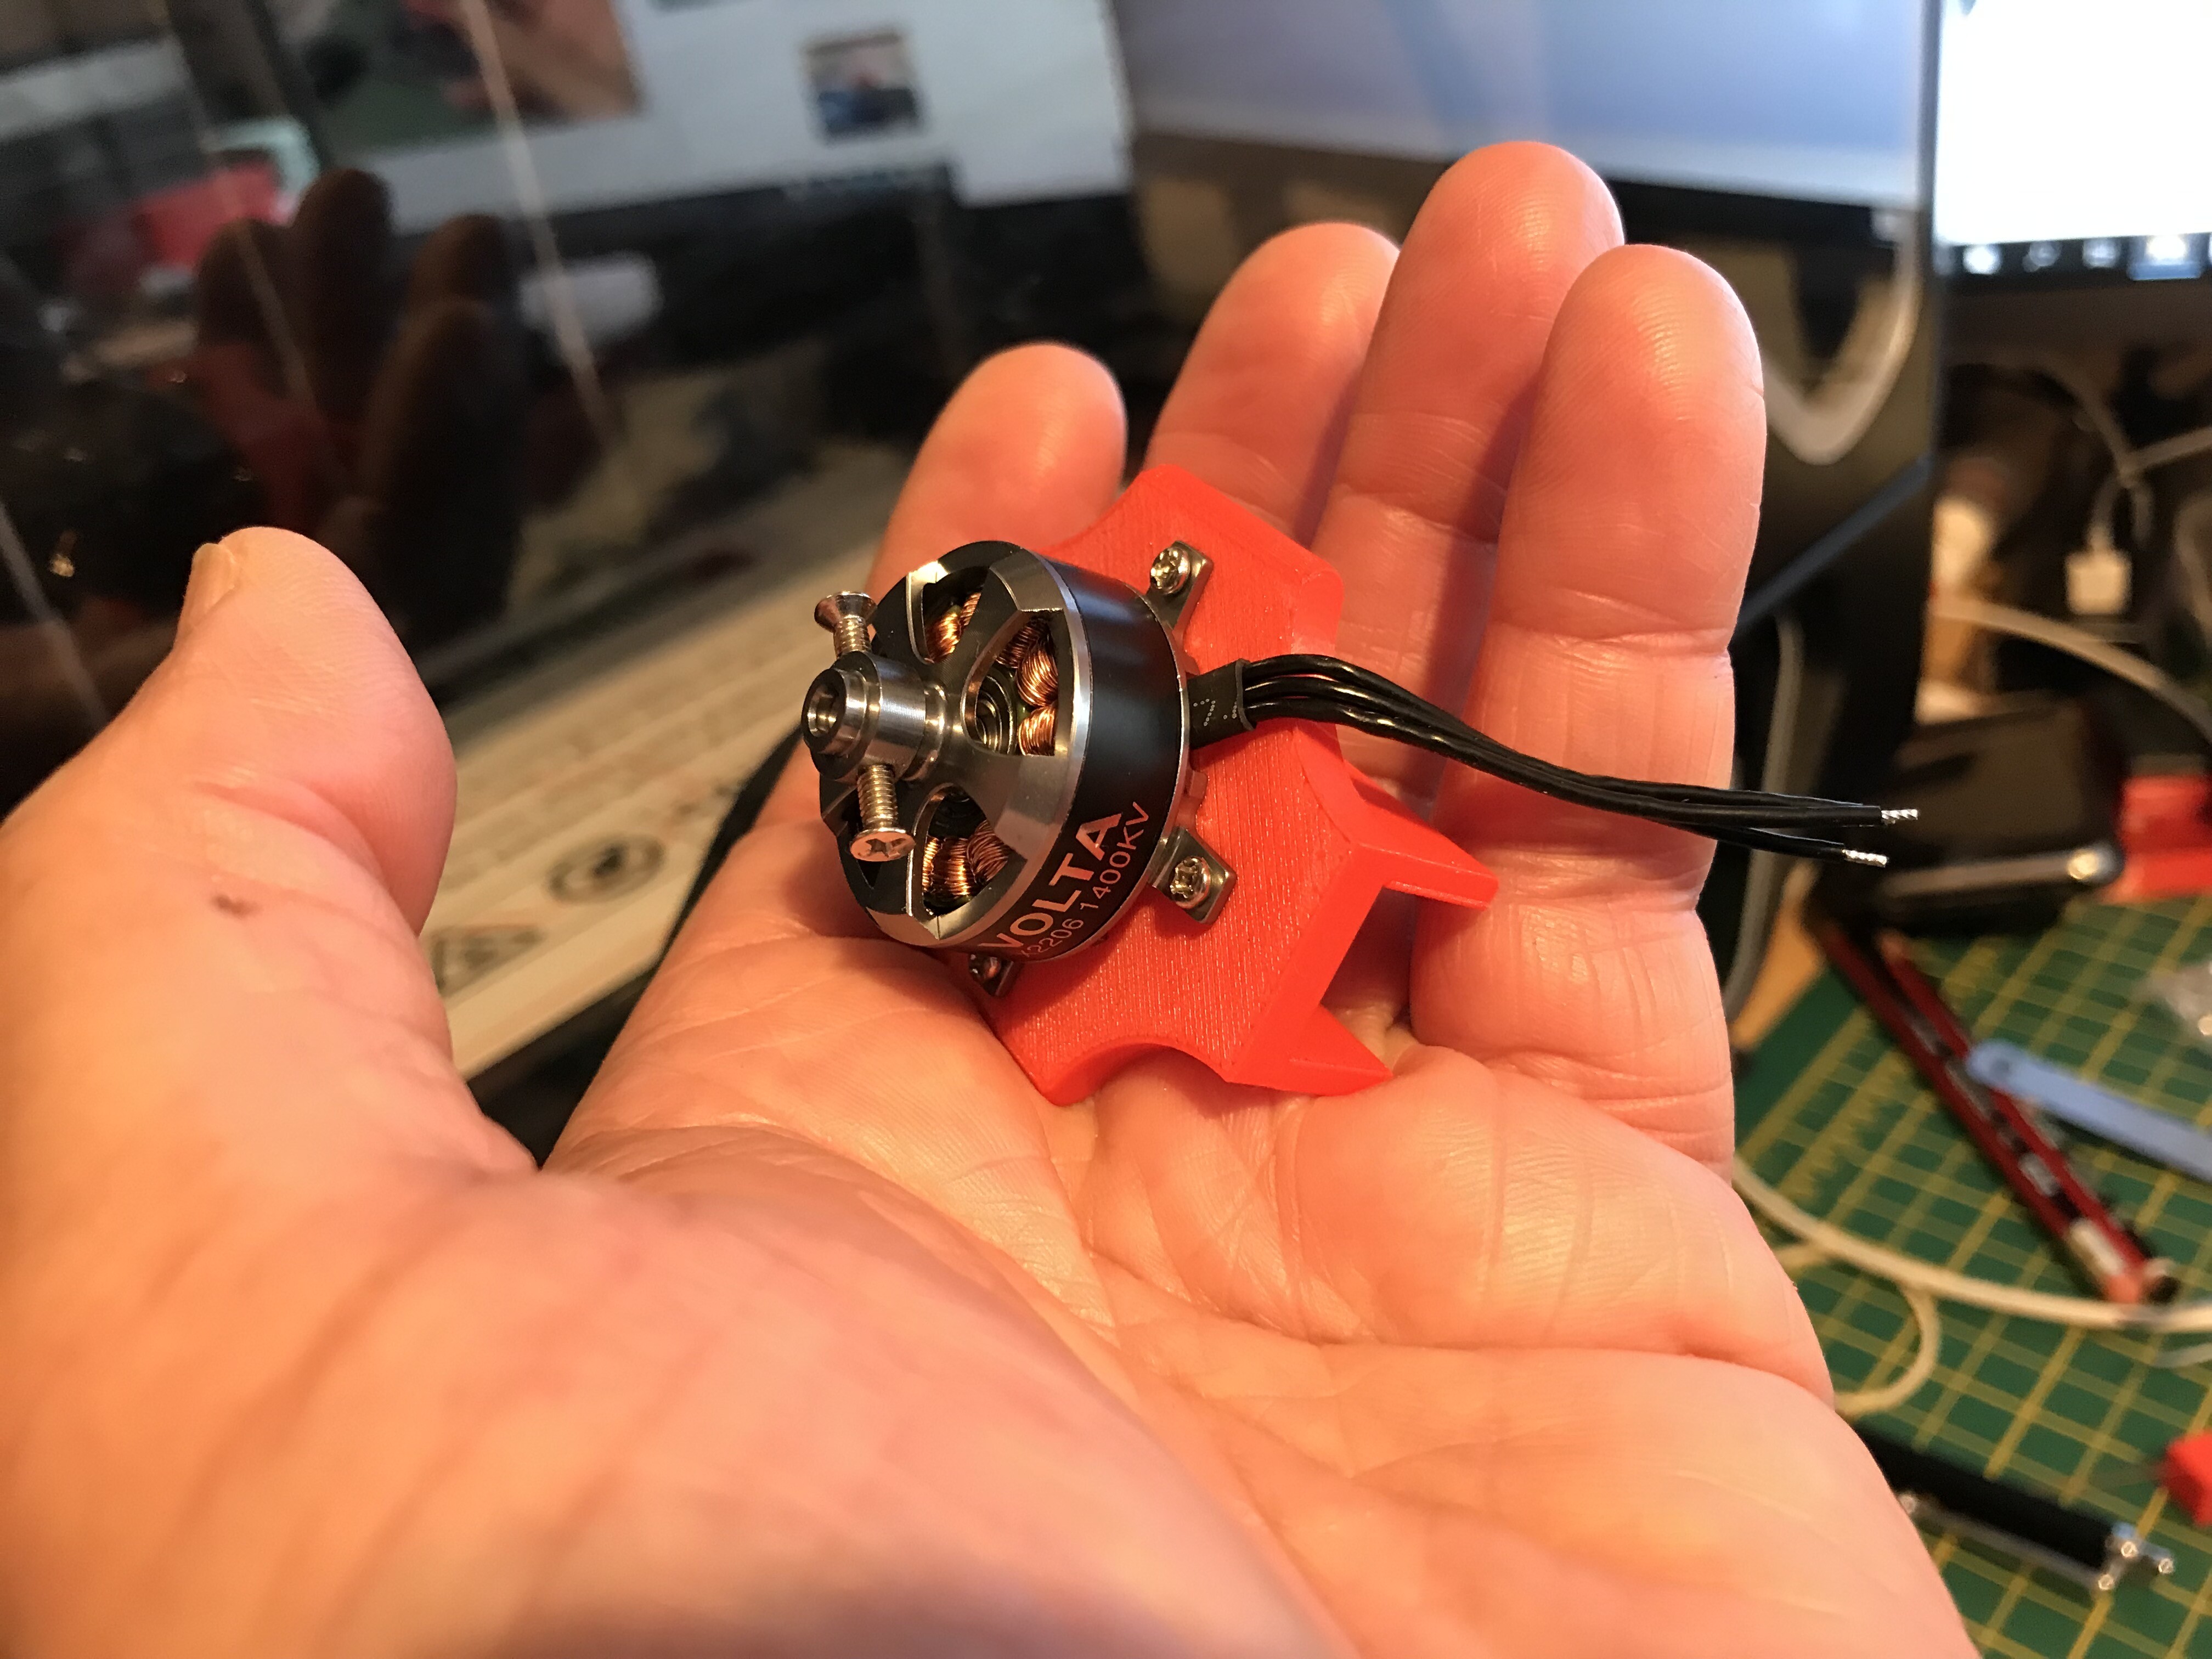
, what is it? PETG or PLA?

It’s PLA+, It’s taken a while to discover the software and hardware quacks that made prints inconsistent.

One which is a bit of a pain for back to back printing is starting a new print while the printer is hot. The bed can either be too high scraping the nozzle or too low and ends up printing in midair.

A firmware update didn’t solve that but switching the printer off then on again seems to help. It’s almost as though it’s a buffer issue….:person_shrugging:t2:

The other thing was and I’m still to fully home in on is the exact bed temperature that will hold a PETG part while printing on the coated bed and easiest release afterwards.

The parts either stick so hard I have to almost hammer it off breaking the bottom or it doesn’t stick at all.

One day I determined I’d go 1 degree at a time to find the best temperature for each filament. I made a huge cup of tea and sat at the printer “ghost” printing to observe what was really going on.
It was a morning of discovery, this story is getting too long now,

I think I should just make a video and post in “Equipment Modification” thread as I did change some parts and I also had to make custom parts too.

Oooh do you have links. though adding a fan really going to mess up my builds… ergh…

Oooh do you have the design for this? Be interested. Which GPS is it?