I thought I’d make a thread for this as I’m sure it’s not going to be as easy as, “print the frame, connect all the parts, get flying.” ![]()
So, having got my 3D printer I thought I’d have a bash at a little printed drone, and I remembered this one:
So I downloaded the files and printed them out.
I also did a bit of shopping. For once, I was able to source everything from one place (UMT).
(Blimey! It quickly adds up, doesn’t it?)
Having got everything together, there were a couple of things I was unhappy with.
Firstly, the fit of the battery holder, and the fact it was a big, ugly, black lump.
Also, my motors have 4 mounting screws so, while I’m aware it’s probably unnecessary, I wanted 4 hole mounts on the arms.
The other thing that happened was one of the camera mount lobes broke in half, exactly where you’d expect, through the slot, simply through careless handling. So I wanted to beef those up a bit, too.
I found a remixed version of the frame via Oscal Liang.
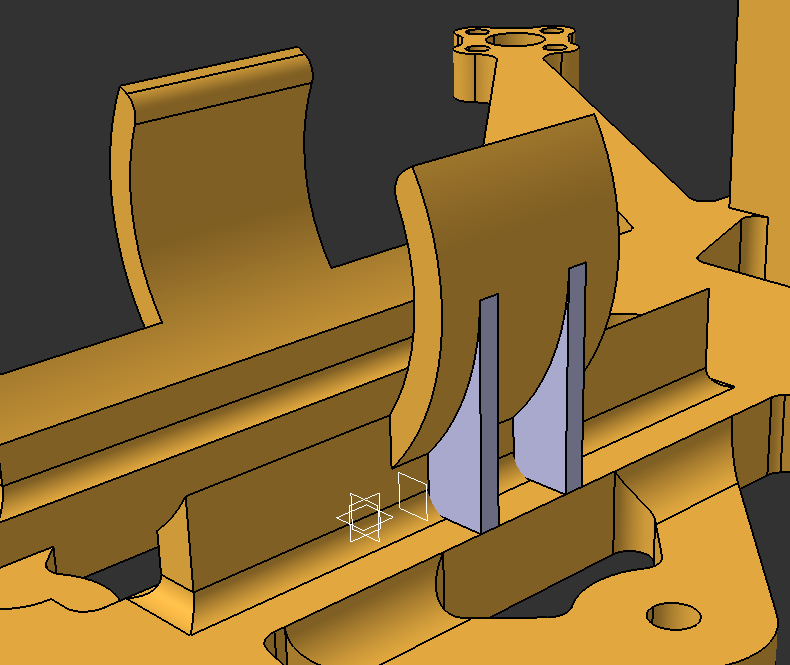
But it still only has the two-hole motor mounts. So I set about making my own modifications. While it is possible to reverse-engineer the STL, it’s a bit of a faff and I wanted the freedom to make potentially sweeping changes, so I rebuilt it from scratch.
First print out, and two of the things I expected to happen did.
- One of the retainer clips broke as I pushed the cell in.
- The slots for the contacts are not quite wide/clean enough.
I also expected the rear contact bracket to break off when I pushed the cell in, but it didn’t, so that’s a bonus. ![]()
Back to the CAD station…


