2.5inch toothpick build

With the UK national lockdown in full effect and with not being able to fly, I figured I’d do a quad build.

This will be part 1 of the build thread and will just cover the list of the parts that I have selected for the build. So let’s jump straight in to the parts list.

  • Frame

I chose the GepRC Phoenix 2.5inch version.
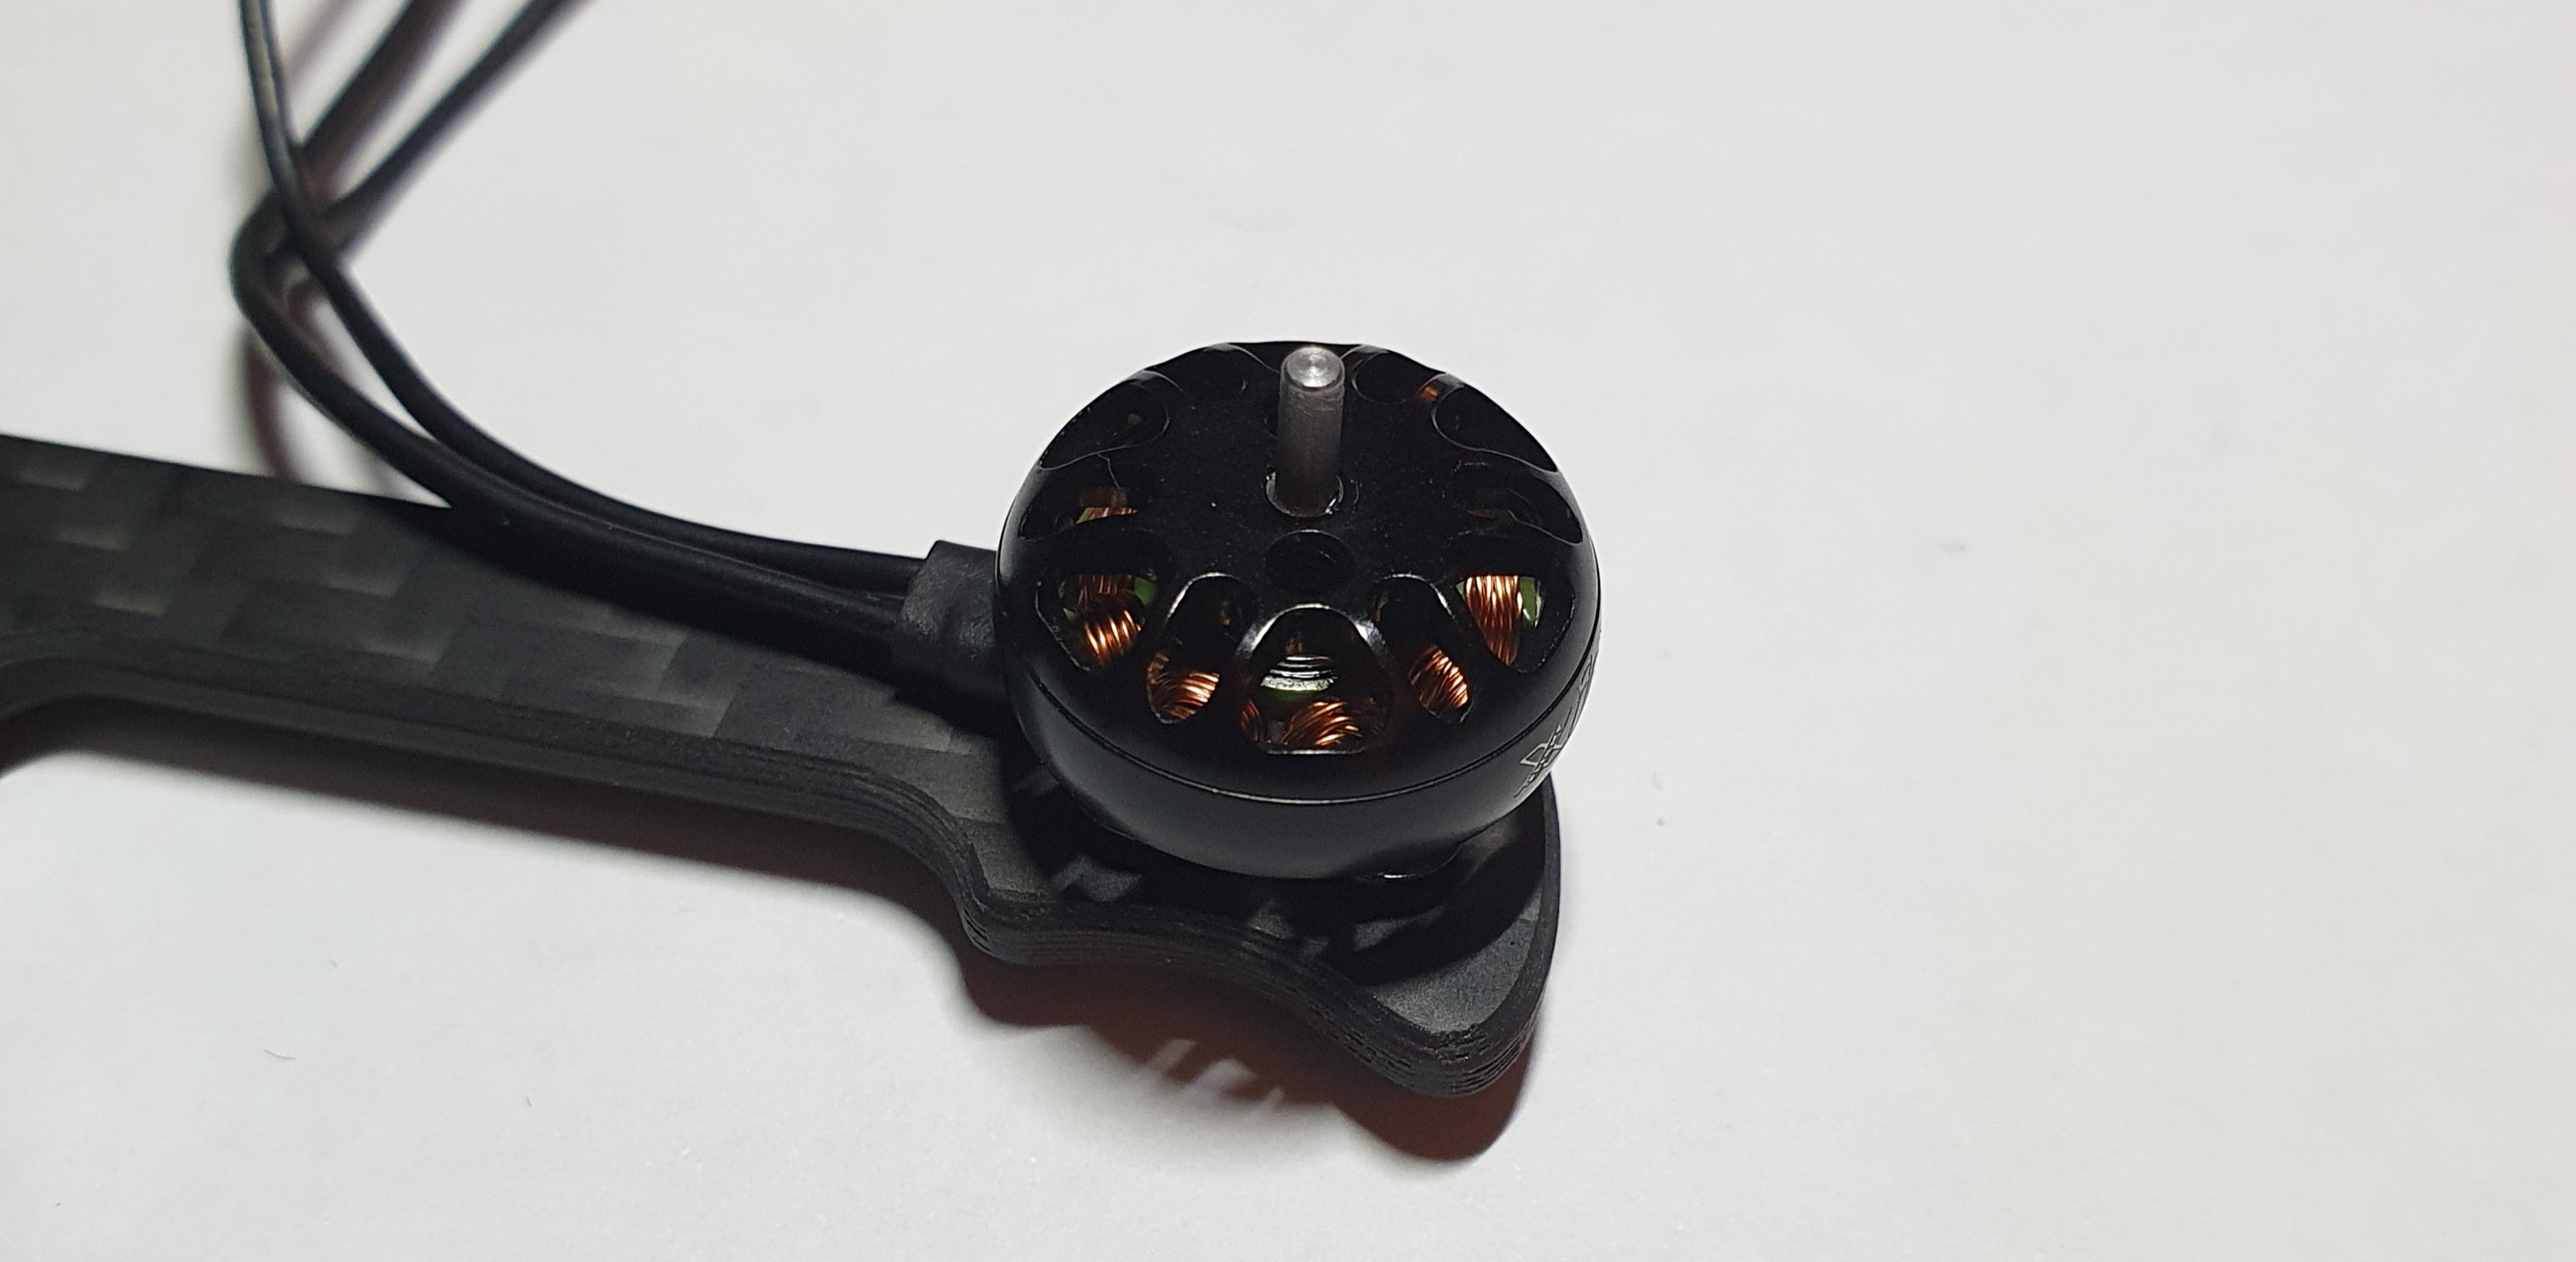
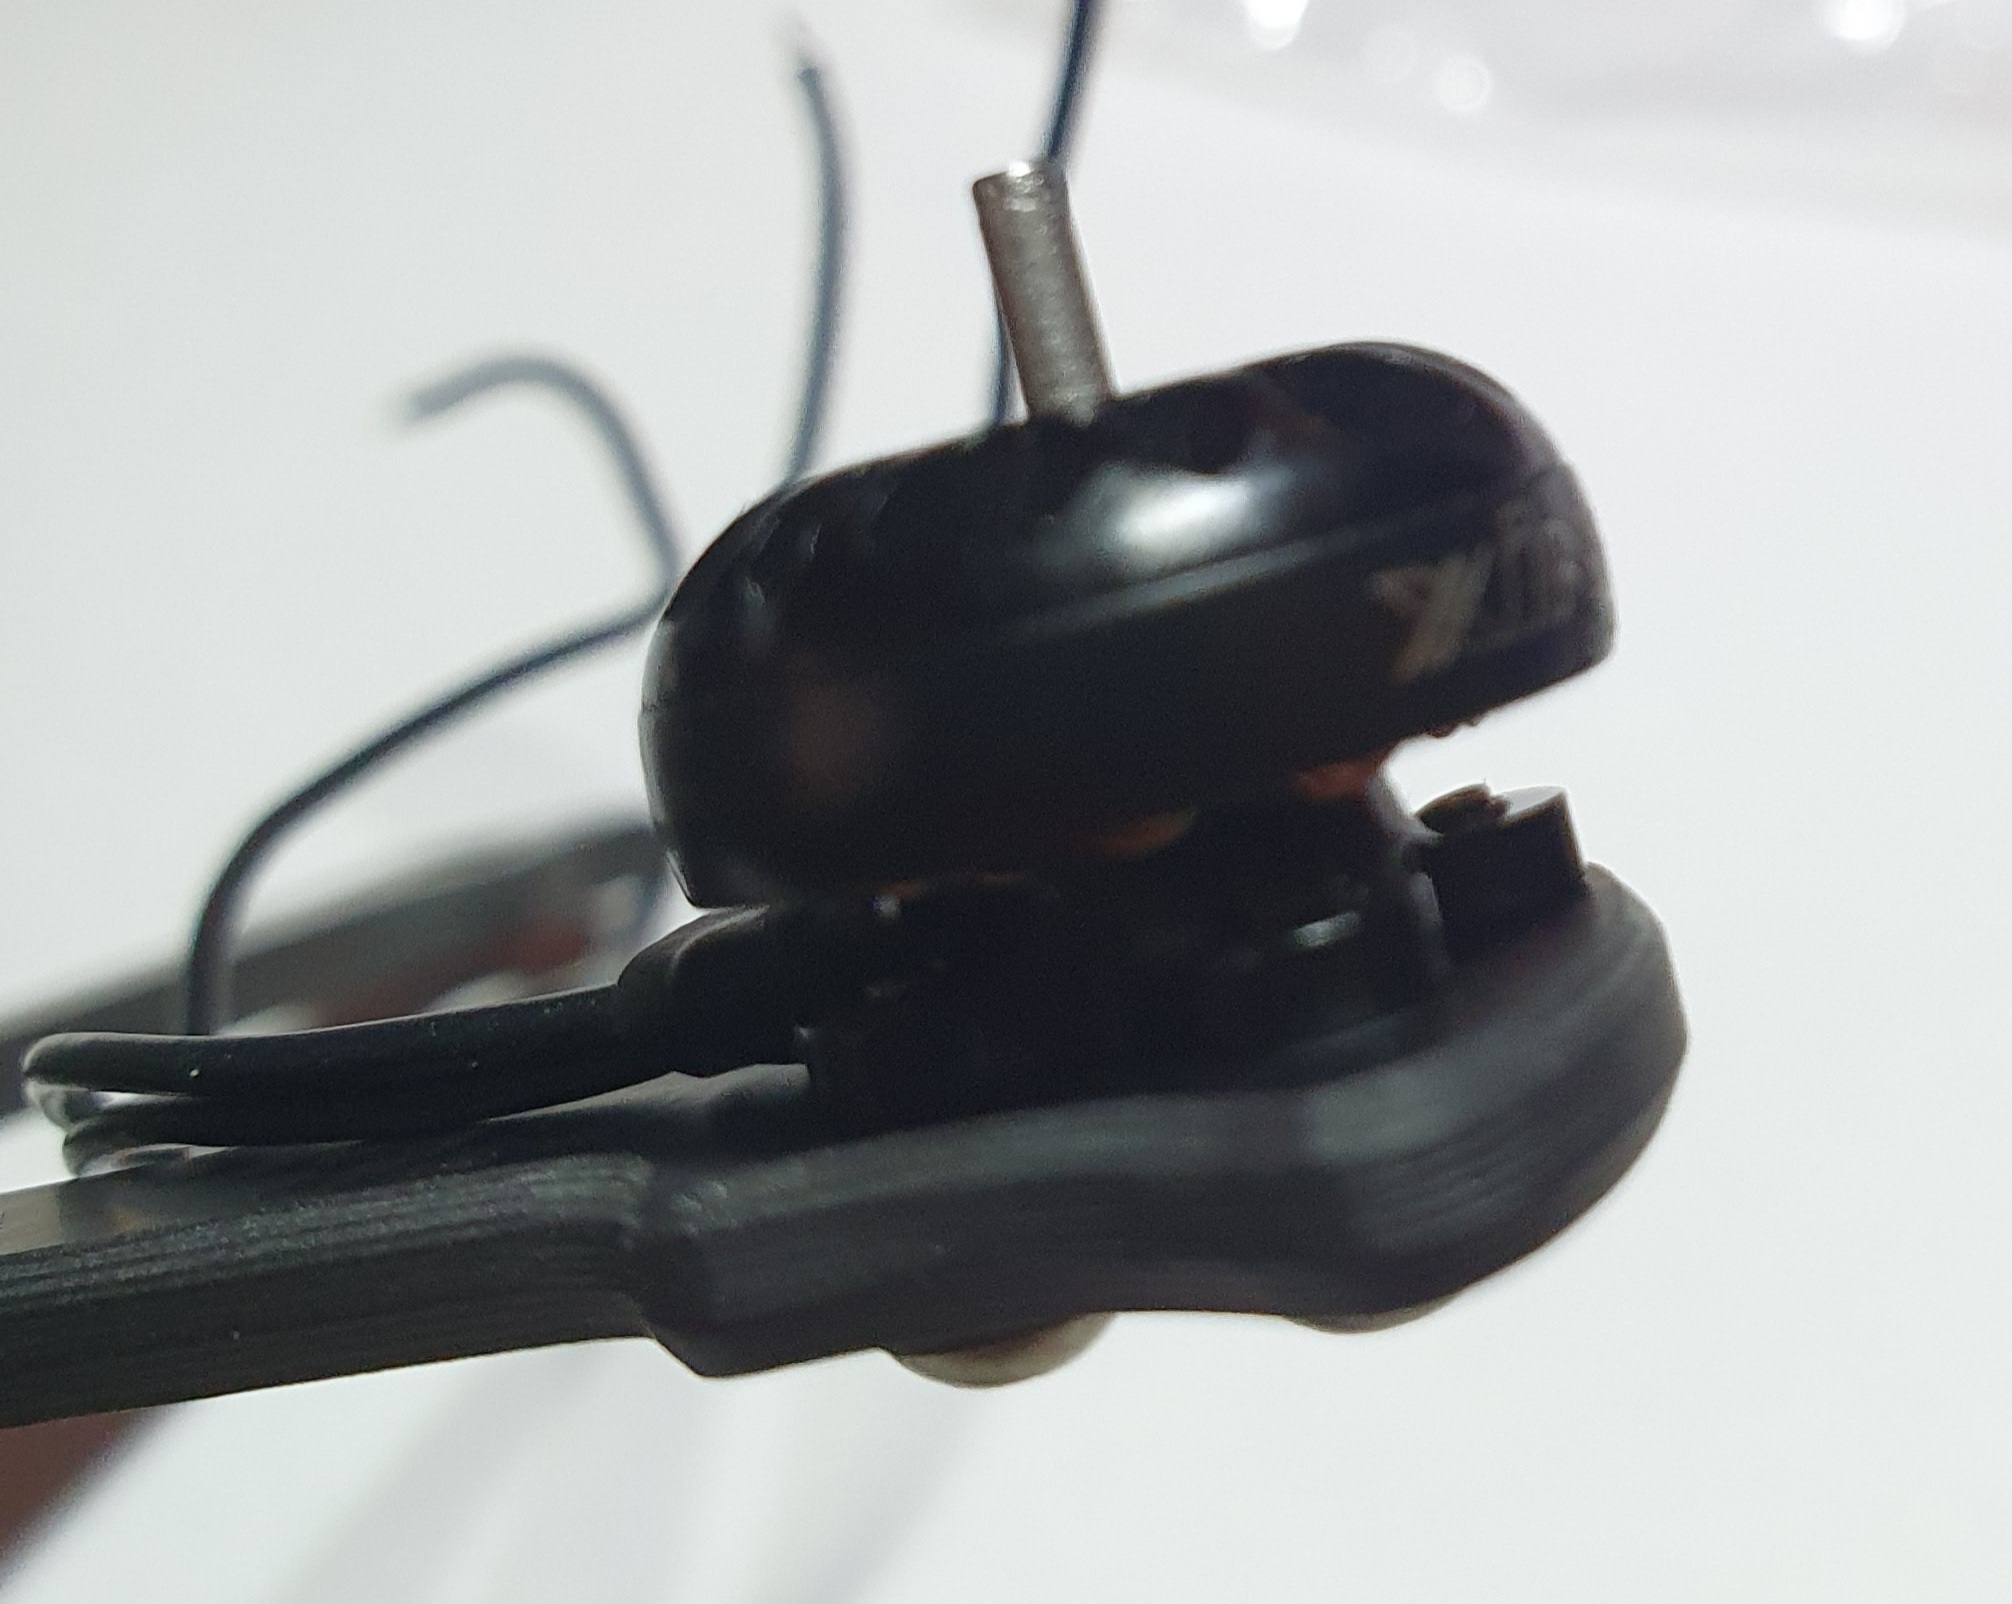
  • Motors

As I’m planning a 3s build I went with the iFlight Xing Nano 1202 8000KV.

  • ESC (Electronic Speed Controller)

I went with the iFlight SucceX 40A as this is rated 2s to 6s.

  • Flight Controller

As I’m using the iFlight SucceX ESC I went with the iFlight SucceX-D F7 TwinG flight controller.

  • VTX

I’m using the TBS Unify pro32 nano.
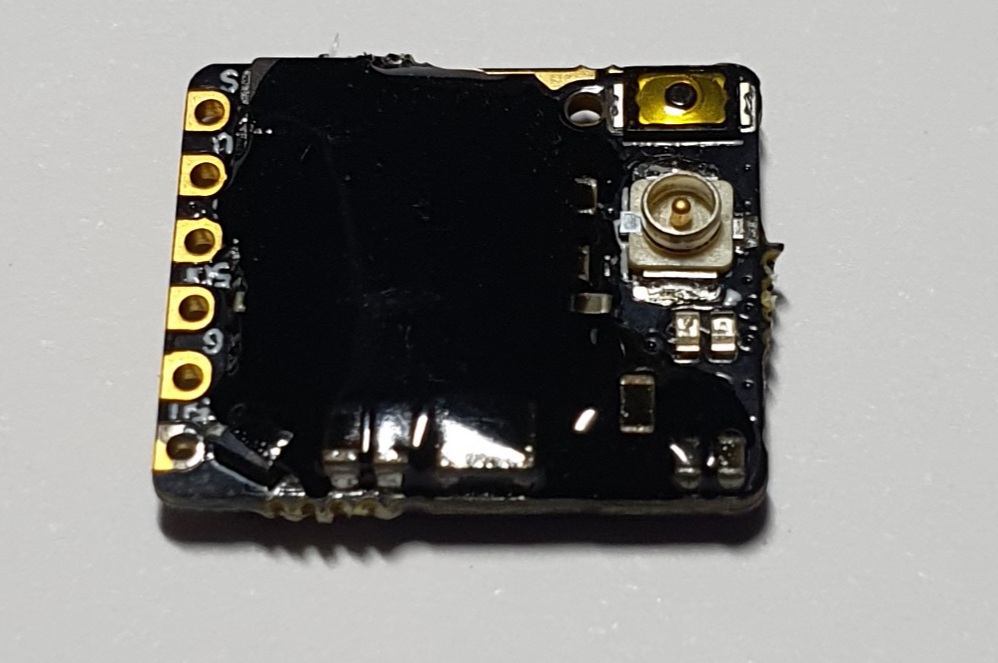
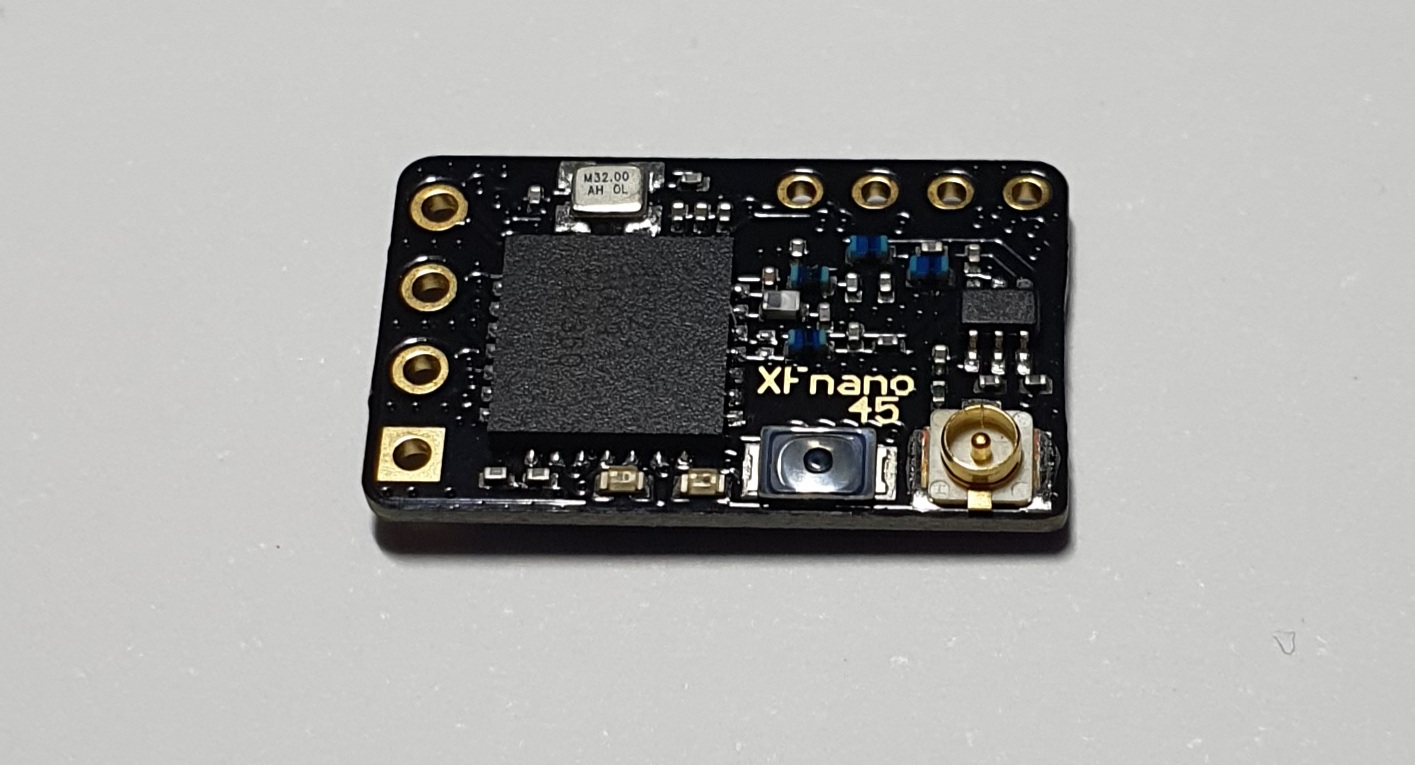
  • RX

As I’m using TBS Crossfire on my other quads this was a no brainer I’m using the TBS Crossfire Nano

  • VTX/RX Mounting board

As I’m using the TBS VTX and RX and using a 20x20 flight stack I’ll be using the TBS 20x20 mounting board.

  • VTX Antenna

I’ve opted for the TrueRC RHCP antenna.
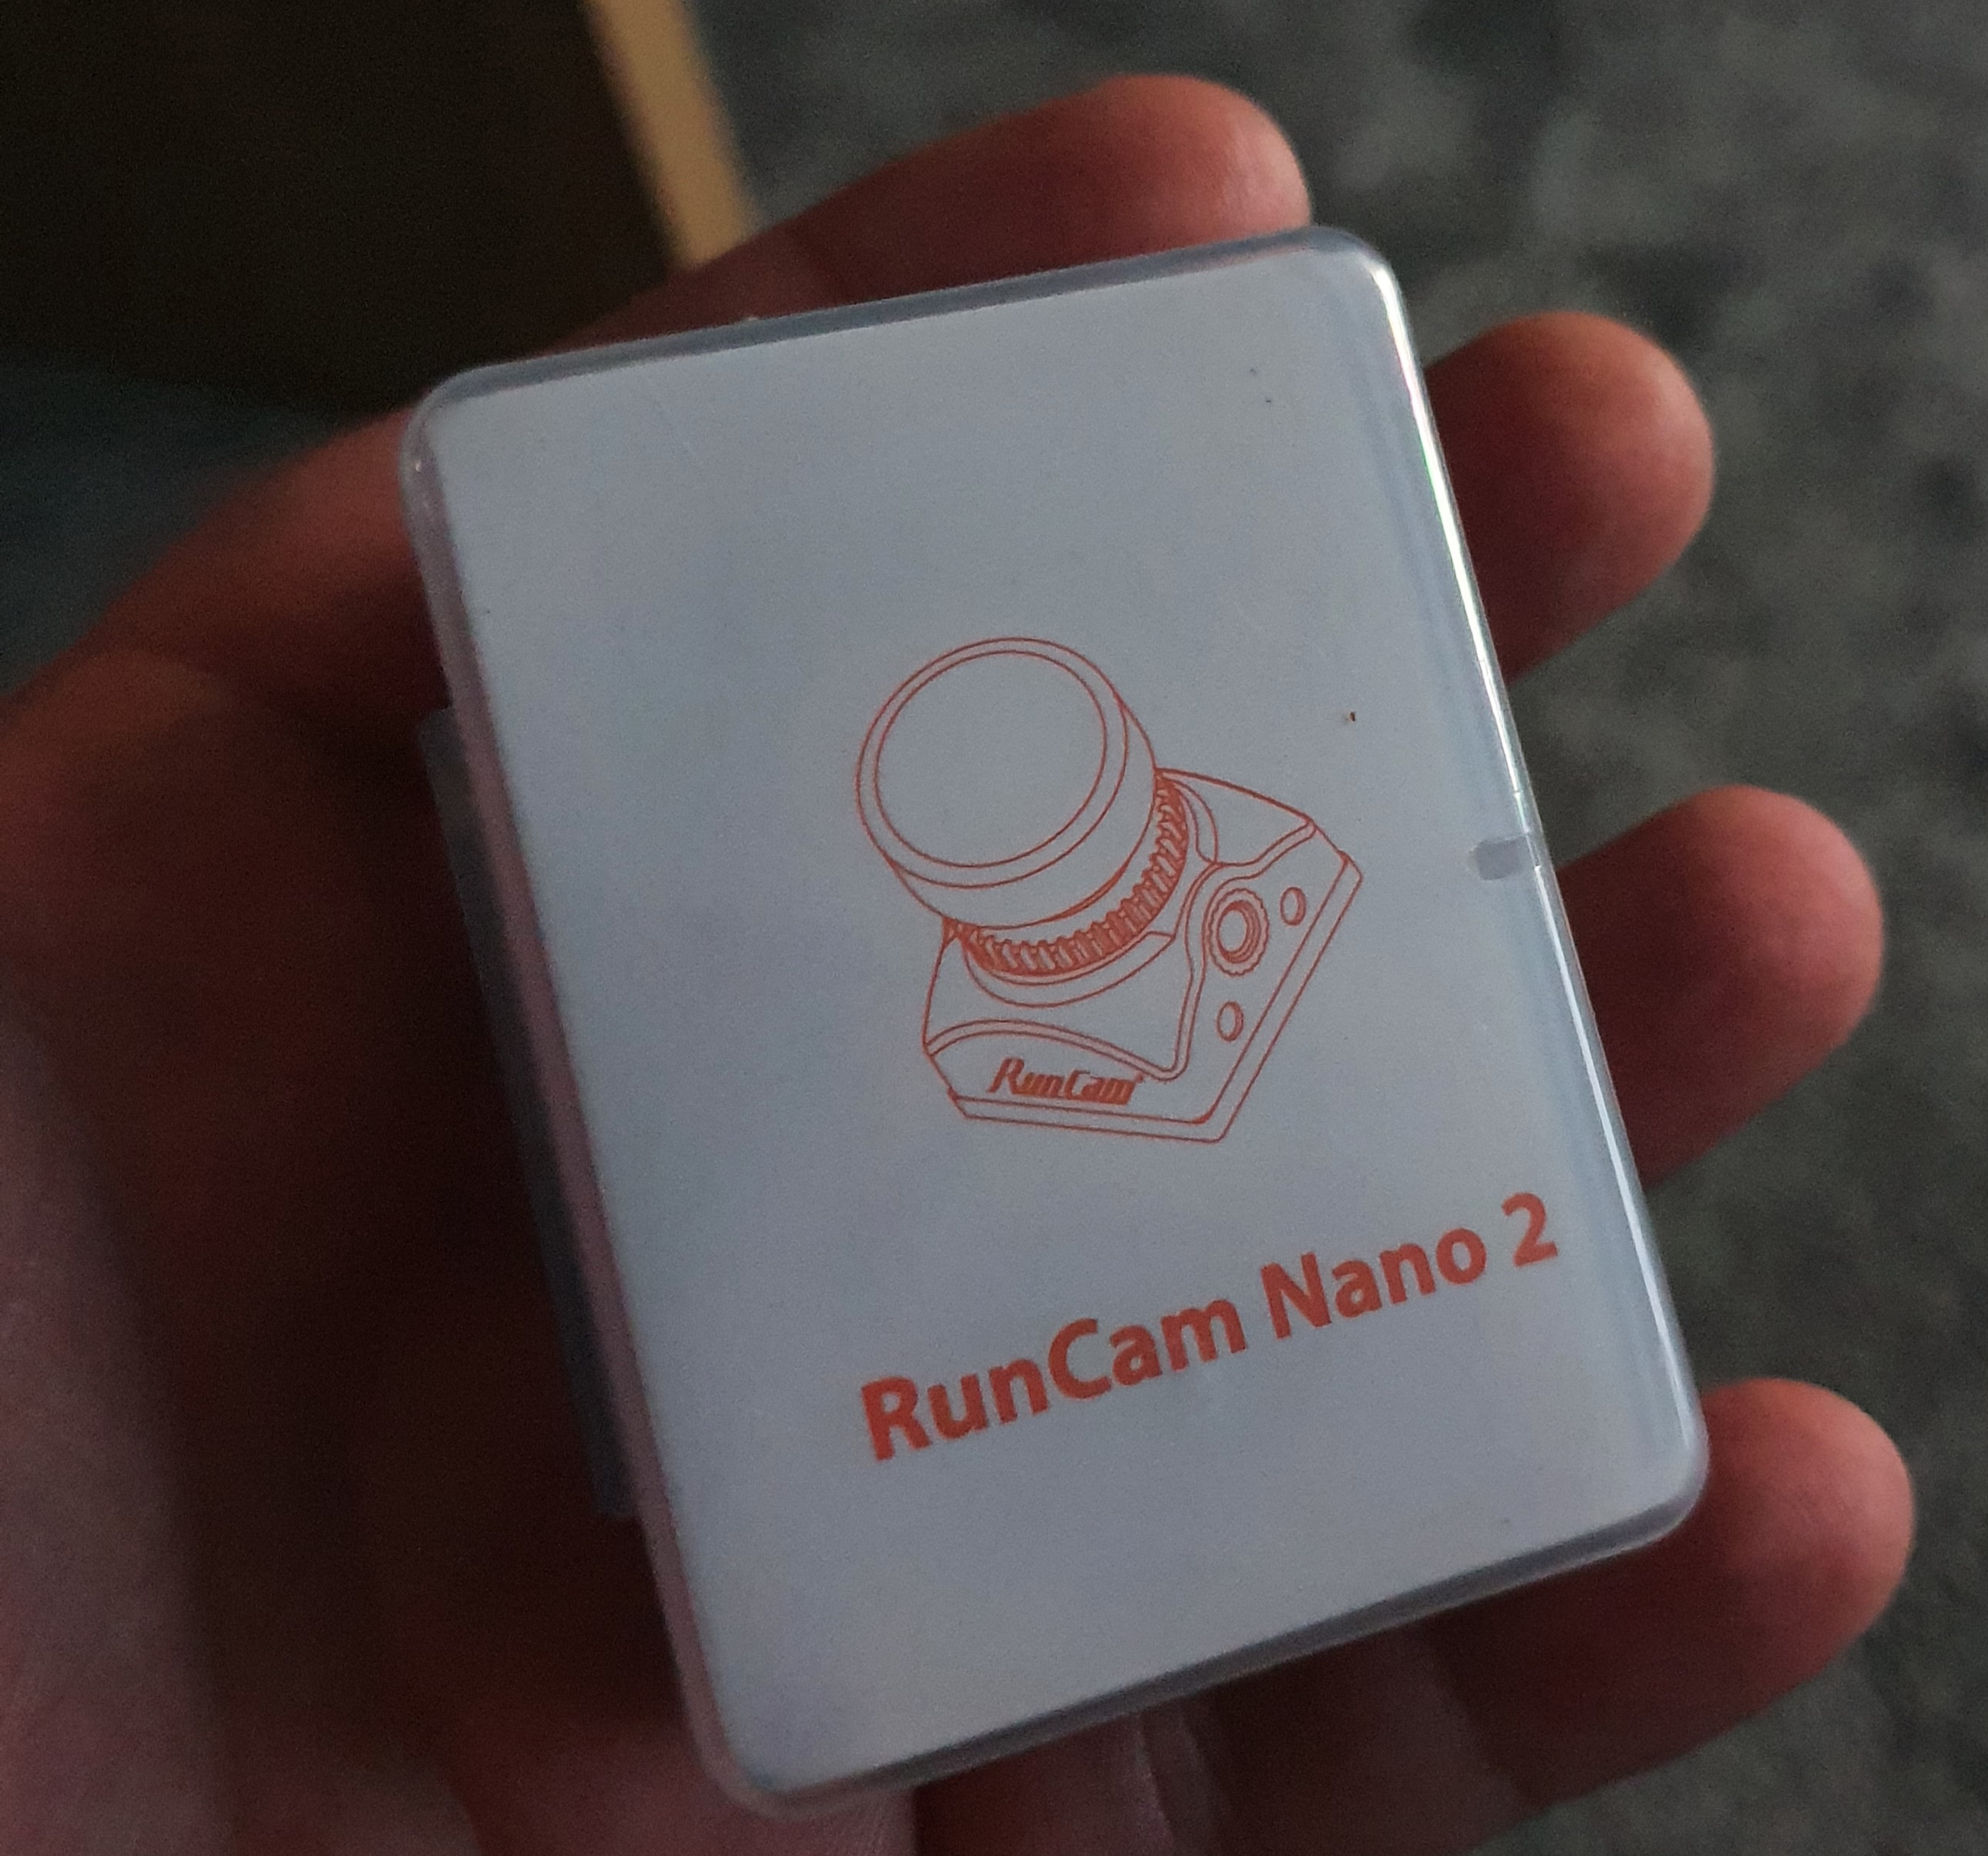
  • FPV Camera

I’ve gone for the RunCAM Nano 2.

  • Props

I already had spare Avan Rush Props for my Emax Tinyhawk freestyle 2 so I’m just going to use them.

  • Battery

As stated above I’m doing a 3s Build so I’ve gone for the GNB 450mah 3s LiHV witch uses the XT30 connector.
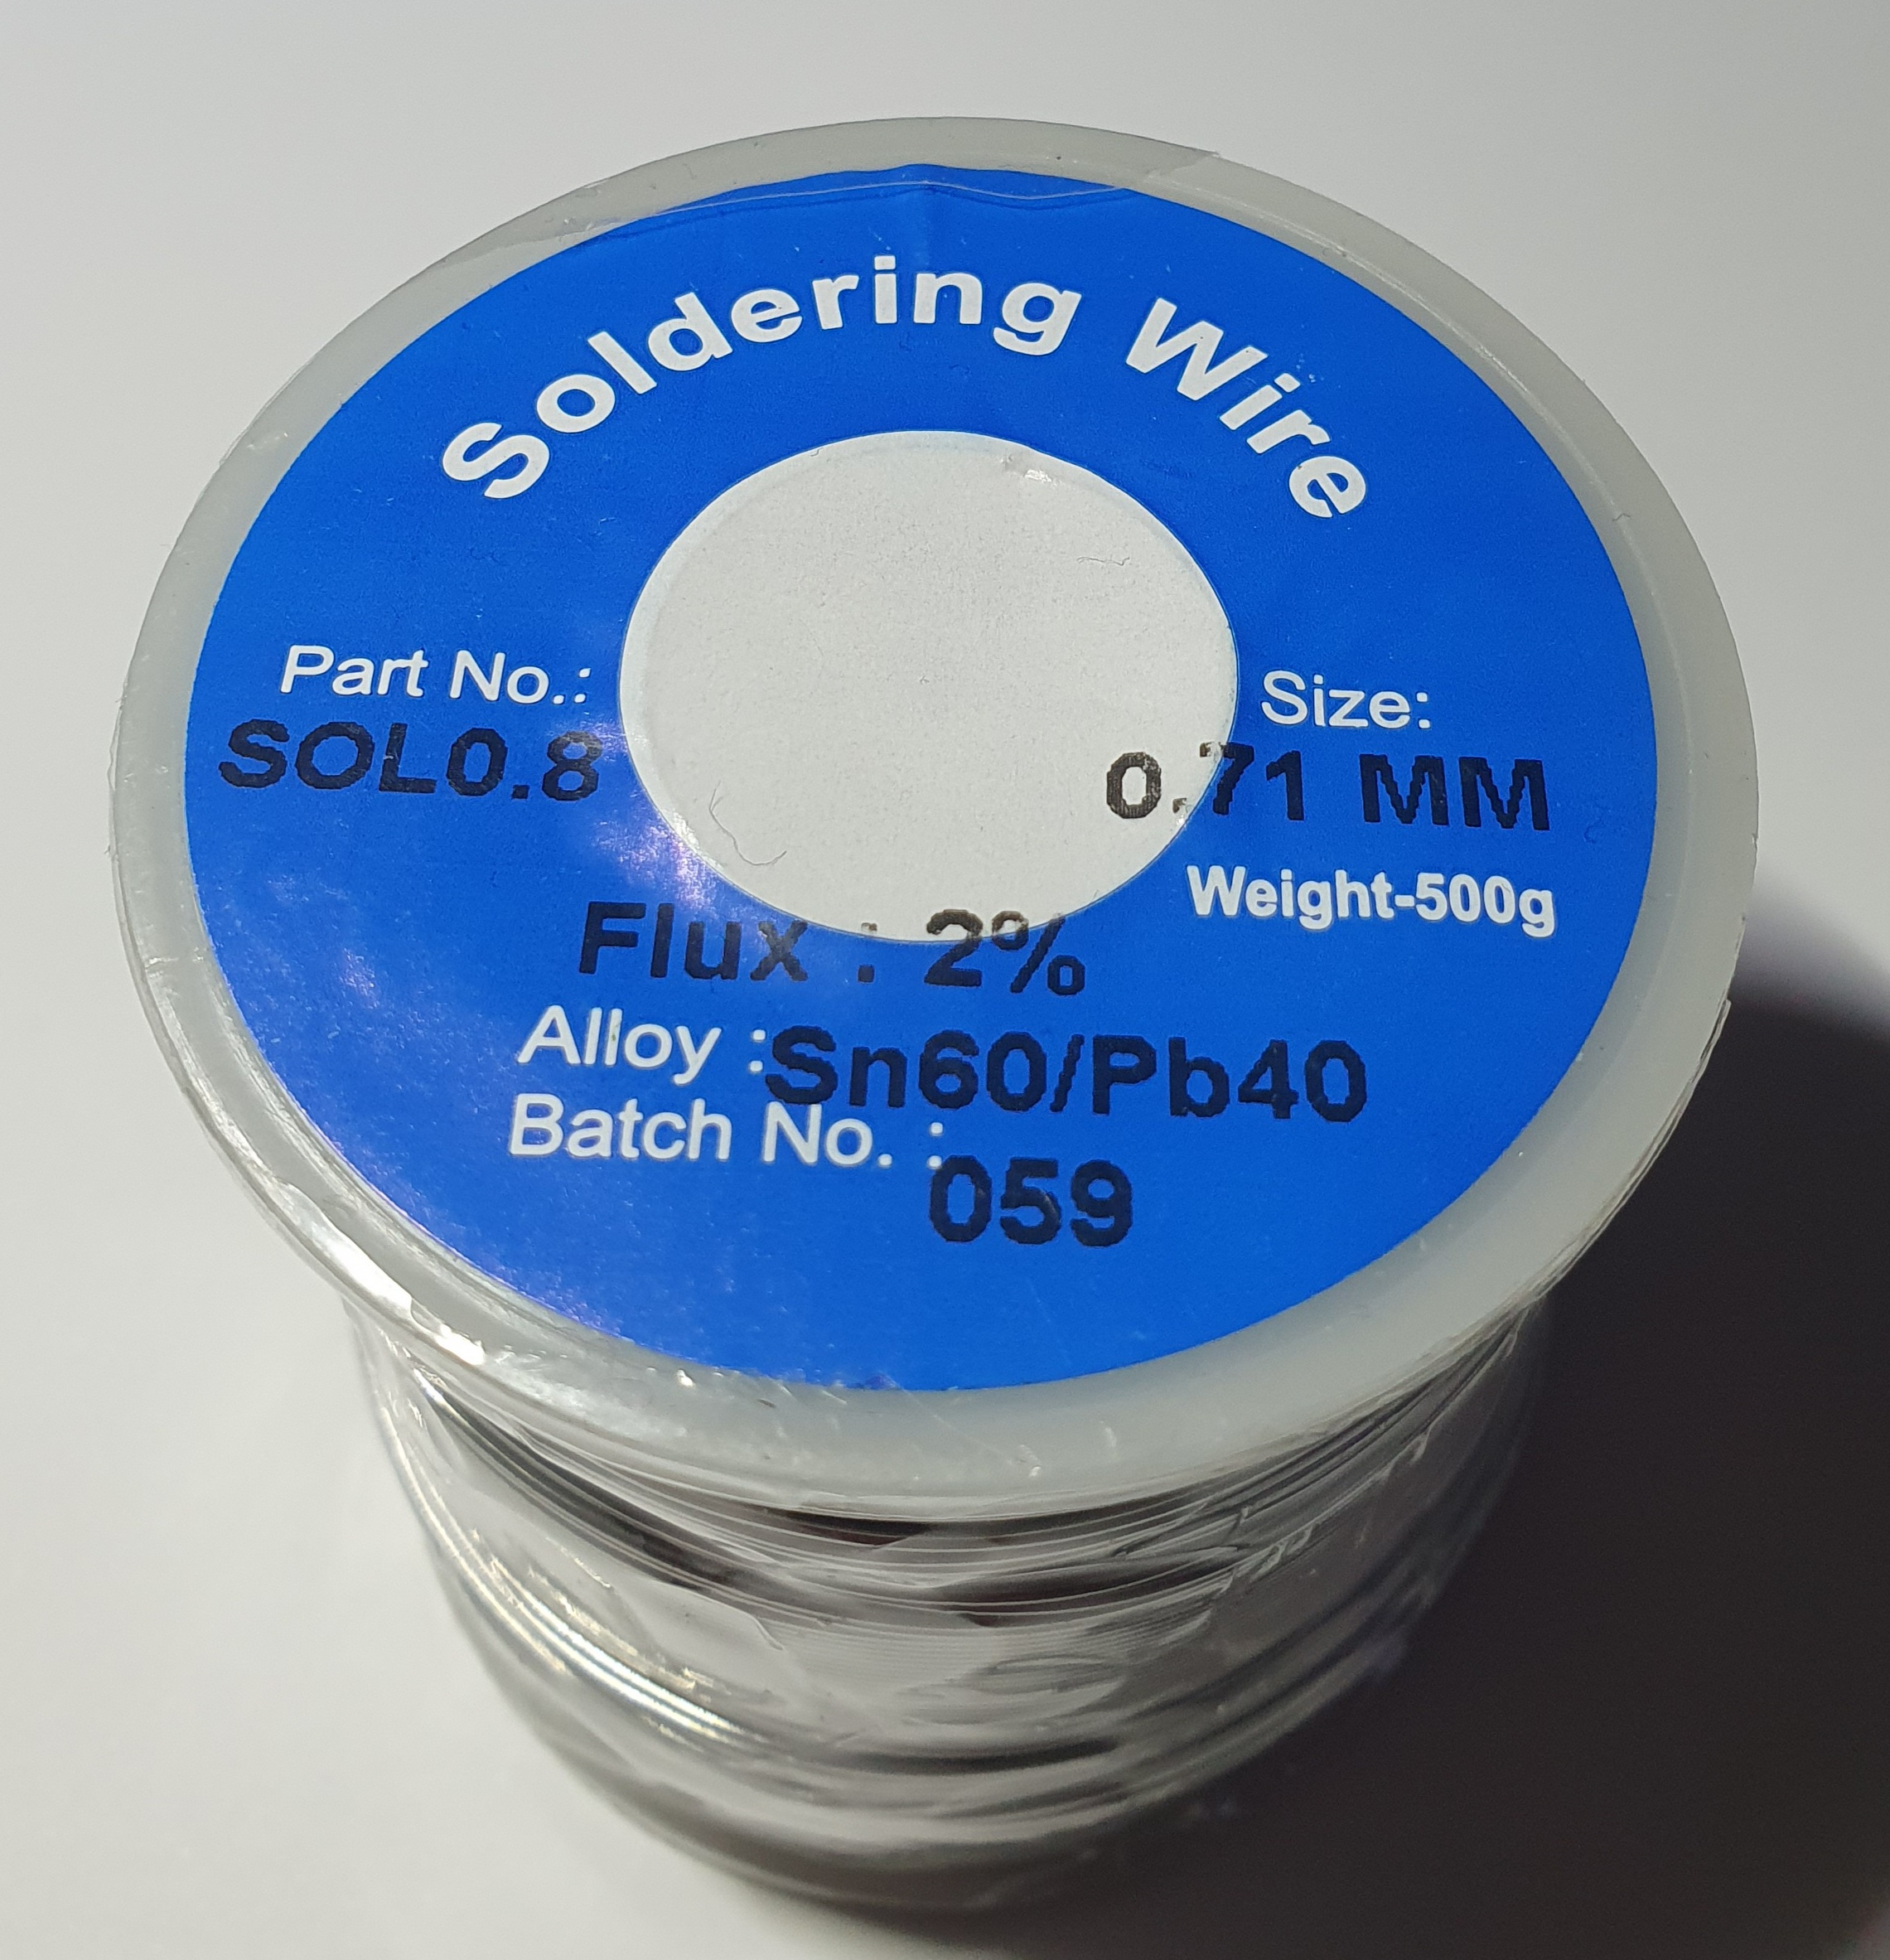
  • Solder

0.71mm 60/40 flux core.

And this concludes part 1 of my 2.5inch Toothpick build. This is going to be a challenging build due to the small size of the components but for a first build I like a challenge lol and should give me something to do during lockdown inbetween working. If anybody has any questions about my build please feel free to ask.

8 Likes

Great choice of parts Dean
I’ll look forward to this build :smile:

When its finished I’ll find a tree for you to land it in :laughing: :laughing:

2 Likes

Looking forward to what you come up with. Fire up the fc via usb and check it’s all ok before soldering to it. In case its duff :grimacing:

3 Likes

Great shout that is Karl. I’ll be sure to do that :+1:t2:

1 Like

Yep, supplier won’t have it back if any signs of soldering :slightly_smiling_face:

2 Likes

Good luck on the build Deano :+1:t2: is that going to be an indoor quad at 2.5inch? Or is it still for outdoor use? What sort of price are you looking at so far mate? Looking forward to seeing it all go together mate :smiley:

1 Like

Definitely an outdoor flyer, will be far to powerful and fast for indoor use its basically going to be a faster more powerful version of the Emax Tinyhawk freestyle 2 that I already have :+1:t2: at the moment all in I think I’m at about £200 maybe a little over.

1 Like

Ah so is this going to be like the ones you see in the YouTube videos doing all the tricks whizzing around old buildings etc :smiley:

3 Likes

They are usually 5inch quads this will be more of a fun park flyer as it wont be able to carry an action camera due to it’s small size. (I might look into a split FPV camera that can record in 4K as well as supply an FPV annolog feed to my goggles at a later date but I already had a spare RunCAM nano2 so I’ll be using that to start with :+1:t2:) But it is basically a scaled down version of those 5inch quads that you see doing the tricks and flying around Abandoned buildings ect ect.

1 Like

Can’t wait to see it in action! :grin:

1 Like

Frame assembly complete, RunCAM nano2 installed into place on the frame. Just mocking things together at this stage to make sure everything fits. Won’t be soldering anything just yet. Just retro fitting everything to make sure my selection of parts are fit for the job and doing all the sizing up. But I’m pleased with the frame and camera fit so far.

4 Likes

Thats gonna be a real smart looking quad Deano :wink:

2 Likes

As somebody new to the hobby would you be able to provide links to the best places to buy the parts?

3 Likes

Of course:

For this build I used HobbyRC and Banggood.

Another good source of parts is Unmannedtech

2 Likes

Checking for clearance of the flight stack within the frame. Fitting together like this first is important so that you don’t get half way through the build and find out that your flight stack doesn’t fit in the frame.

2 Likes

I wouldn’t know where to start lol what goes where

4 Likes

Do they do fpv build for dummies lol

3 Likes

Follow this thread and And this thread and you’ll know what parts you need and where they go by the end of the builds this is why we are posting our builds here so that members like yourself get an idea on what you need and how to build your own.

2 Likes

You need to do a you tube build step by step lol

1 Like

Now I’ve just fitted one motor to check that the motors I have selected fit my frame.

Also to check the most important part the mounting screw length this is important because if they are too long they can touch the motor windings and cause a short or damage the motor windings themselves. The thread of the screw should be flush with the top of the motor mount as illustrated in this photo:

3 Likes