Sold many years ago mate, sadly…
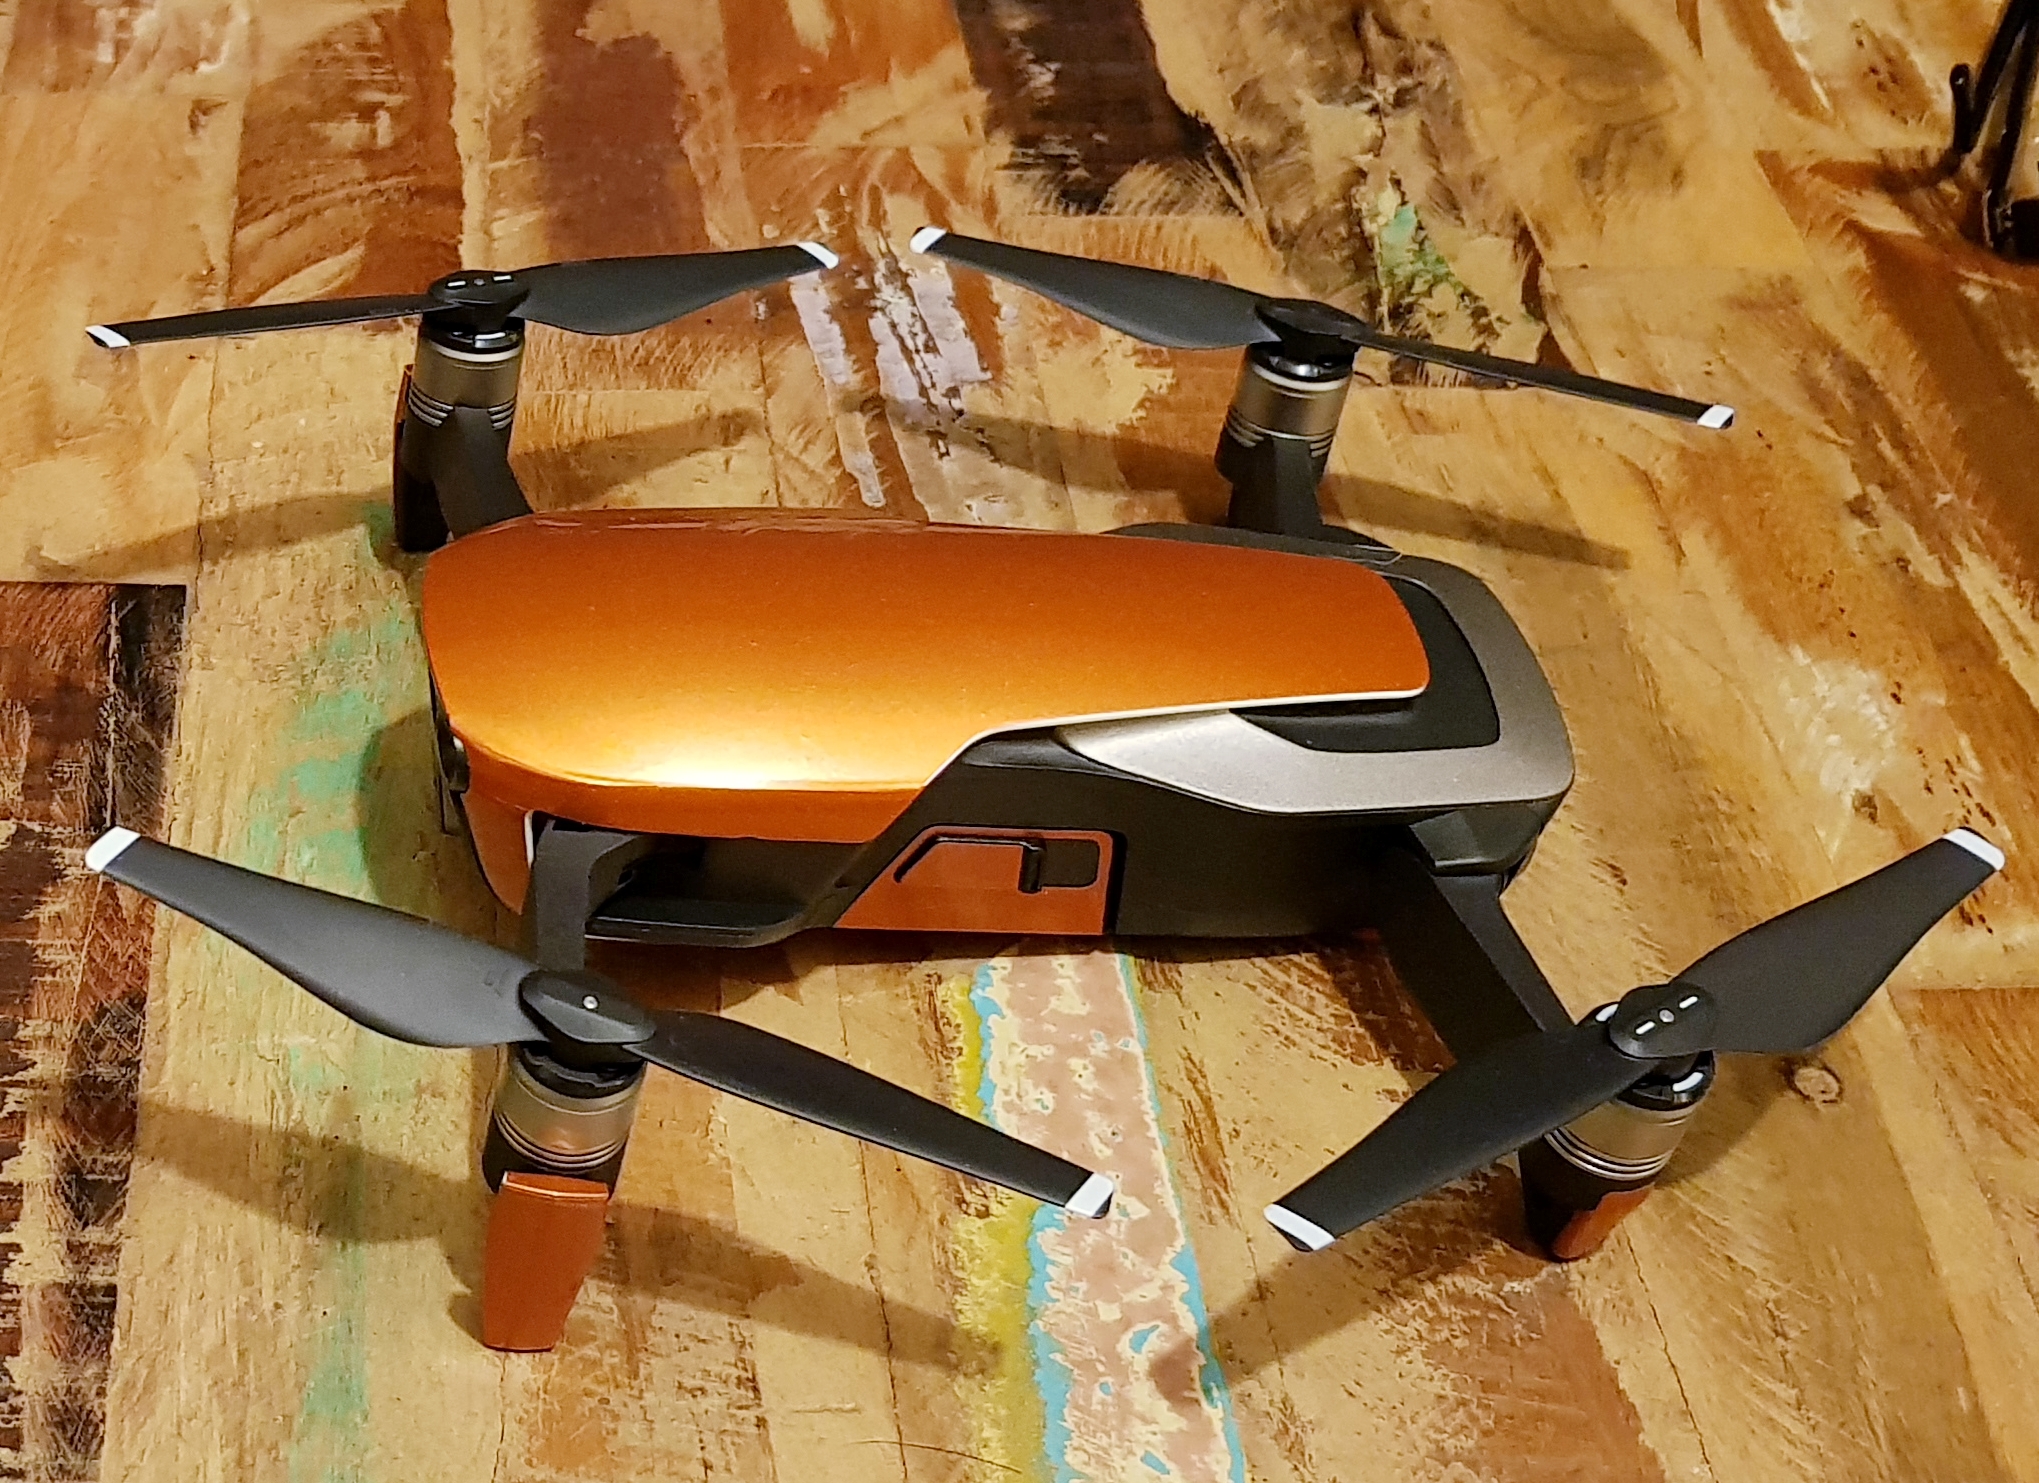
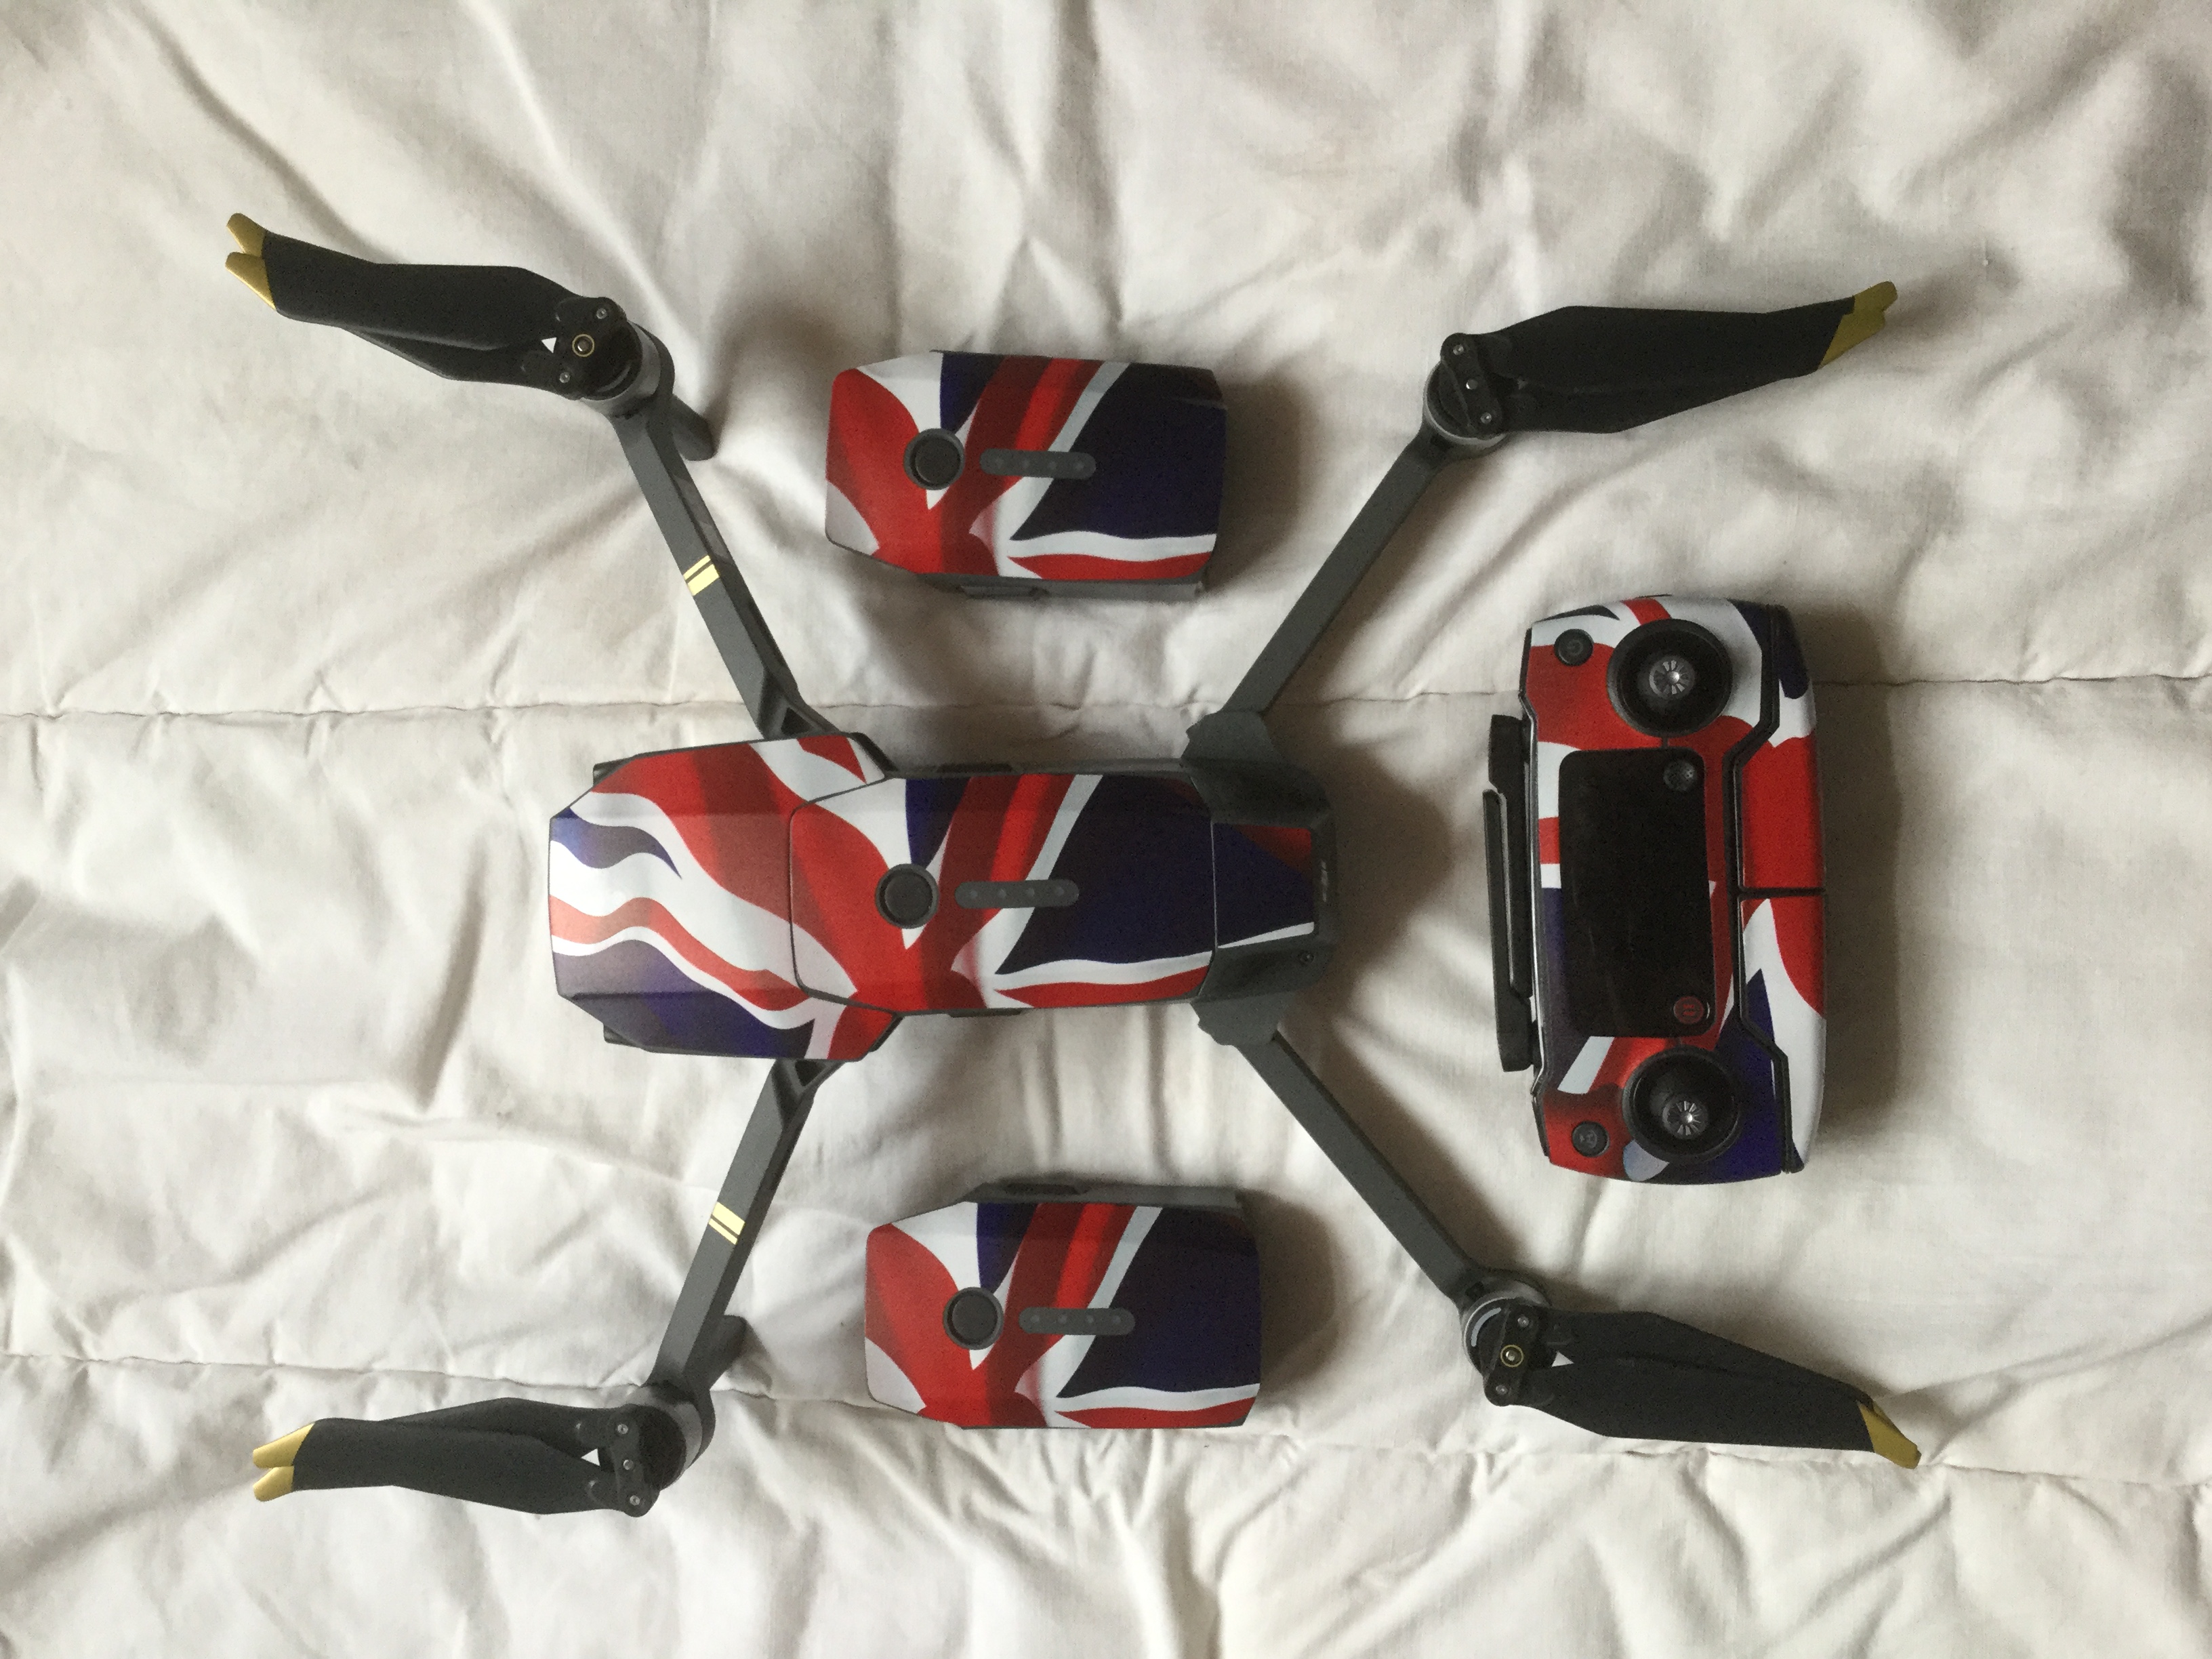
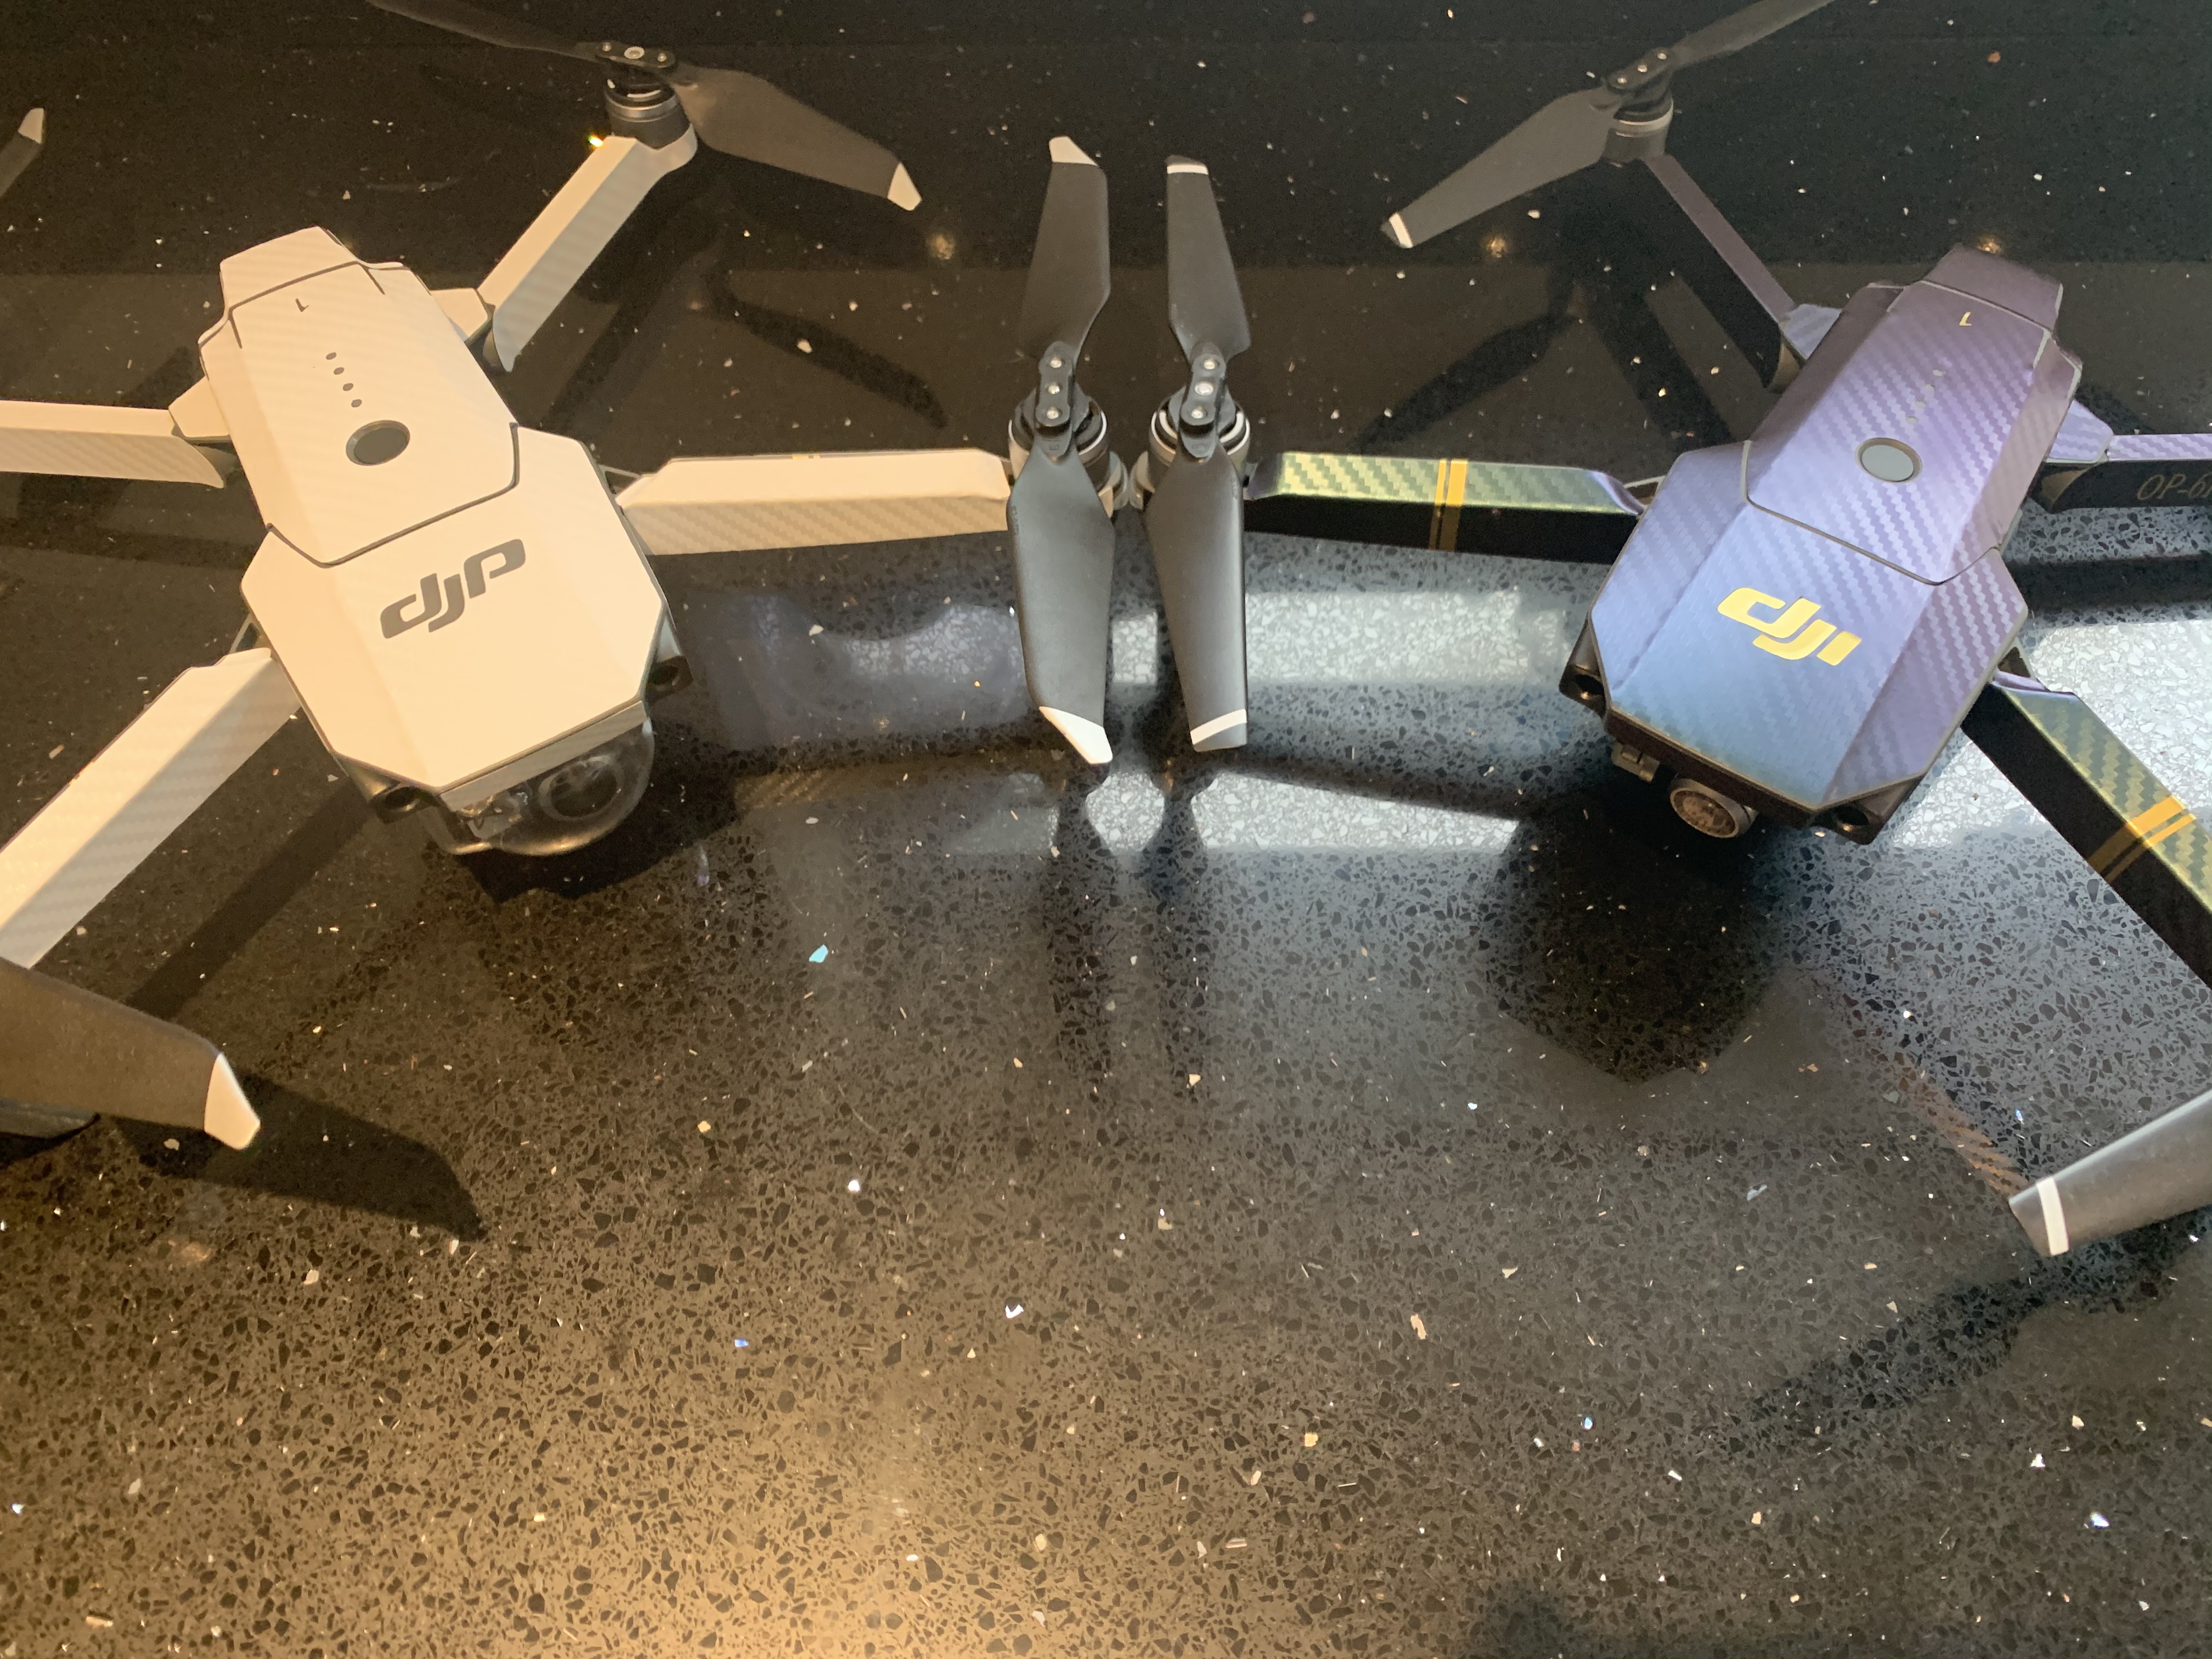
New skin for the Mavic Air…
Wicked colour 

They should make a piece to cover the rear section too though.
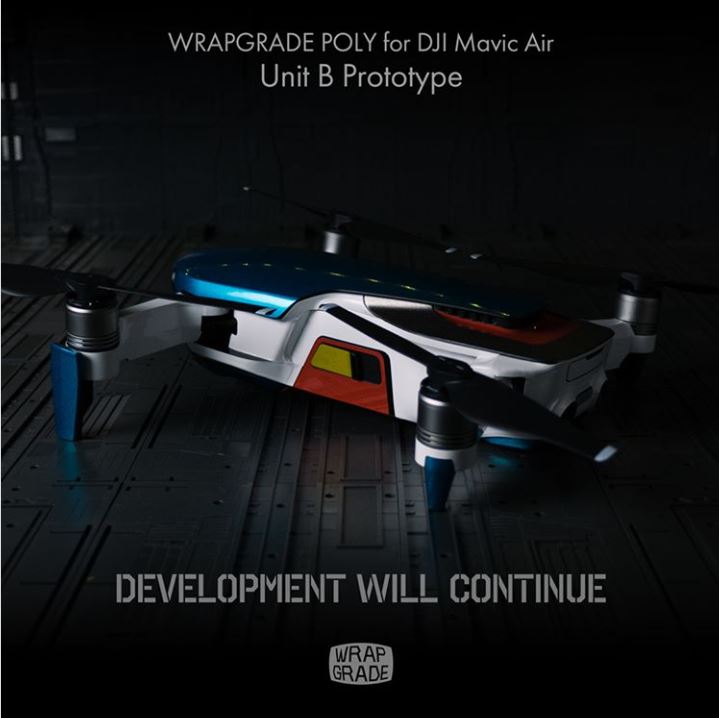
This was a stage 1 wrap from Wrapgrade in Japan Rich, they’re sending me a beta of the second stage to try, Unit B, which will be duo tone and cover most of the Air, it will be a mixture of this colour and a Madagascar Pearl white… 
A few years ago, with the rather bland/white/boring Phantom 2, I contemplated Hydro-Dipping the body.
Has anyone done this procedure … on anything? How easy is it?
Has anyone done this to a MP/Air? How easy is it to strip the body, etc., adequately?

Soooooo!
Nobody’s posted here for a while, thought I’d share my recent expedition in to the world of DIY vinyl wrapping.
This perhaps warrants a thread all to itself due to the length of the post. You’ve been warned… Get comfy
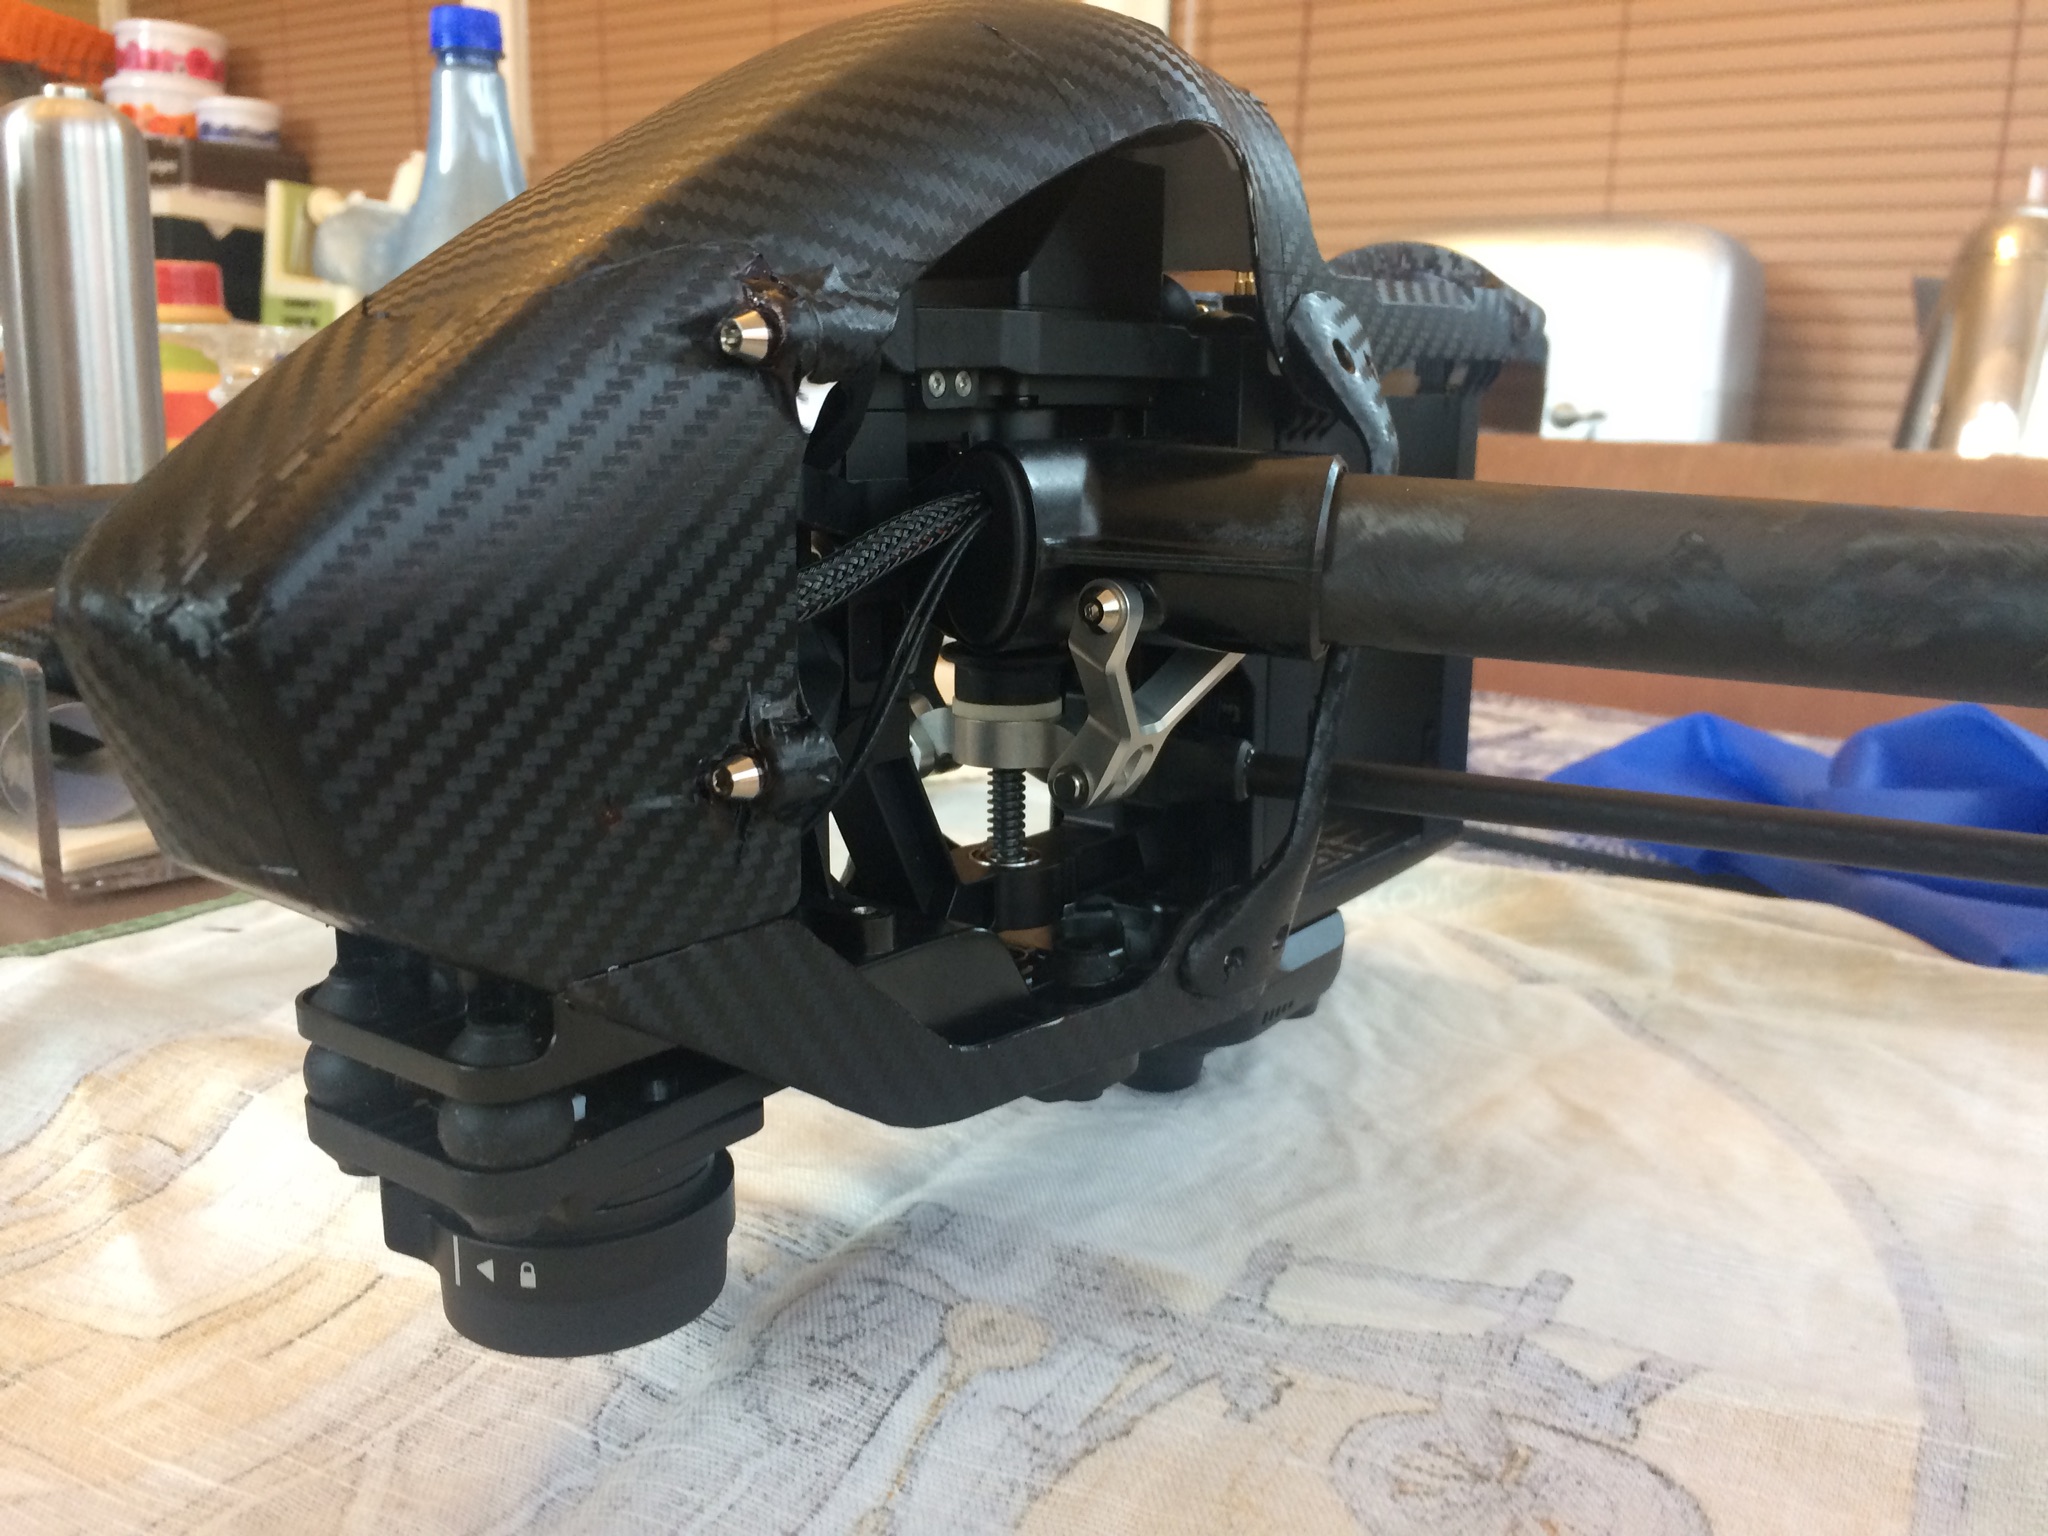
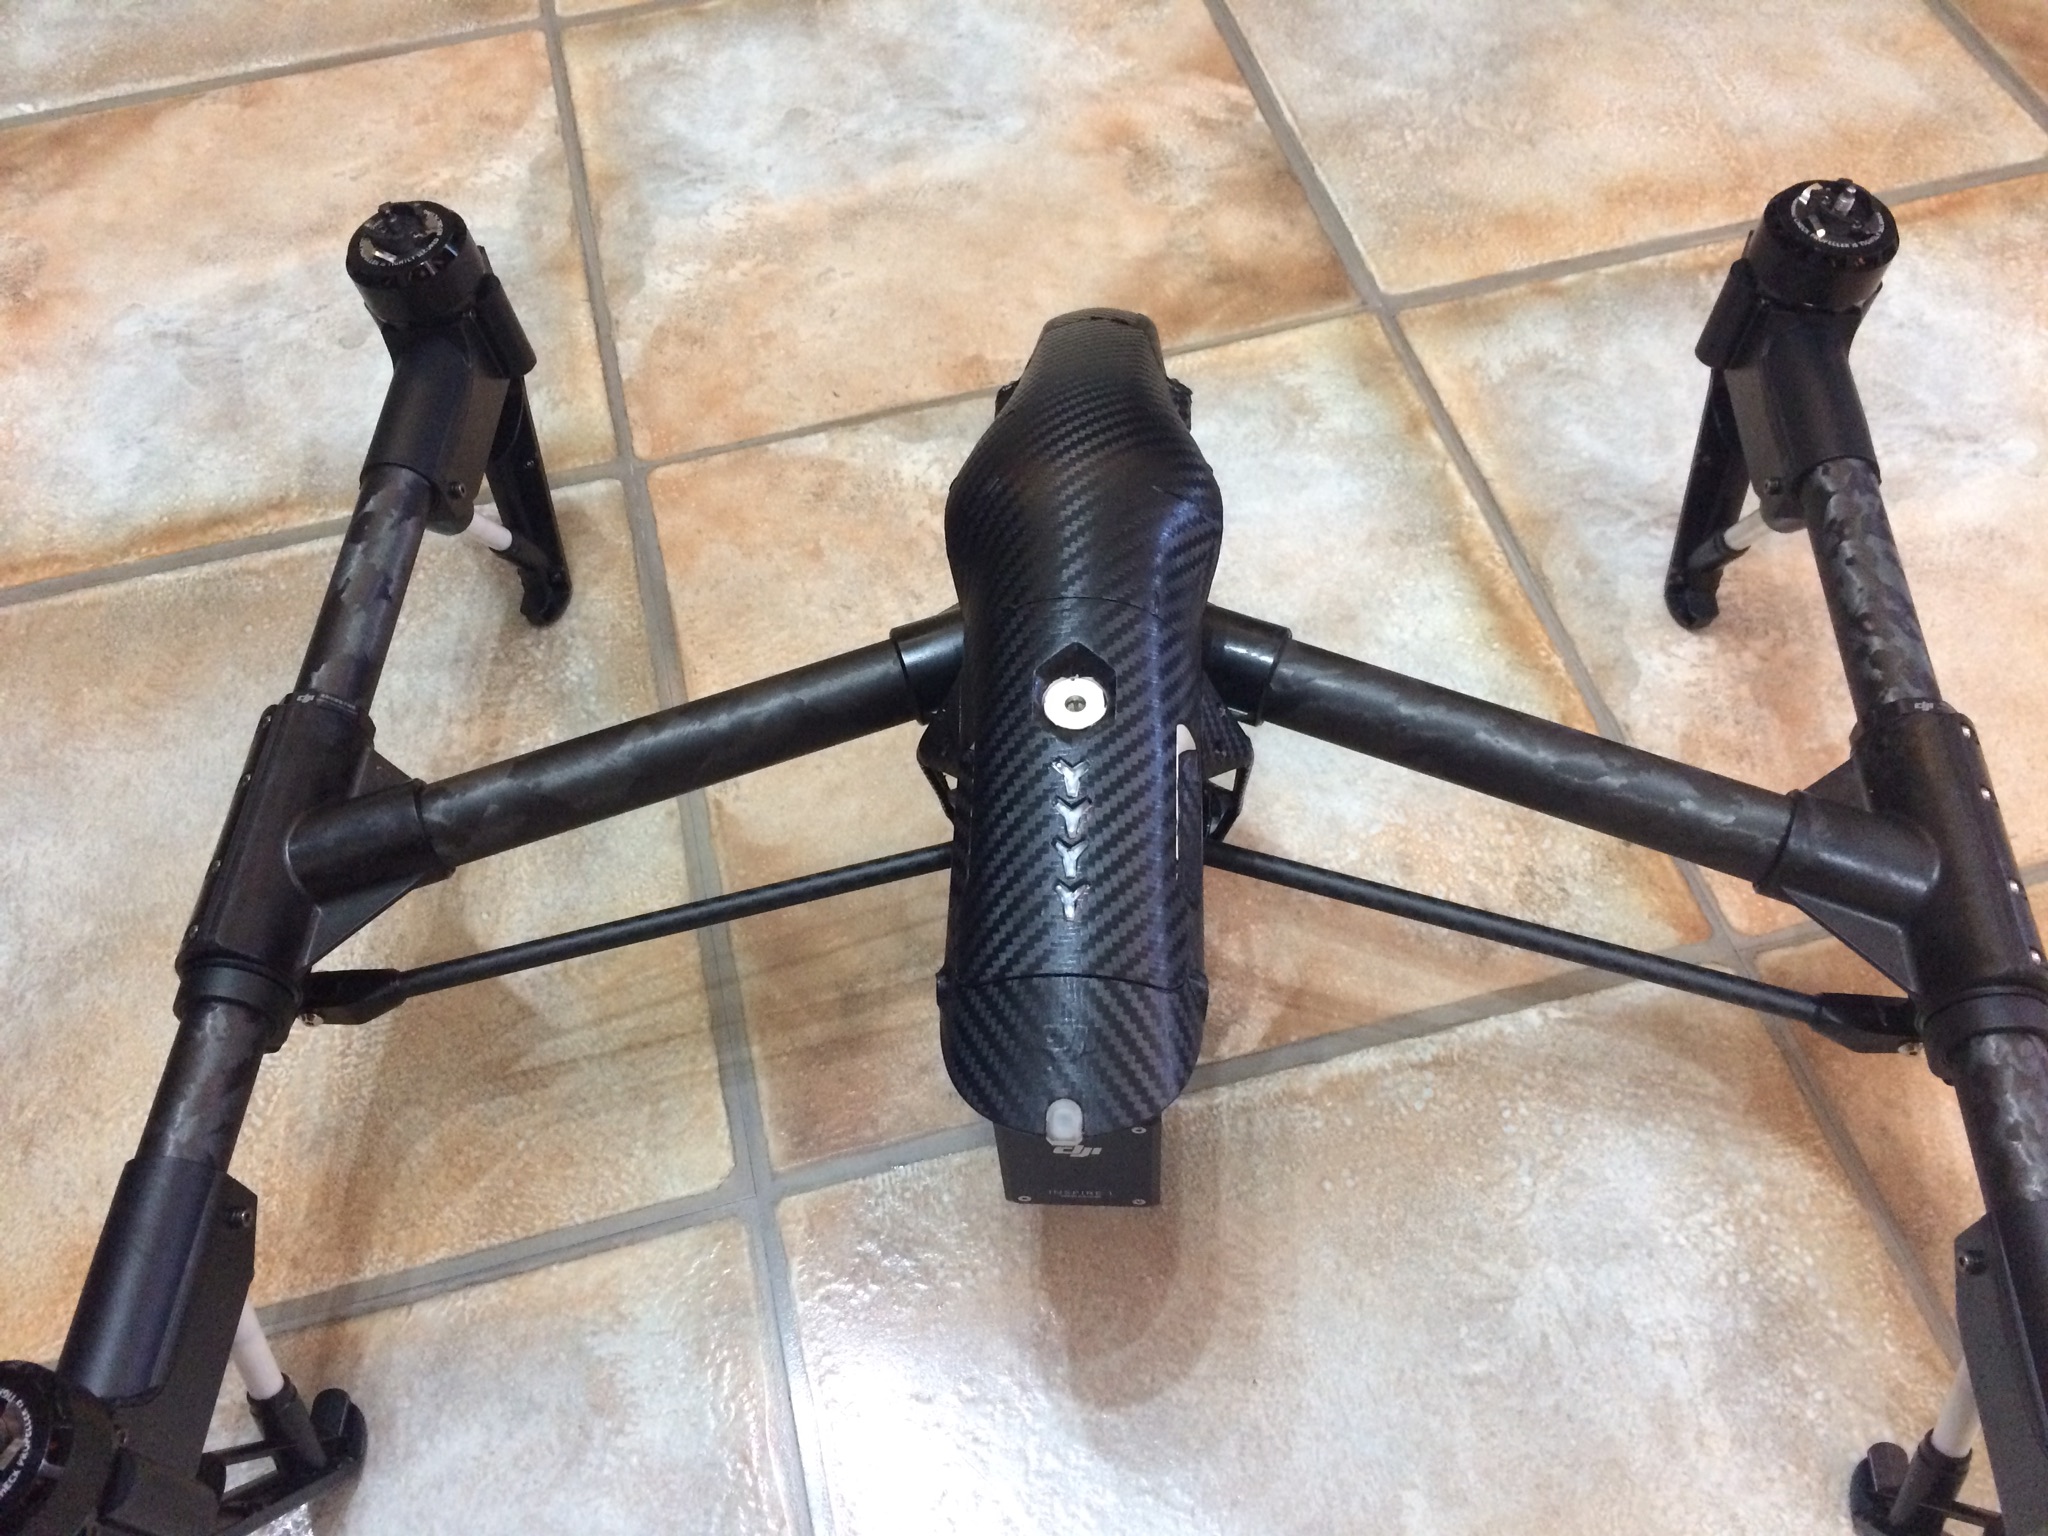
I recently picked up a second hand Inspire 1 and to be honest, I’ve never been a fan of that ugly white body!
The arms are made of some weird carbon fibre composite but they look pretty good, so I thought I’d wrap the white body shell in carbon fibre to not only match, but to hide that bloody awful white body!
Anyway, my quest began!
I went to eBay but to be honest, I was really put off by the wraps available.
Not because of the quality, I’m sure that’s fine, but I was really put off by the gaps 
Here’s the kind of thing I was looking at on eBay:

Perhaps unavoidable due to the shape of the Inspire body (which later came back to haunt me) but the nose cone itself is a single piece of plastic (meaning five-sides to wrap!), and the entire top section from front to back is one piece too - there are subtle curves all over the place…
On the top there are massive slits, again to aid in the application of the wrap. The white bolt holders on the front are exposed. The nose cone sticker is not only in two separate pieces, but the top piece of the two also has slits in it

And looking at that pic above, there are just white bits of plastic exposed all over the battery, it looks like something out of Tron!
Sigh…
So my only option now was to try and wrap this thing myself. Not using a template (as I’d have the same slits and gaps everywhere) but instead, using a roll of carbon fibre patterned vinyl from eBay.
Armed with some scissors, some surgical scalpels, some alcohol wipes, some tiny torx screwdrivers, my wifes hairdryer and some terrible weather this weekend, I was all set
Easy bits first, right?
I removed the two side braces and applied the vinyl.
The hairdryer is used to soften the vinyl, it makes it really pliable and helps getting it around corners
First attempt at the lower body, I re-did these after taking this pic as I could still see some white on the tops!
With the easy bits done, I then decided to do one of the many the hard bits - the nose cone.
I cut a piece slightly larger than needed and then applied it to the front, left and right.
Then I cut a load of slits in it, not right up to the body (as that’d expose the white) but enough to help in bending it round the corners.
Then end result?
Bloody awful!!! 
It was absolutely impossible to do…
After about an hour I’m thinking it would have been far easier just to spray paint this thing.
Anyway, in for a penny and all that. I then tried again.
Half an hour later, same result - impossible.
Time for Plan B!
I didn’t photo this part, sorry, but I then applied one piece to the left side of the nose cone and one piece to the right. With the two sides in place, I then cut a straight ‘strip’ to cover the front of the cone, with some overlap to just about stretch over the sides too.
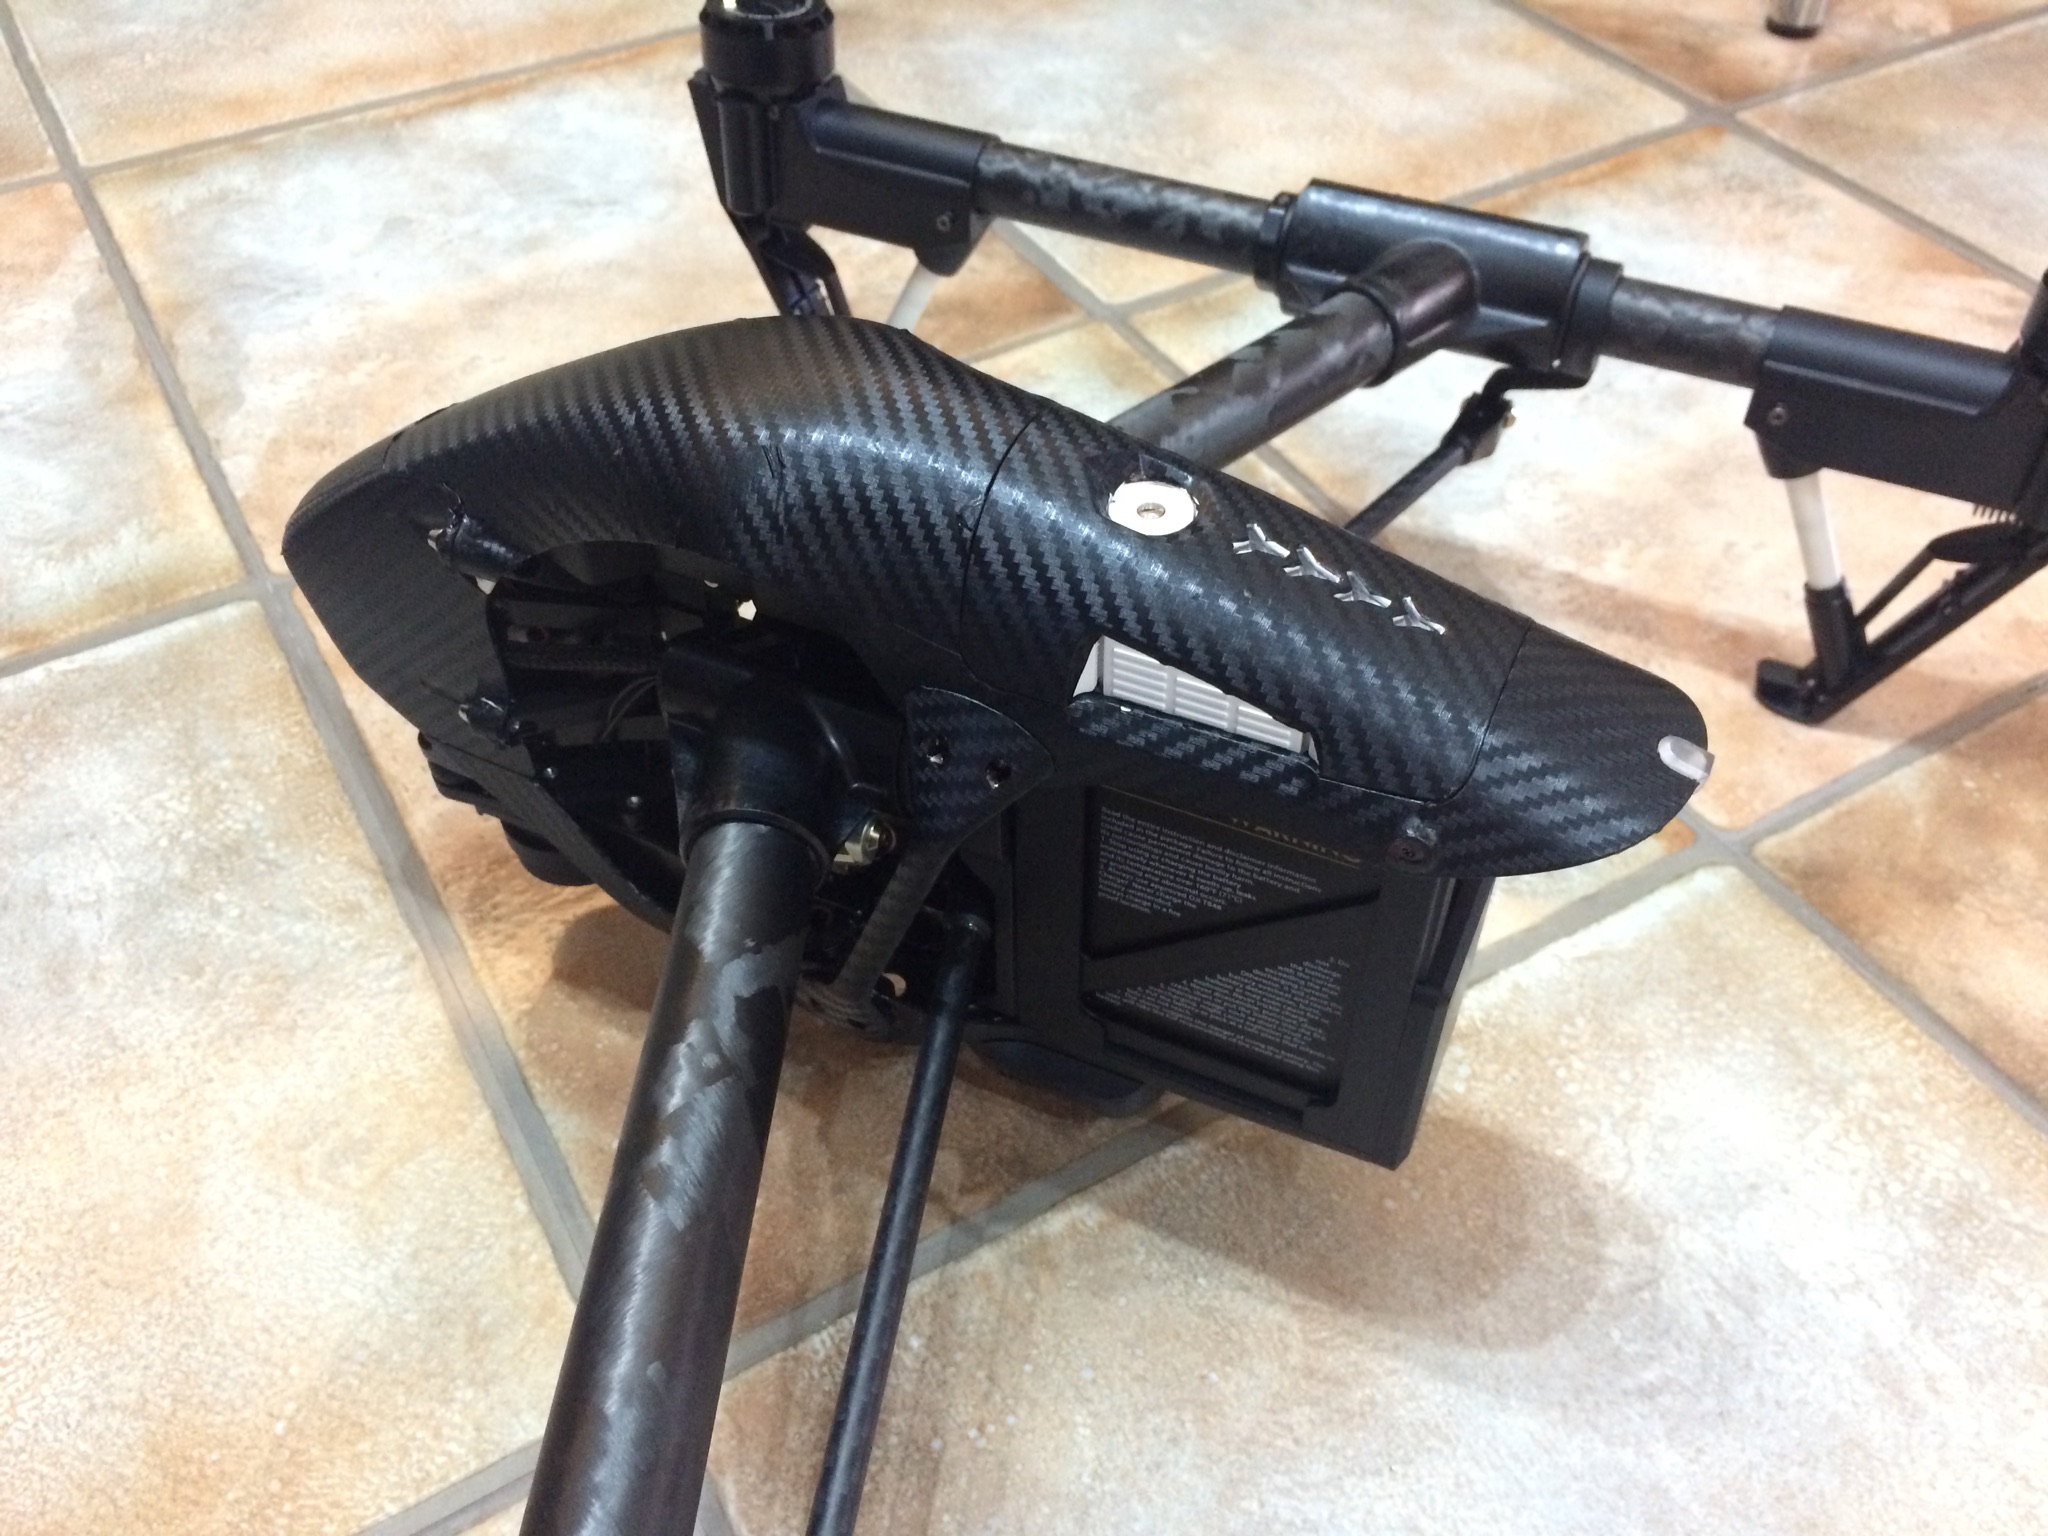
It’s not perfect. In fact my OCD is playing havoc with me today, but it’s the best I could do.
For some reason I forgot to photo the top while I was doing it, but I had similar issues, just too many subtle curves!
Not to the same degree thankfully, I was able to use just one piece of vinyl, but there are two tiny little creases visible. Again, this might play on my OCD after a few days, we’ll see how it goes.
The end result, when viewed from four feet away isn’t too bad:
Close up however, and you can see the small crease on the top.
You can also see the join/overlap on the nose cone too:
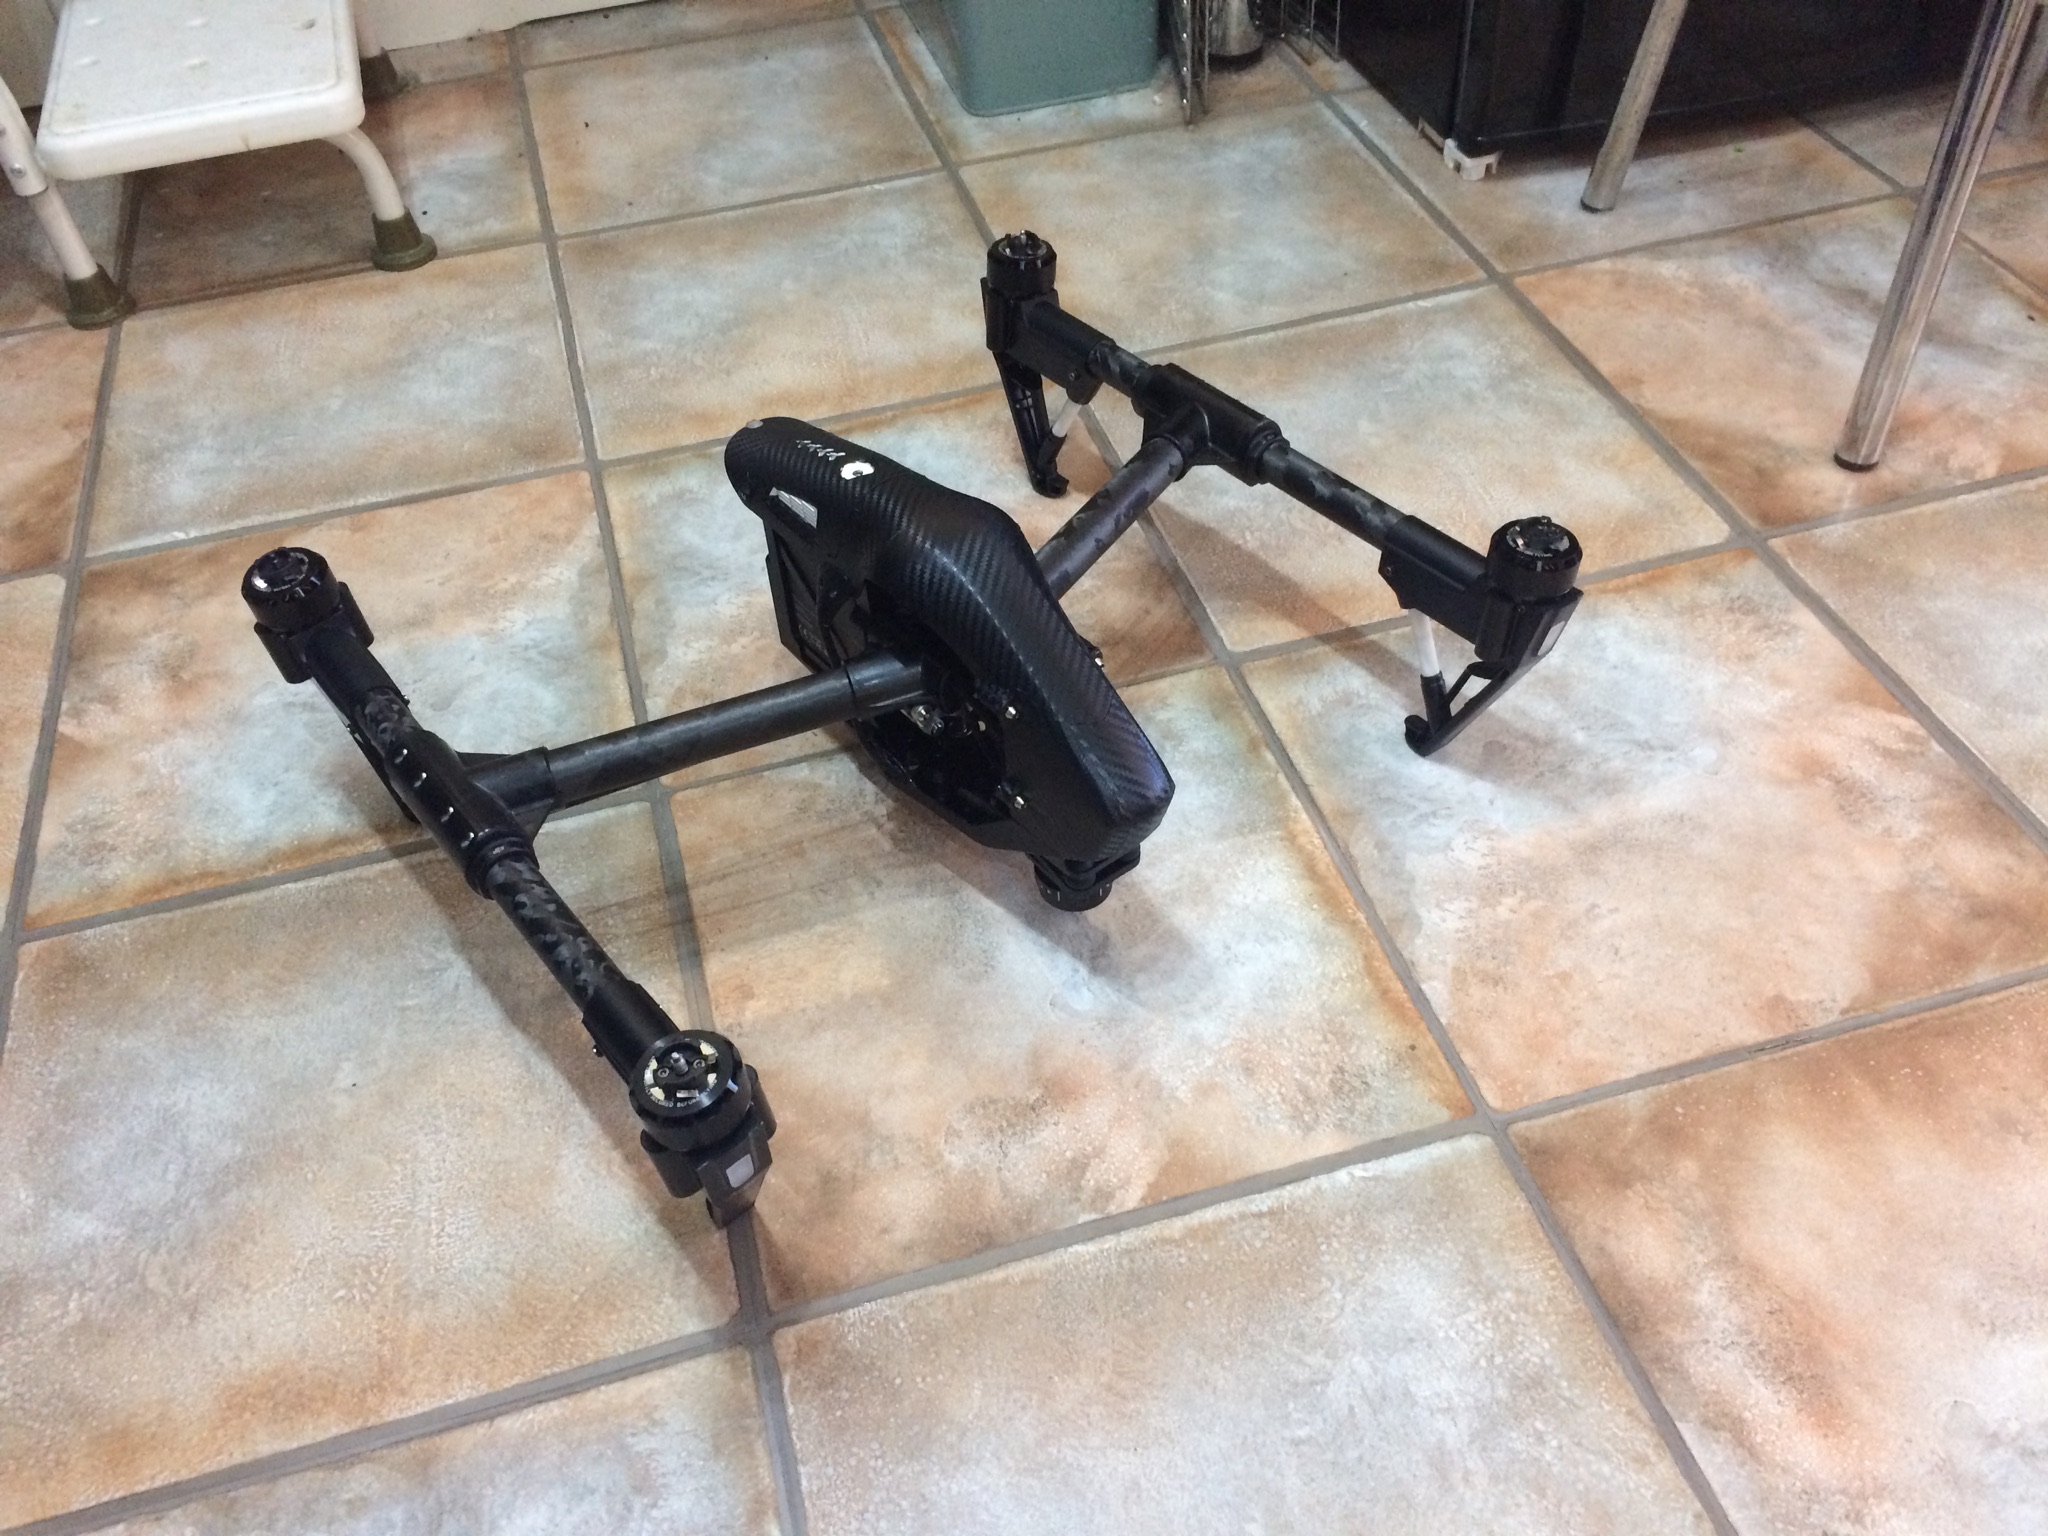
So that was the main bird done.
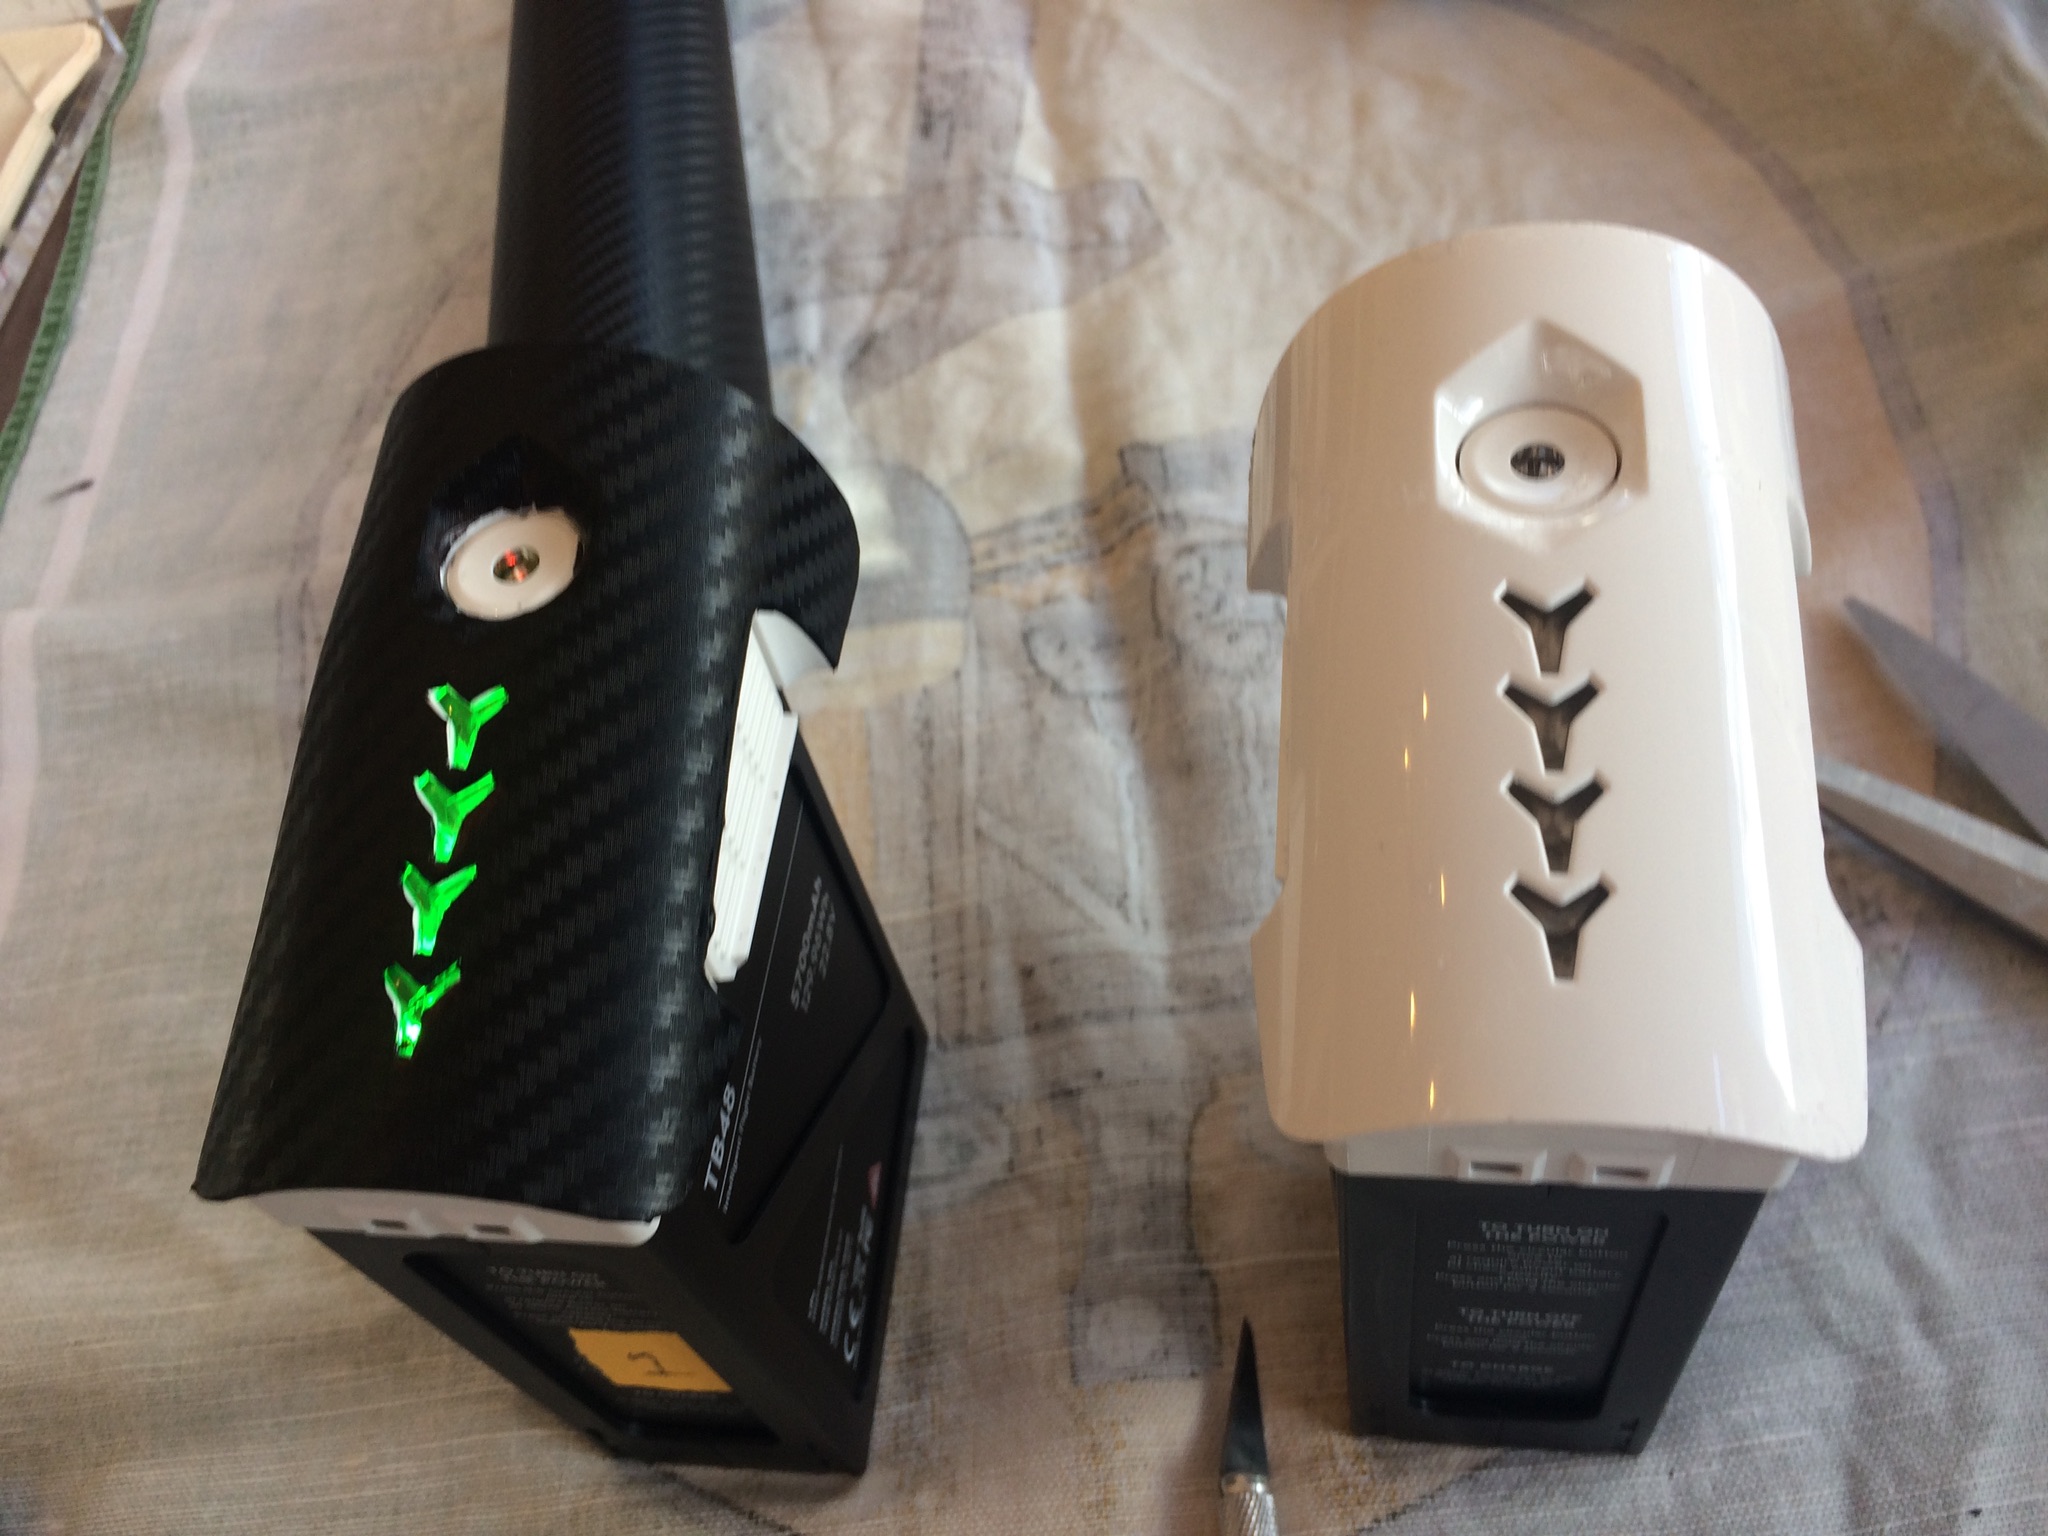
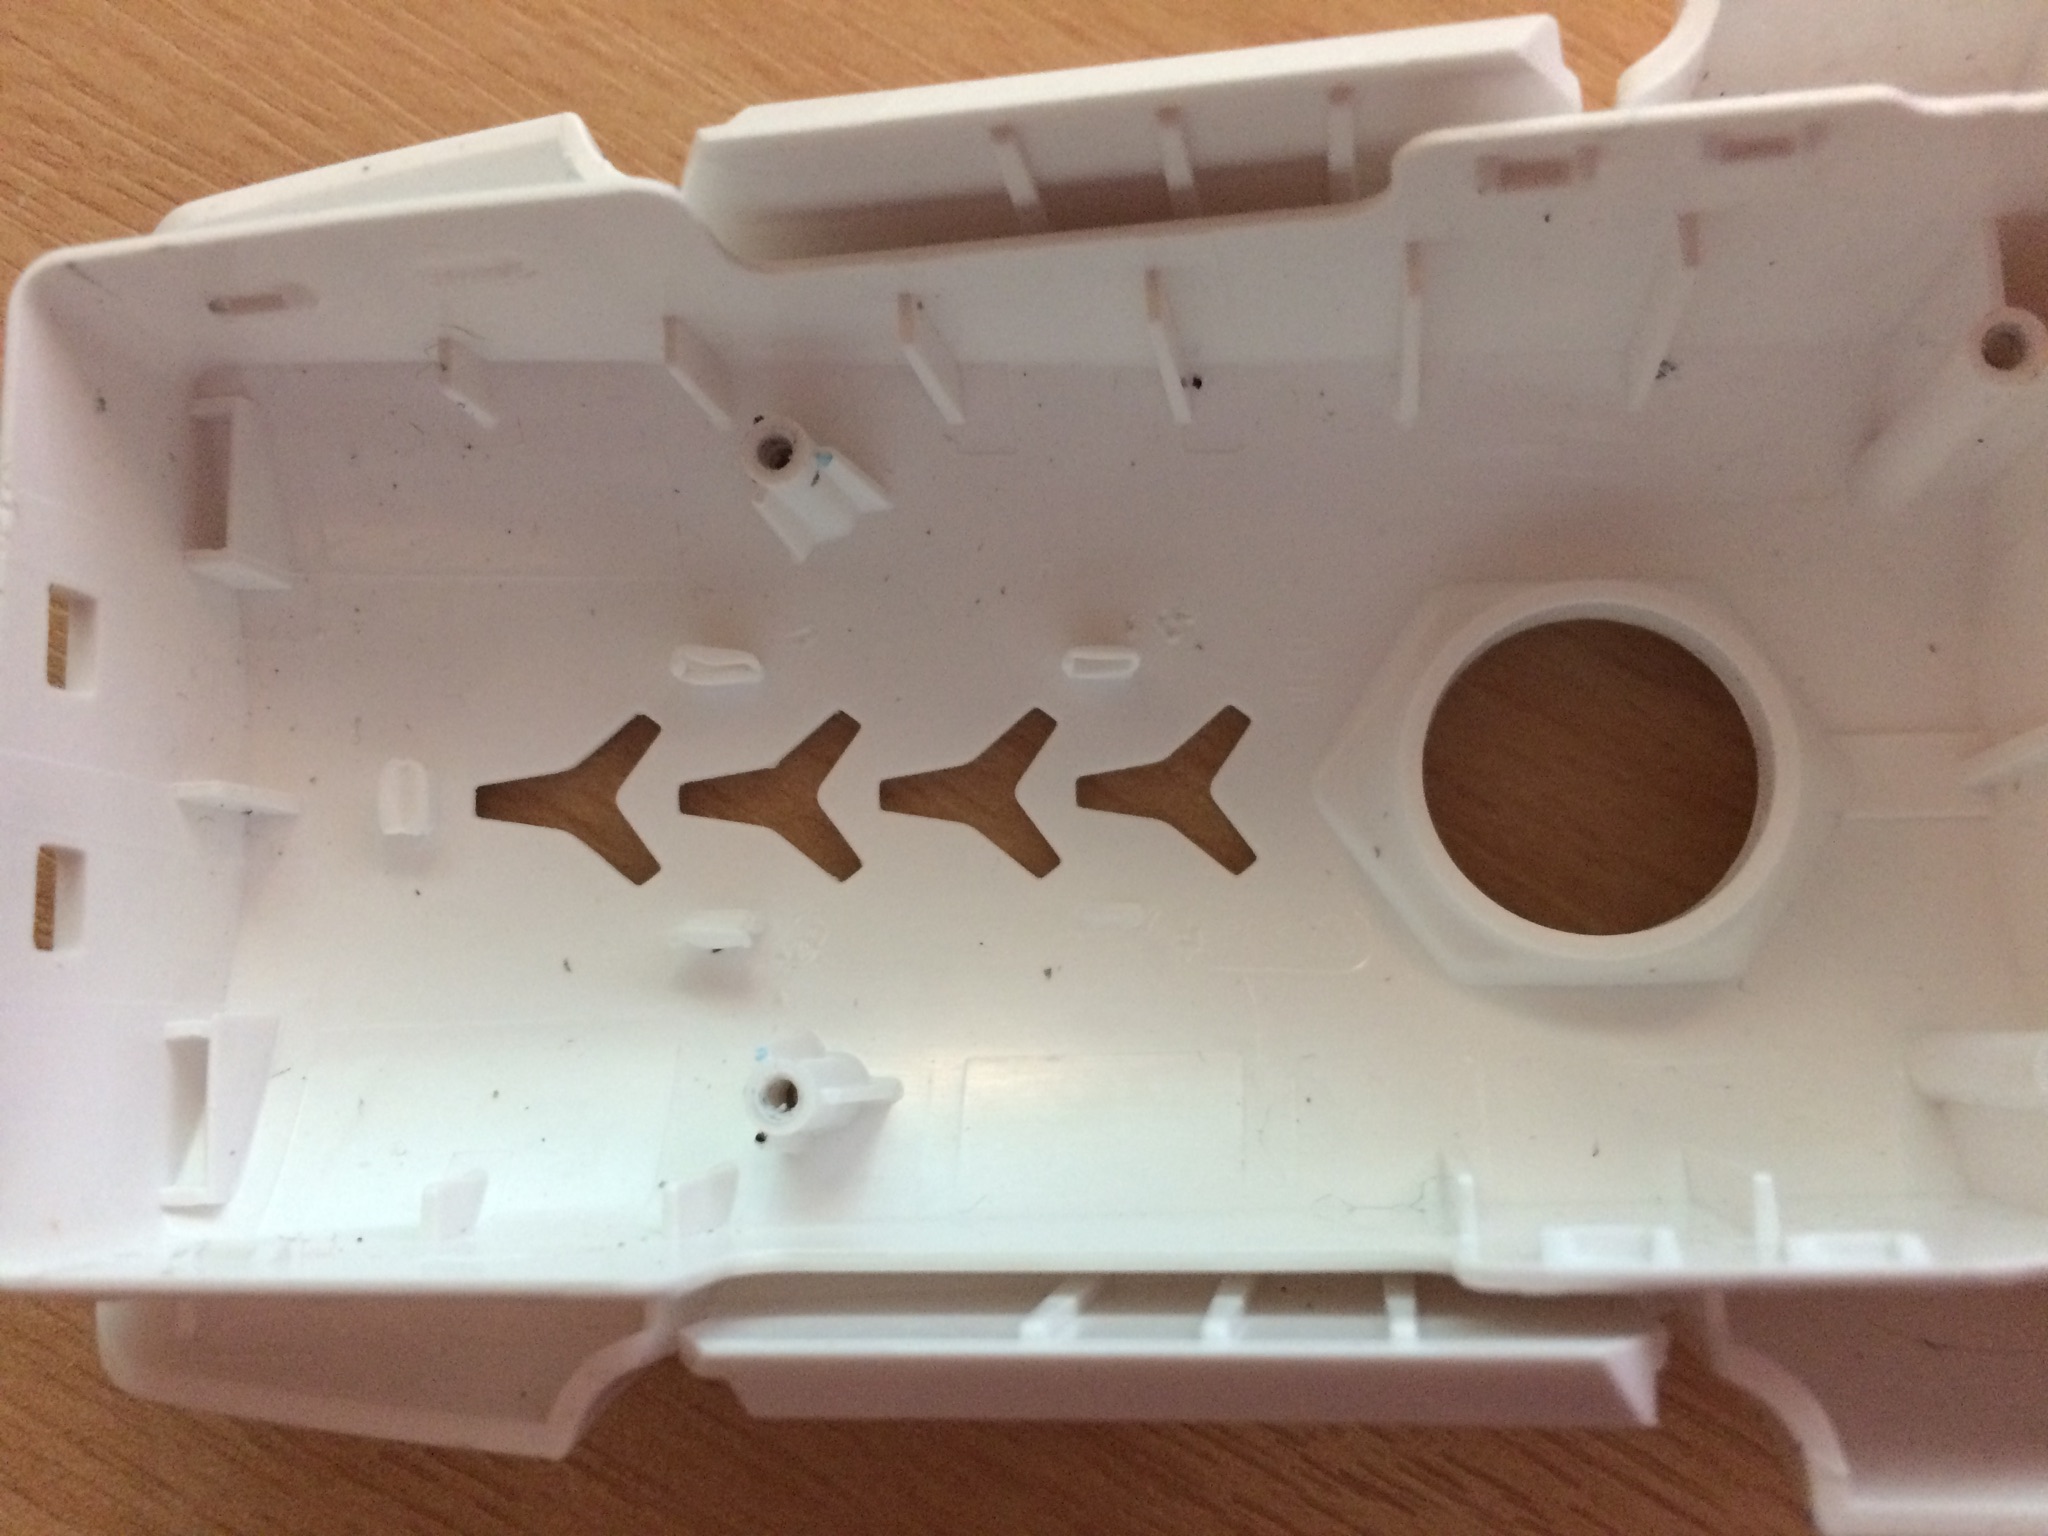
Now on to yet another nightmare part - the sodding batteries!
These things curve, only in one direction so not too bad, but the killer part here is, well, killer parts plural, the catches to release the battery, the depressed power button, and the shape of the LED lights.
See how far inset the power button is? In kinda a pointy diamond shape recess?
And!
Whose bloody idea was it to make the LEDs this shape?!??
The gap between each LED is <2mm. Nightmare to cut out!
Anyway, I kept going…
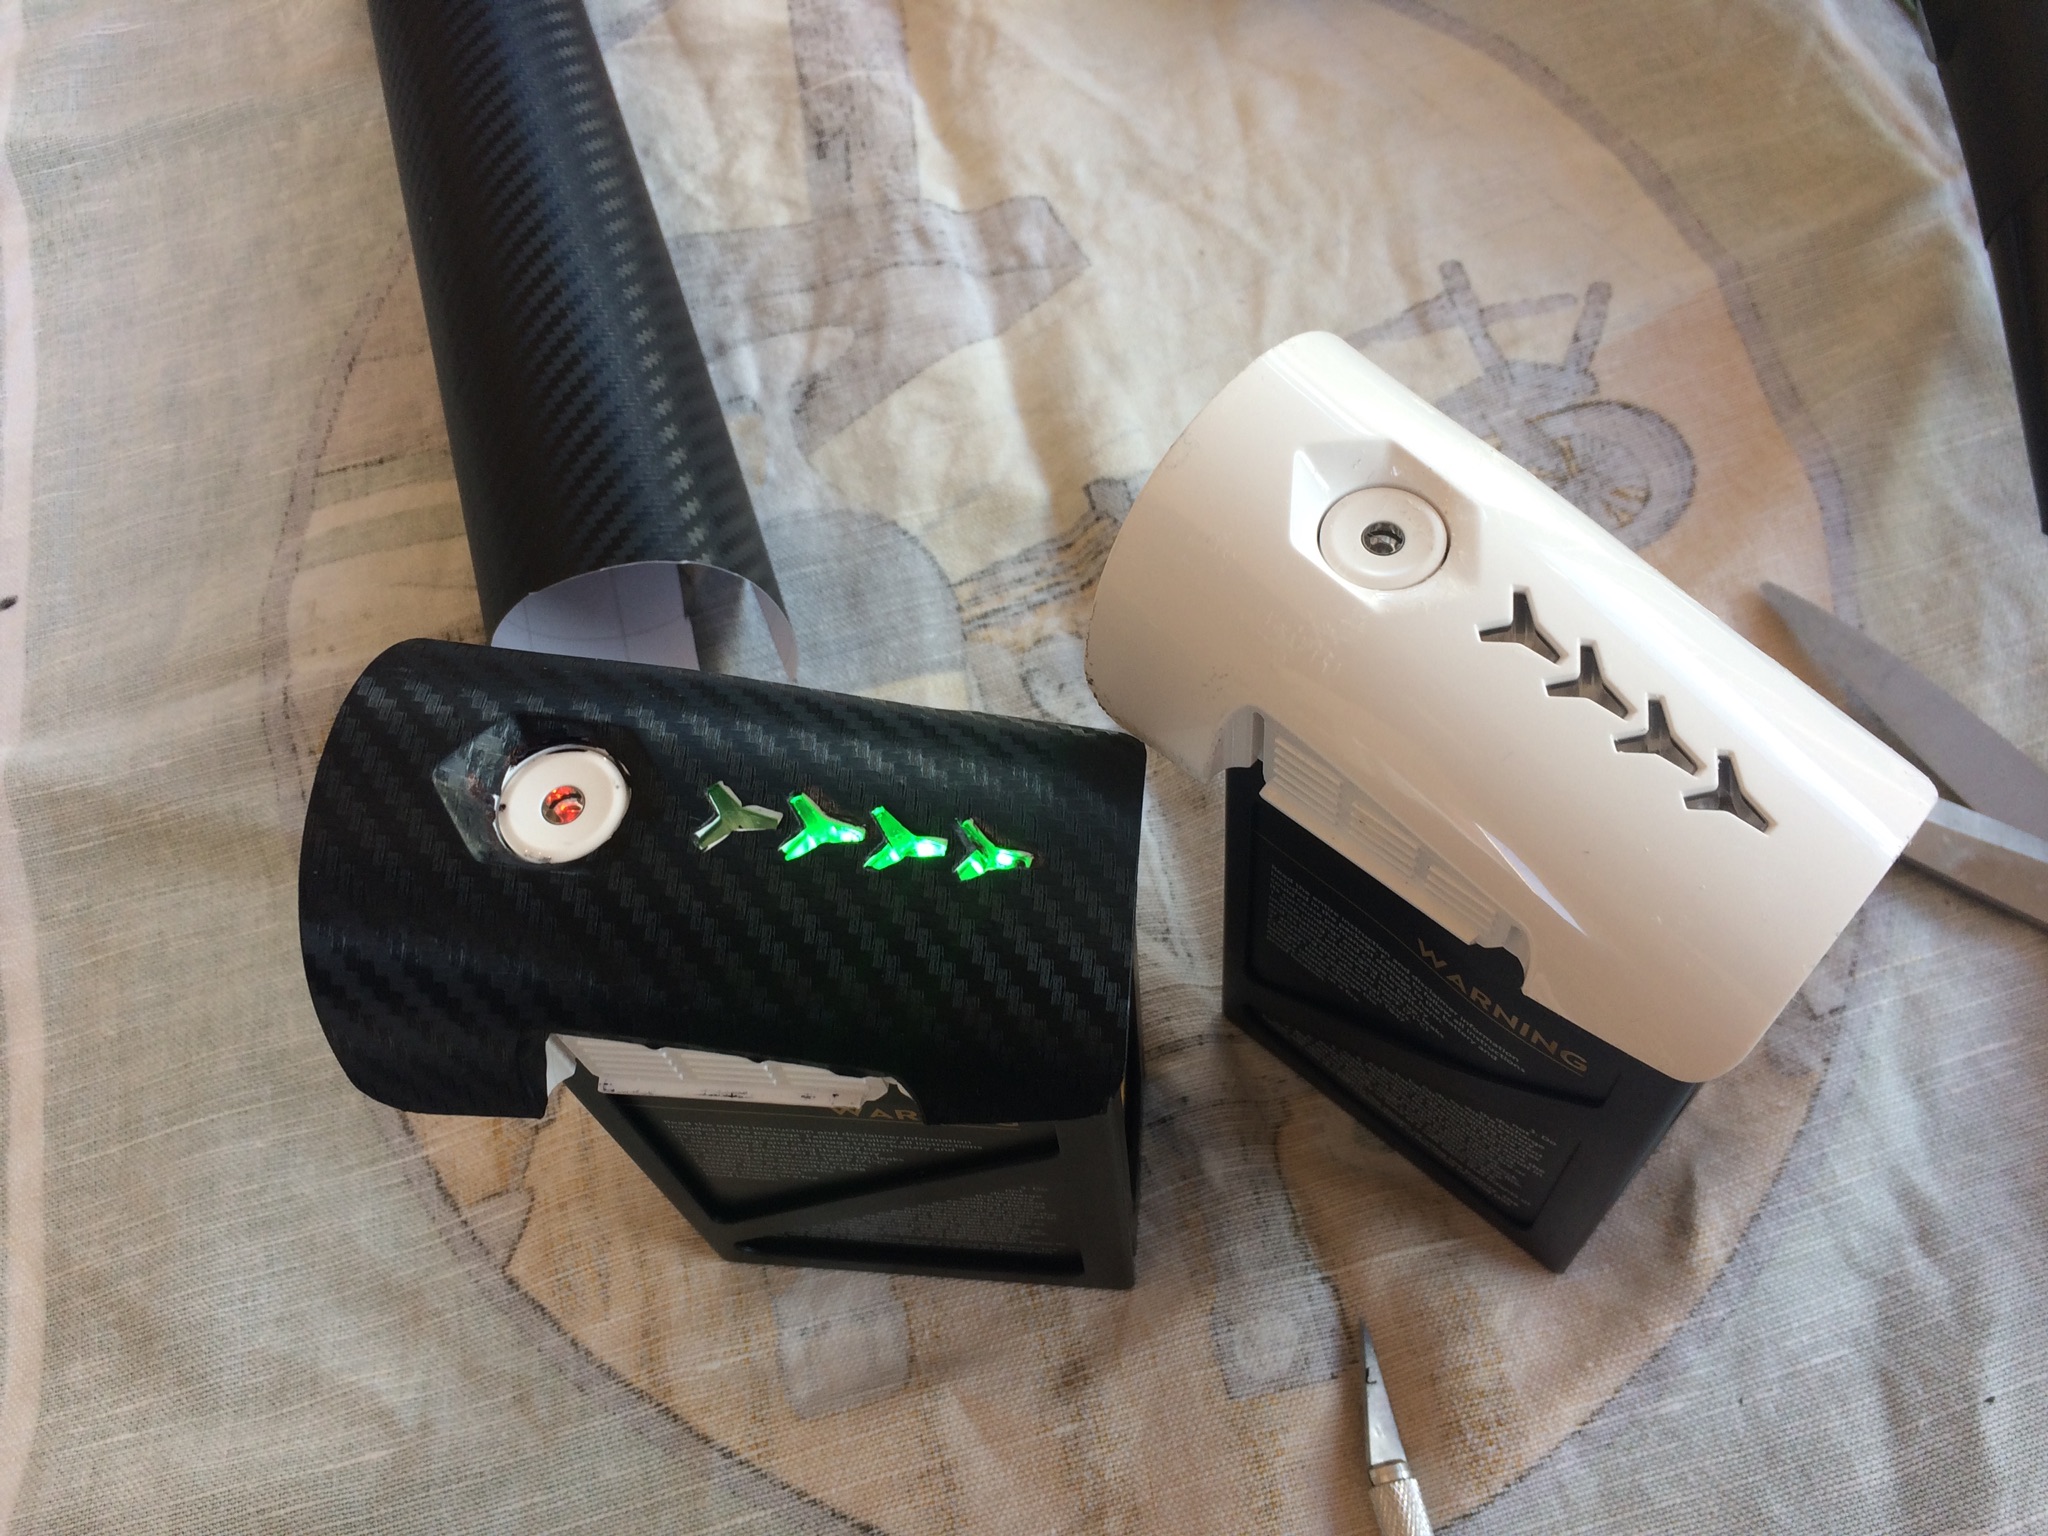
The end result?
To be honest, it’s “ok”… Close up and it’s not perfect by a long shot, but from a distance of just a few feet it looks pretty damned good
And best of all, no white slits everywhere!!
I might paint the battery release clips black, just using some matt nail polish or something? A little tin of model paint? Something like that. Not sure about the power button on the battery either.
So!
Would I do it all again?
Probably not. But only because I’m too much of a perfectionist for my own good sometimes
Next time round, for such a complicated shape I’d probably go the hyrodip route, as @OzoneVibe mentioned above
I bought another shell just for this, personally I like the white but I was going to spray the other shell satin anthracite.
I couldn’t find any i1 shells for sale on eBay? I found a nose cone, and a top cover, but no other pieces?
If you’ve got a link, I’ll probably try again, just to stop my OCD keeping me awake at night
I bought mine from someone selling theirs as parts.
I’m not sure if I’ll ever use it though so I might be open to persuasion 
What about the batteries though?
I’ve got a dead TB47 here, I might take it apart and see if I can detach the white plastic from the electronics…
From memory you can, I think the pub is screwedto the top.
There is a guide on YouTube to help you get the top off.
I’ve spent the last hour or so watching DIY YouTube tutorials and browsing eBay for home starter kits…
There’s a definite knack to it, but it’s not rocket science, just a knack to getting the bubbles and creases out without submerging the film under the water before activating it. I think with a few trial goes, it’s quite possible…
I think I may be getting tempted to give this a go… ![]()
@MementoMori, is that spare Inspire shell still for sale? ![]()
I think I decided the cost to practice enough to actually get the Phantom looking good was more than my budget.
Luckily I’m quite happy with the default MP colour.
I look forward to the photos!!!  (The good and the bad! LOL!)
After mentioning it yesterday I am thinking of spraying it again.
So at the moment no sorry.
This is actually quite easy to do ![]()
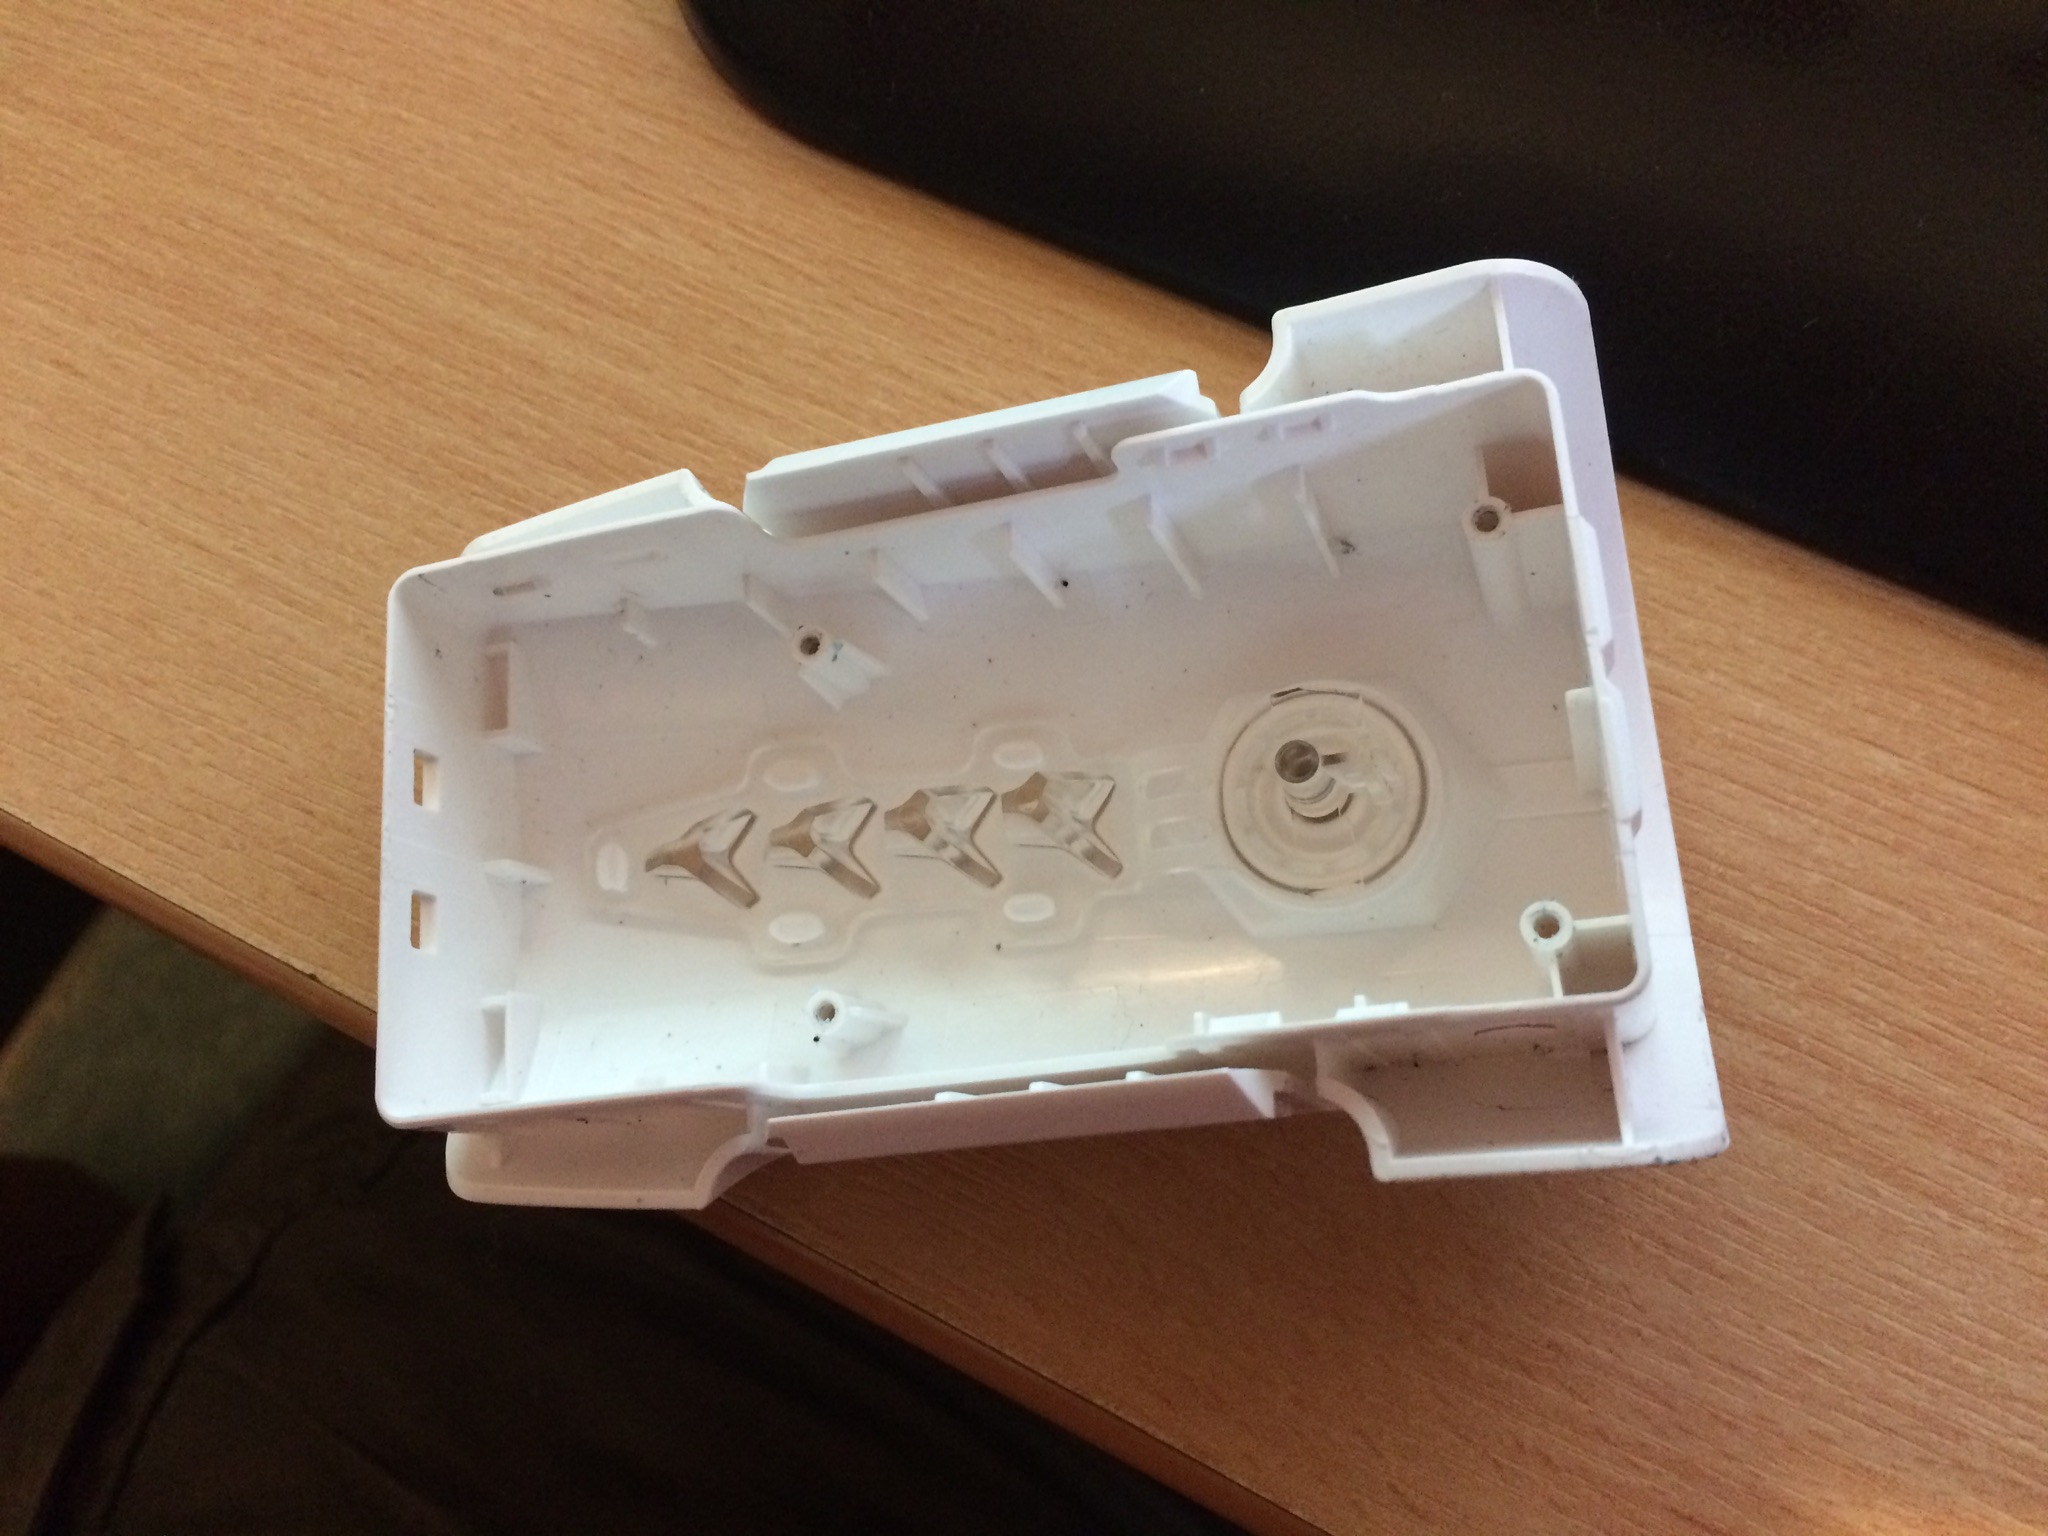
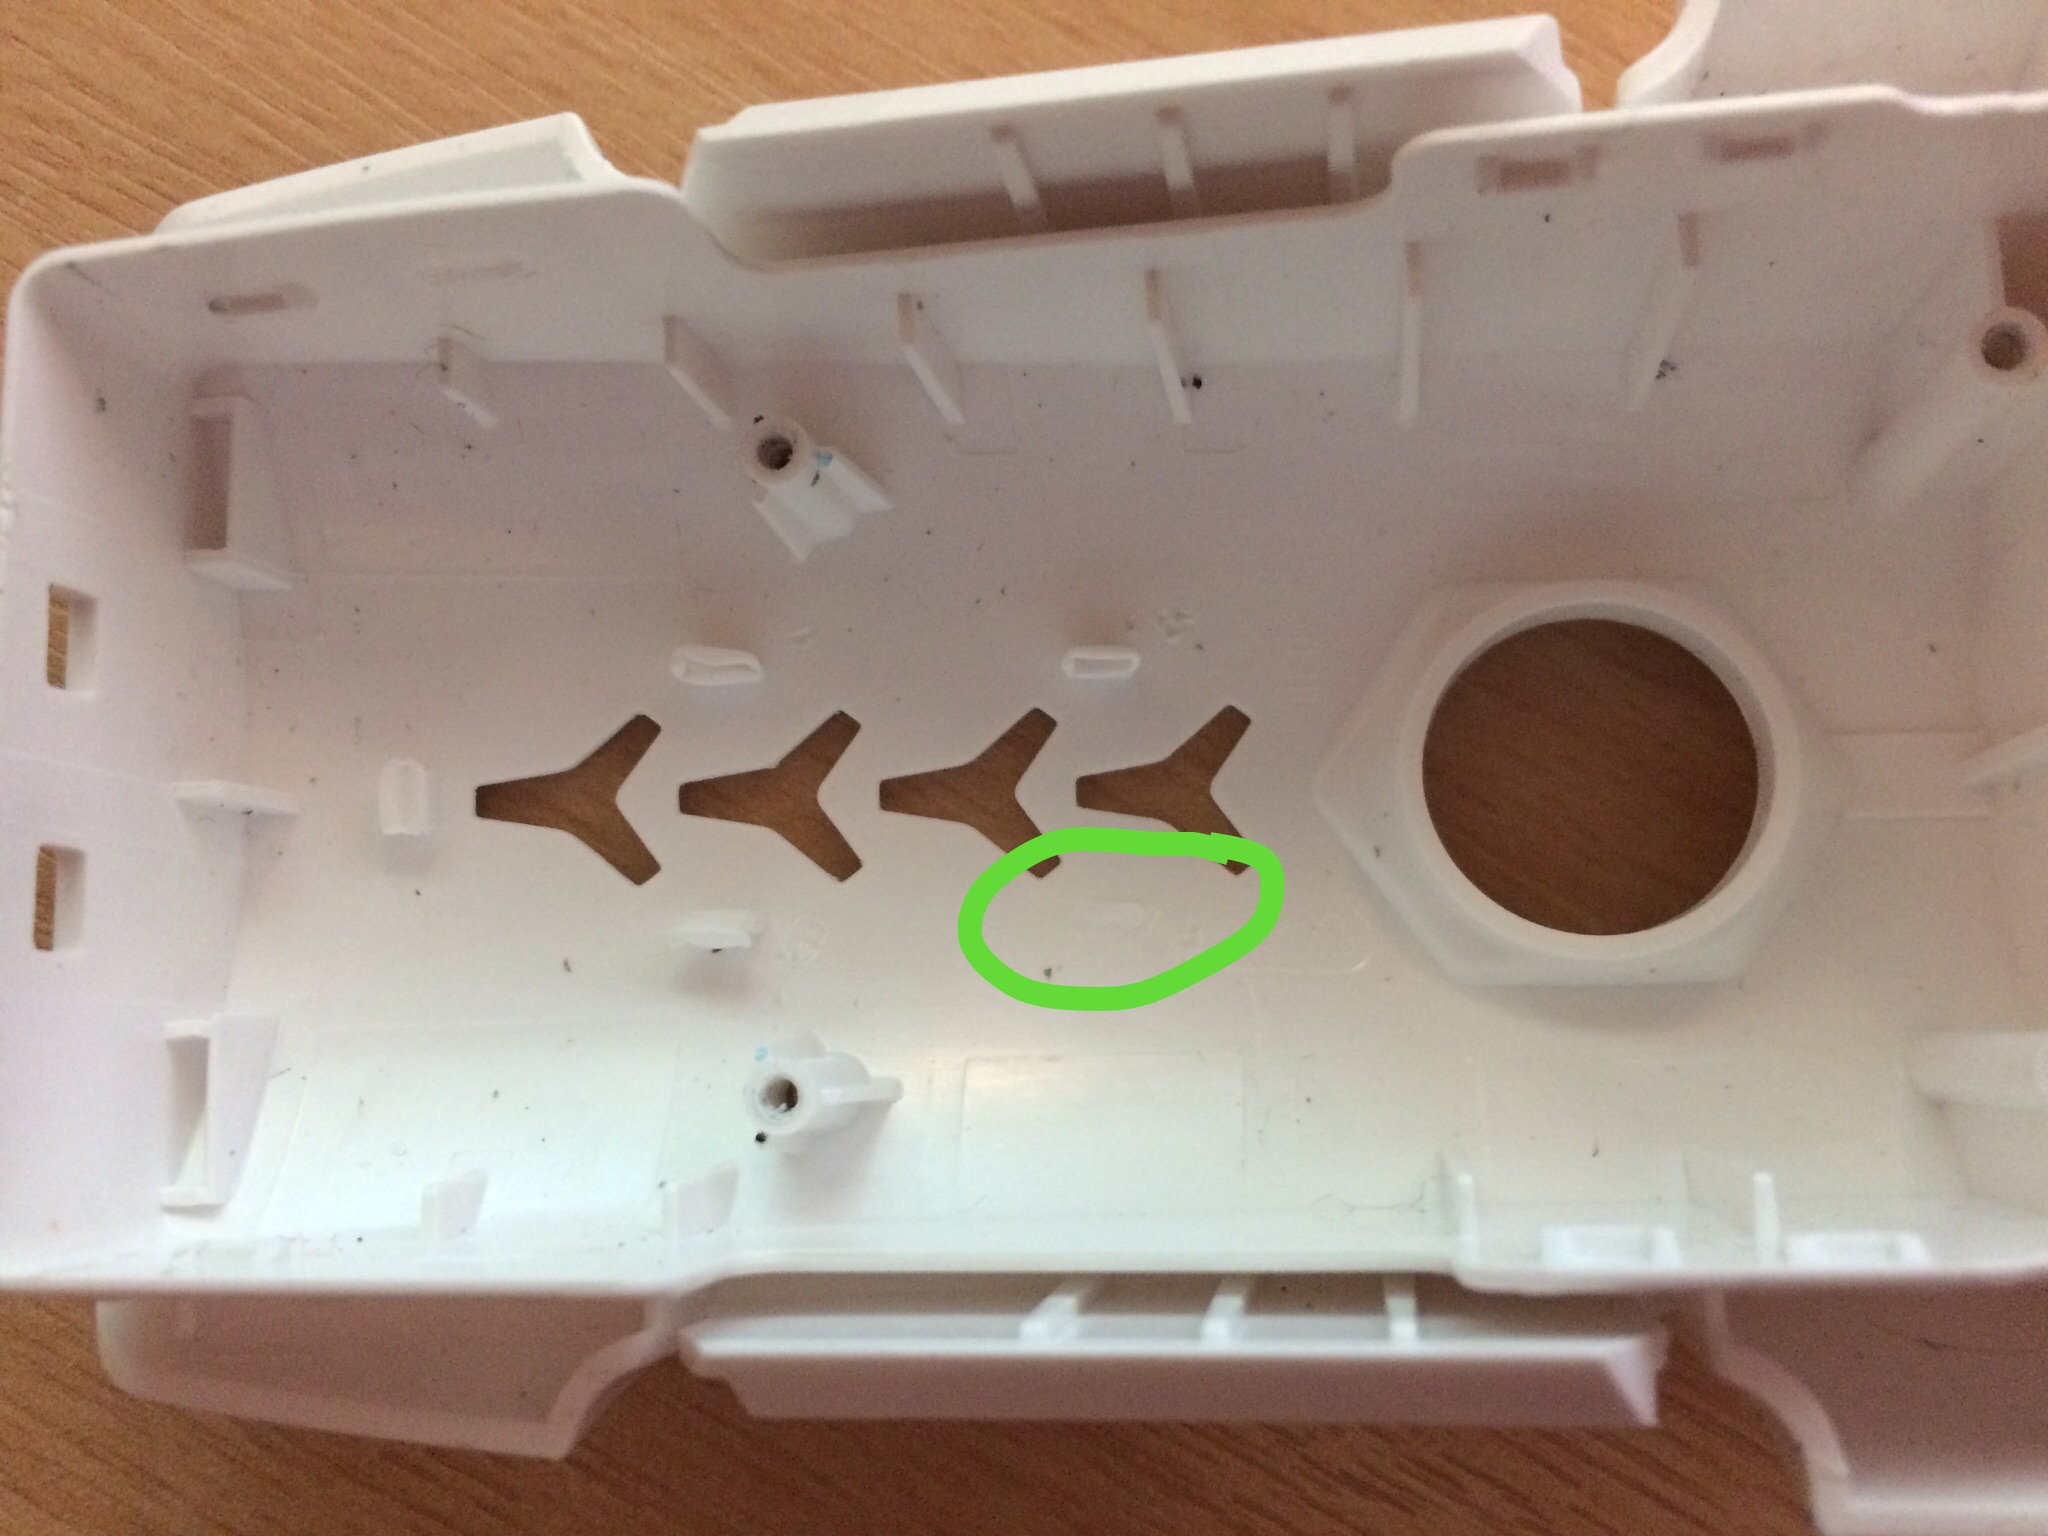
Top just pops off, it’s only clipped. The electronics are screwed in to the top of the lid. Just four little Phillips screws to detatch.
Which leaves you with the white plastic lid.
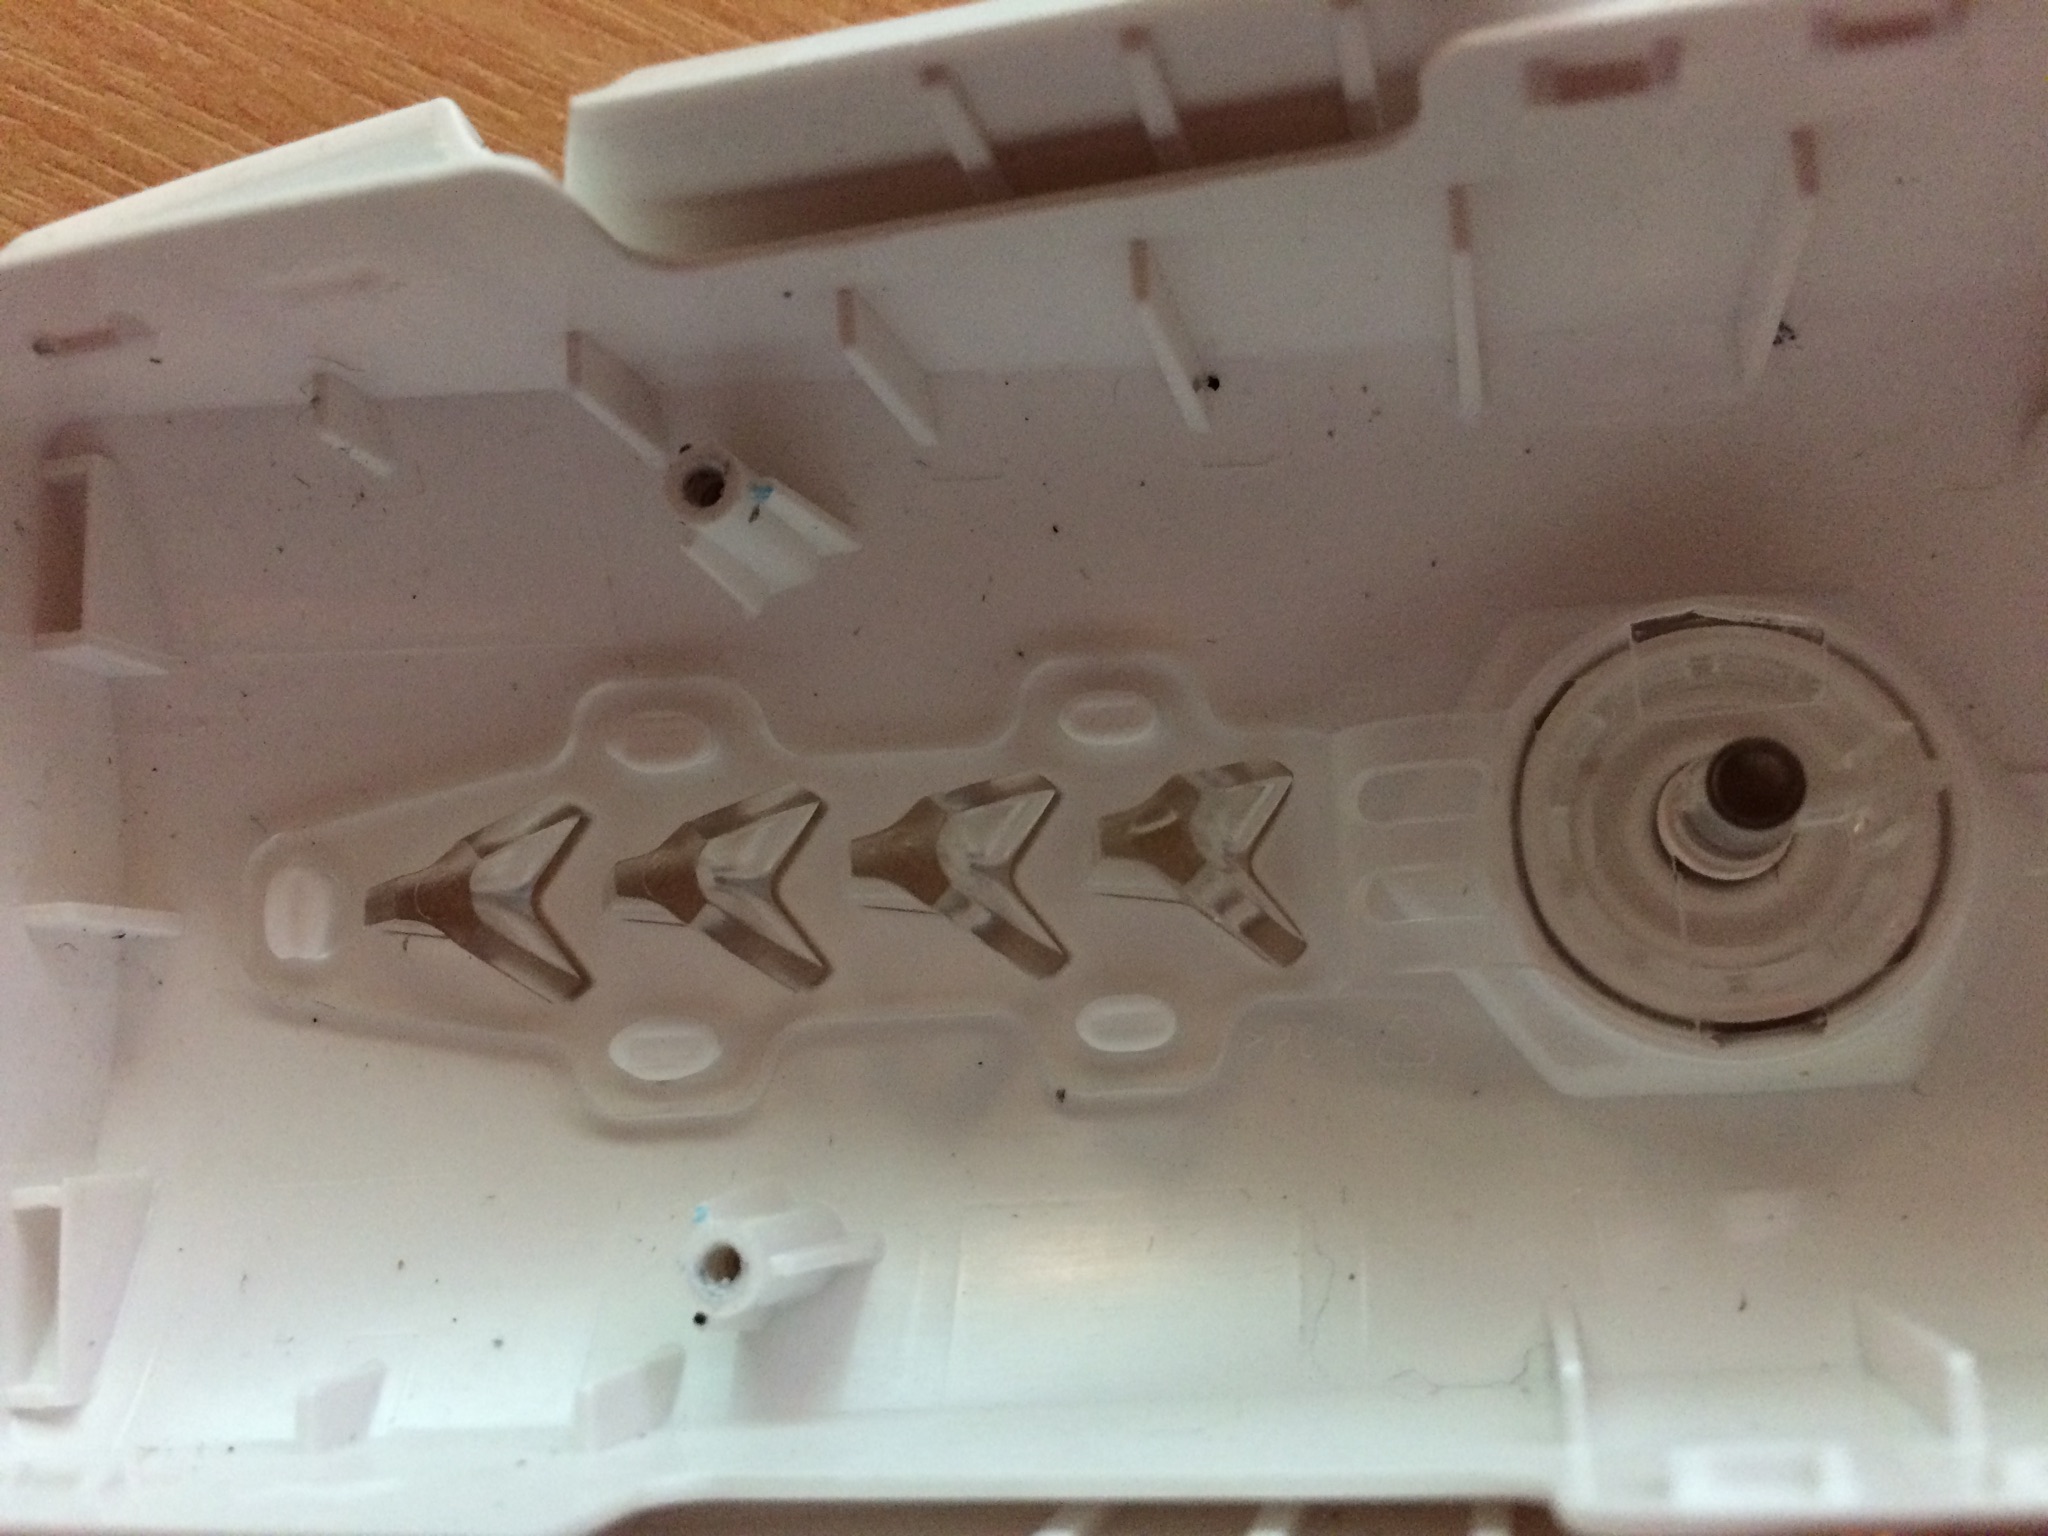
The LEDs and power button are also clipped in.
But!
They’re not really clips, they’re plastic studs that have been melted on top to hold the LED covers in place.
Some careful prying and sure enough, it comes out in one piece.
Leaving you a plastic lid that can be completely submerged in water.
Power button appears to be glued on, so I’d probably just paint this using model paint.
Word of warning though, I snapped one of the tabs off:
I also snapped a second tab off when re-assembling. So might need a dab of glue in the holes just to keep it in place.
So there we have it, the battery tops can indeed be hydro dipped ![]()
Thanks my friend for that. I have taken mine off now a support the bright green colour as it seems to scare of the birds more.
Looking good though. Have you had any swifts interested in it 
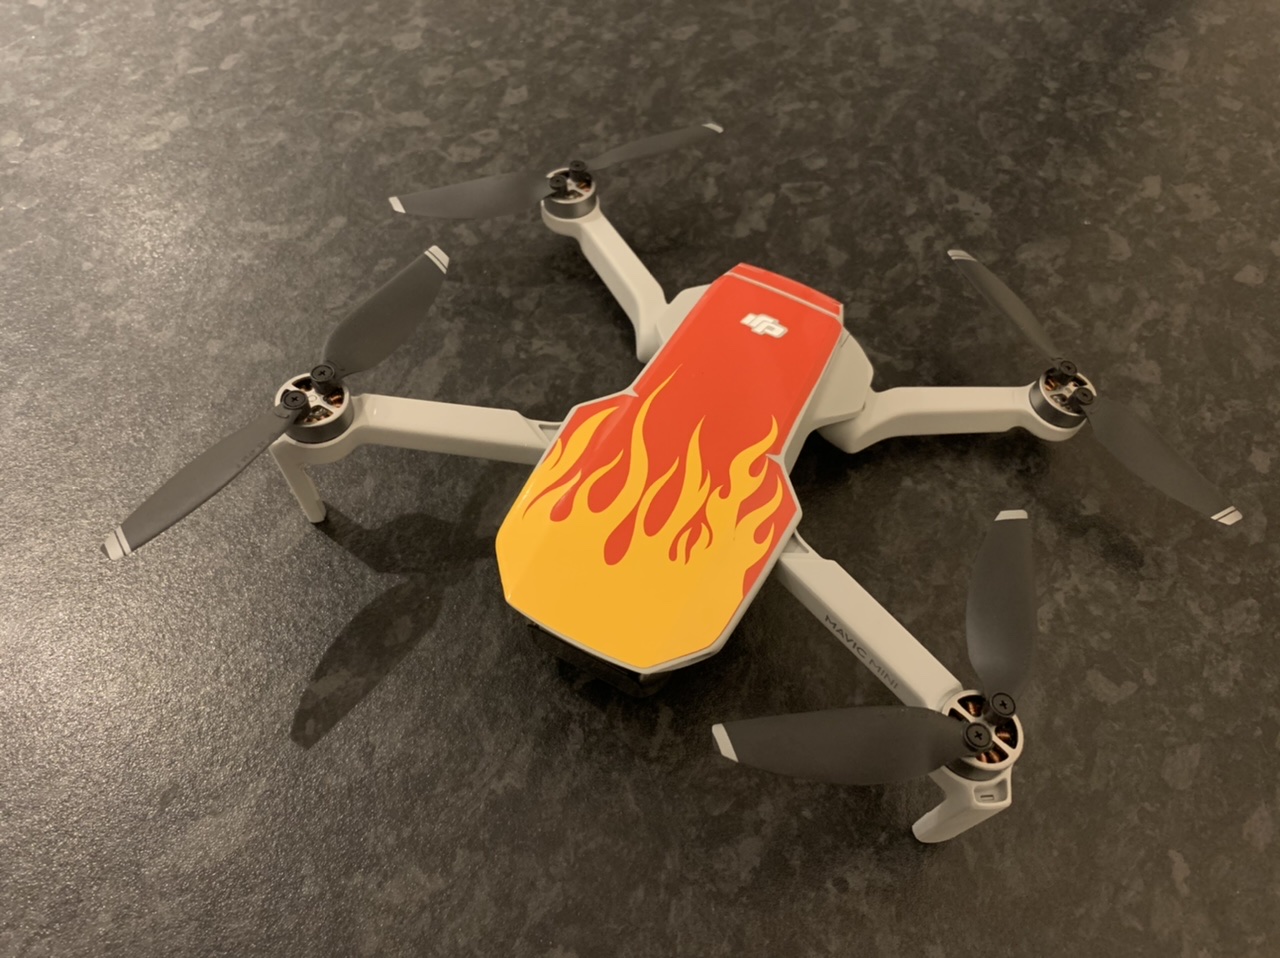
Okay, seeing some of these has convinced me… hot pink decals designed, ordered and on their way. Won’t lose that against a grey Scottish sky!
Looks like they’re tying the knot