GEPRC Crocodile Baby Setup

I thought I’d document my experience in case it’s ever helpful to anyone.

The story so far…

By way of dipping my toe in the FPV waters, I bought an Emax Nanohawk a few months ago. In an effort to future-proof, rather than buying an all-in-one RTF (Ready To Fly) kit I bought a BNF (Bind ‘N’ Fly) drone, some Fat Shark goggles and a Radiomaster, multi-protocol, OpenTX TX12 transmitter.

Fast forward to a couple of weeks ago and I’ve mastered hovering the little beast indoors, but not much else. Perfect time to spend a couple of hundred quid on another, slightly larger drone and associated paraphernalia. So I did. I went for the FrSky XM+ receiver and CADDX Ratel camera, in the expectation that would be compatible with existing gear.

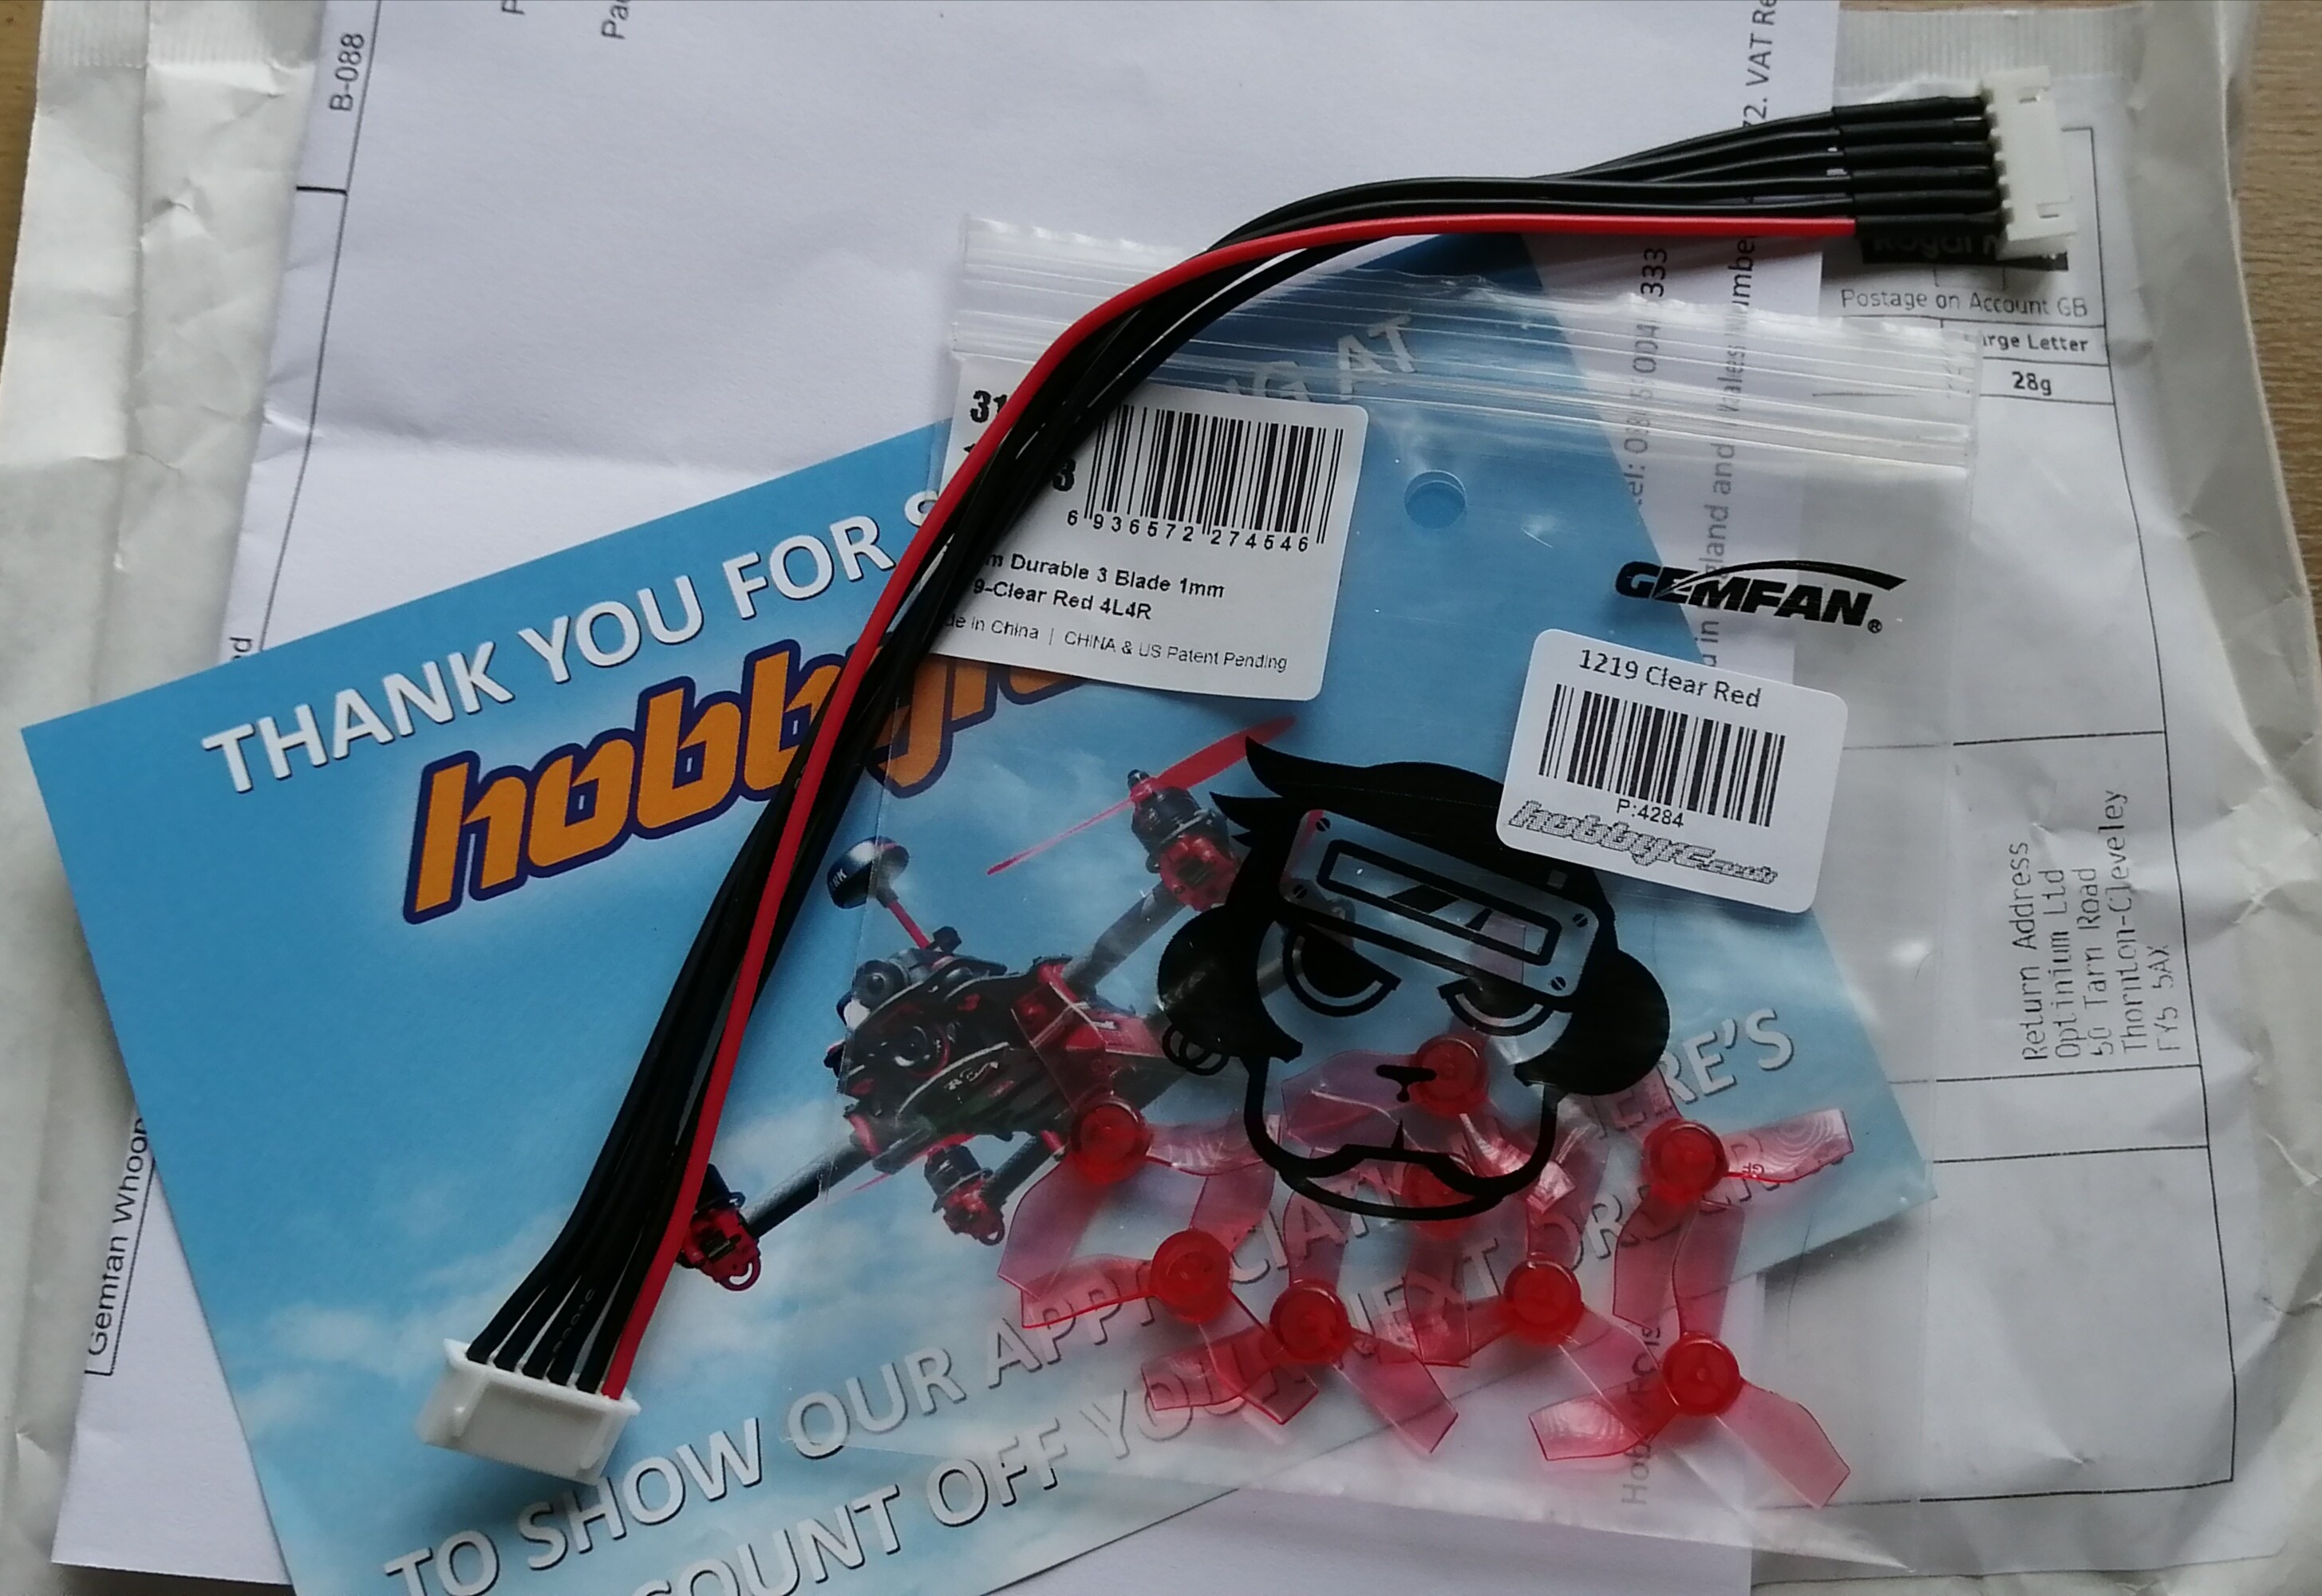
The GEPRC Crocodile Baby only took a week to arrive from Banggood. The battery is taking considerably longer, so I bought an extra, and a B6 style charger, from amazon/eBay.

The first thing I did was fire up BetaFlight on my PC (there’s a post about getting it working with my laptop elsewhere) and plug it in. Everything looks like the default setup is sensible and the motors all spin when tested, so the next task is to get it bound to the transmitter.

I figure the best option here is to copy my Nanohawk model settings and start from there, as I’d like the two to be basically the same control configuration as far as possible. This is easily done on the controller; just go into the Model menu, select the Nanohawk, long-click and select Copy Model from the menu. I can then select the copy as the current model and edit it as required, starting with changing the name.

So the first task is binding to the transmitter. Fortunately there was an extensive FrSky XM+ “Instruction Manual” included…

Step 1 of the binding procedure has the following:
’Turn on the transmitter while holding the F/S button on the module…'
I assume this refers to a FrSky transmitter module which I clearly don’t have as I’m using the TX12, so I’ll replace that with putting that into binding mode.
So, long-press on the “Model” button to get into the model menu, then “Page >” to the “Setup” page and scroll down to the relevant options.

The manual says, ‘FrSky D16 mode’, so that’s obvious, then just go down to “[Bnd]” to start binding.
[ Edit from the future: Turns out there are four options for binding. It’s possible I’ve been choosing the wrong one. More news on this in a subsequent post. ]

Step 2 of the binding procedure says:
’Connect the battery to the XM+ receiver while holding the F/S button on the receiver.'
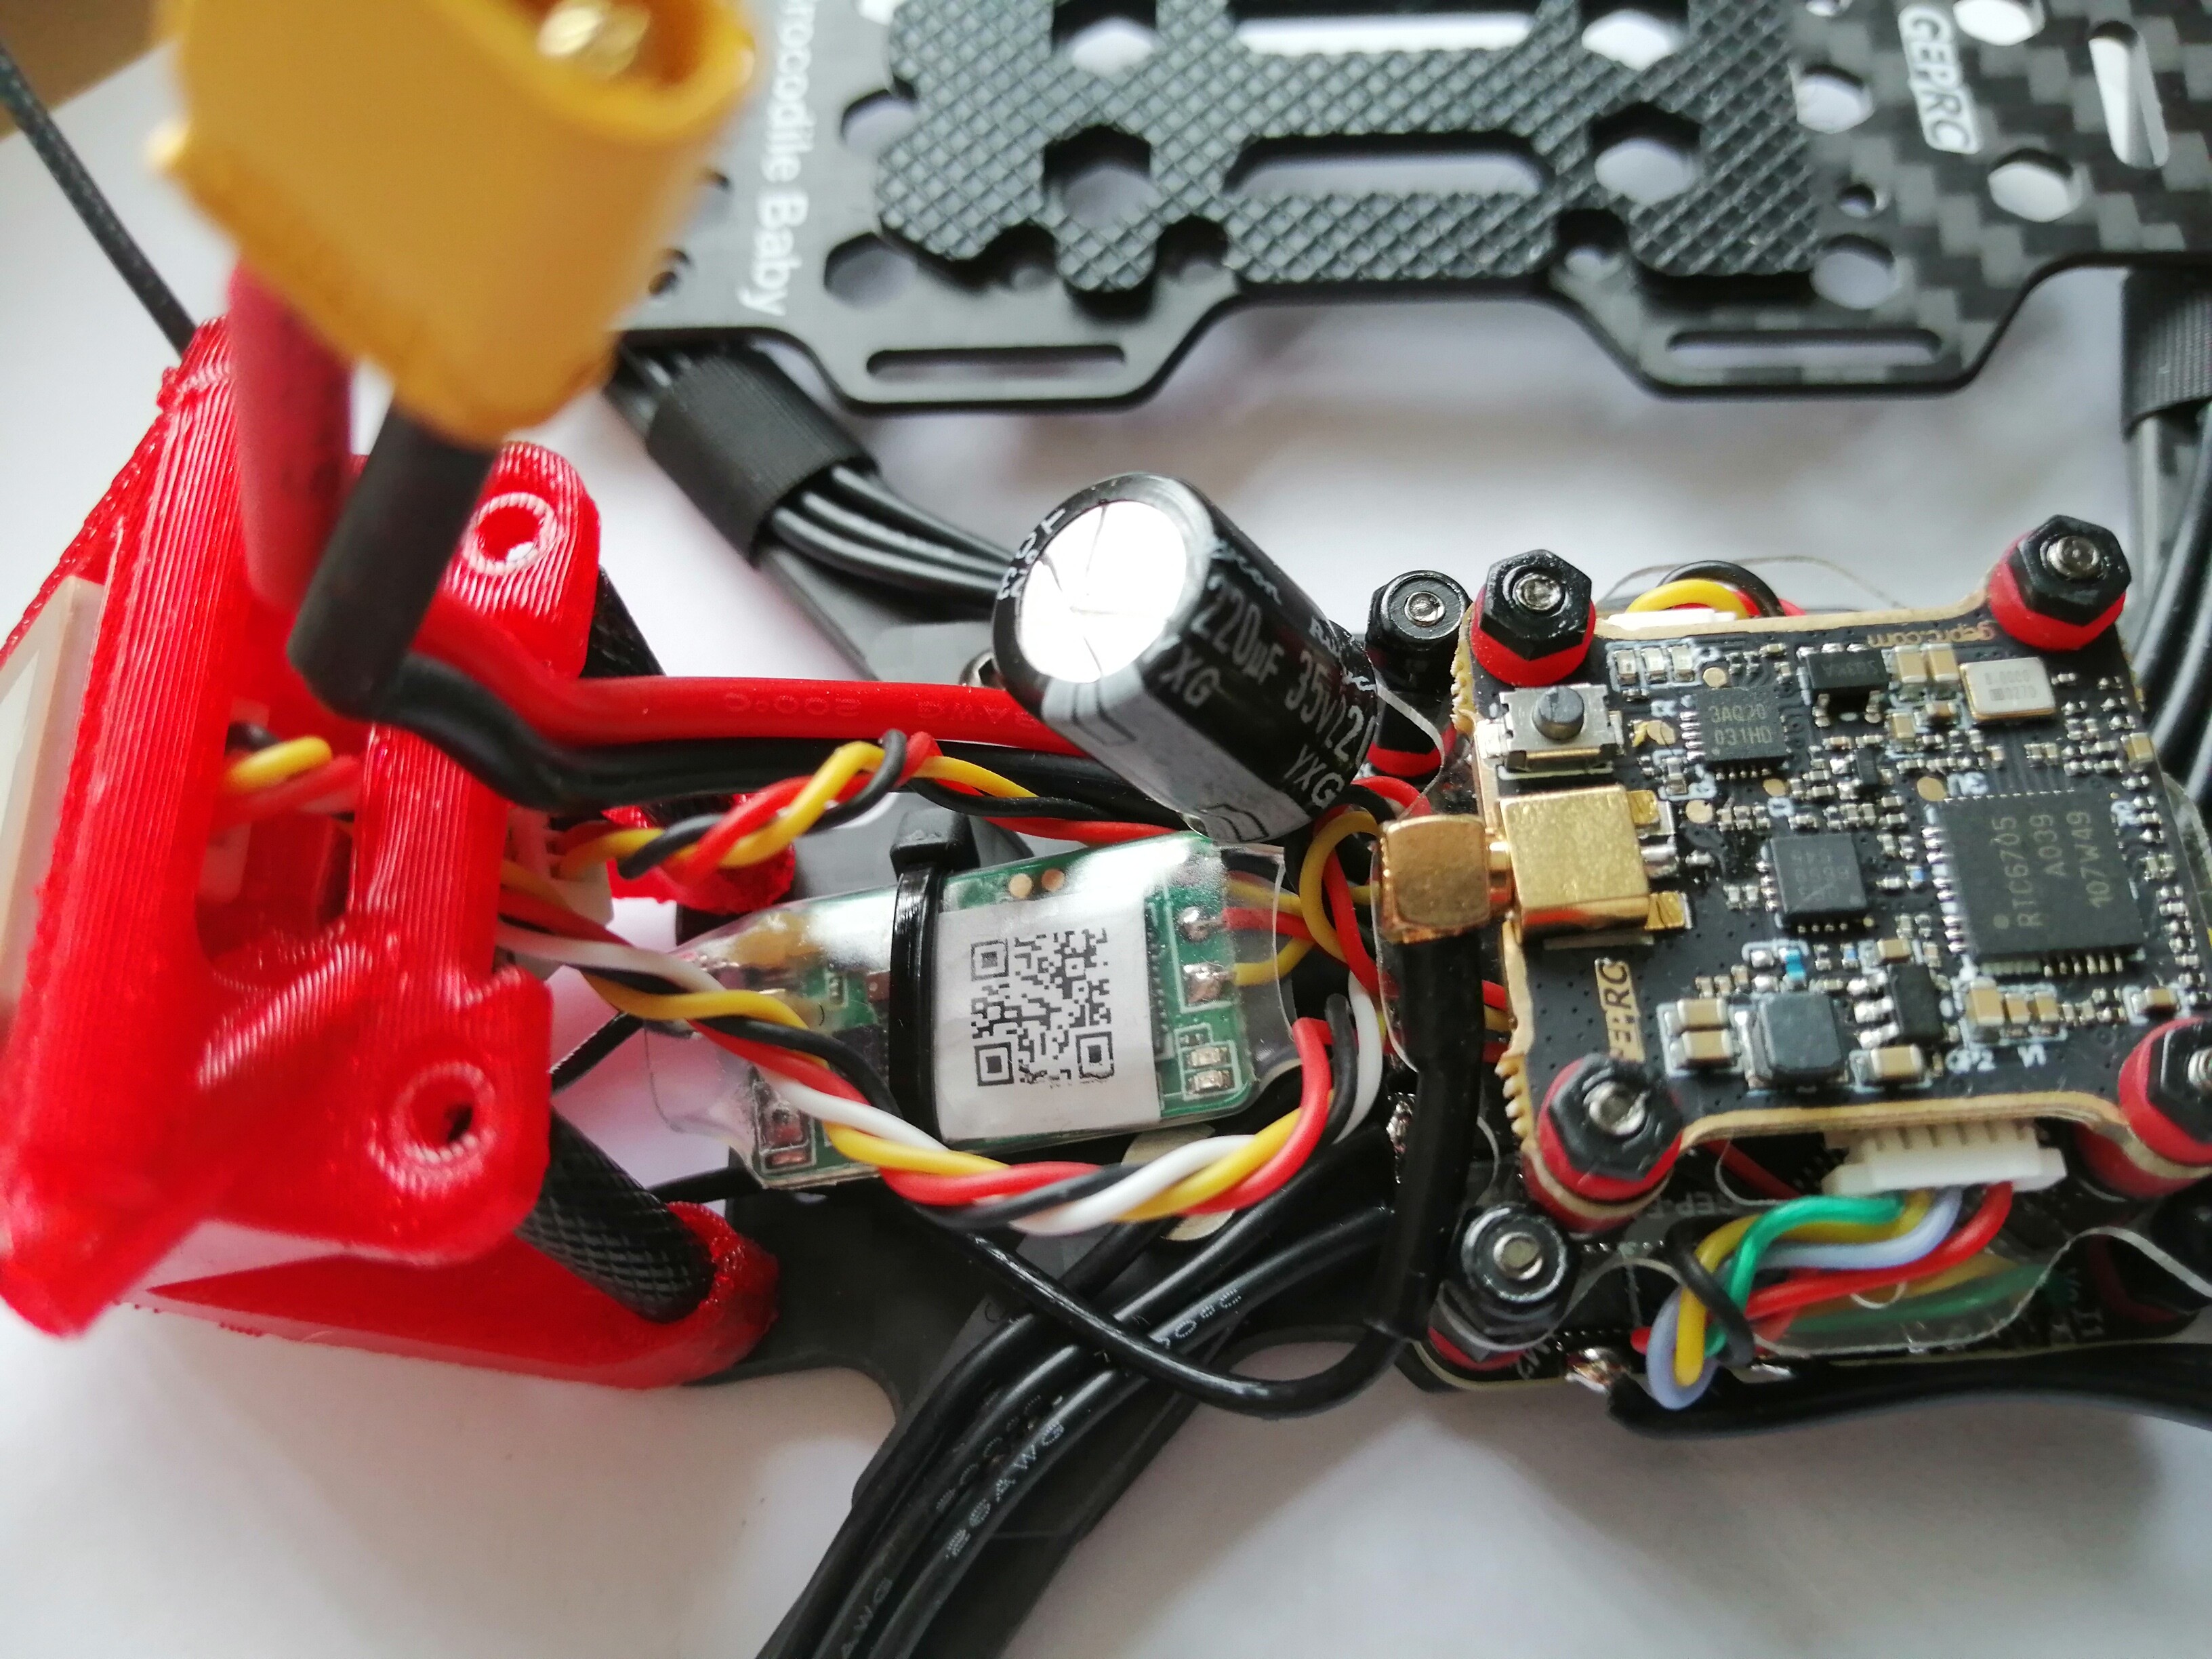
The diagram at the top shows a black rectangle labelled BIND, so let’s assume that’s the “F/S button”. It’s only about 0.5mm across and tucked away in the frame. Holding that down while plugging in the XT30 connector is going to be a challenge.

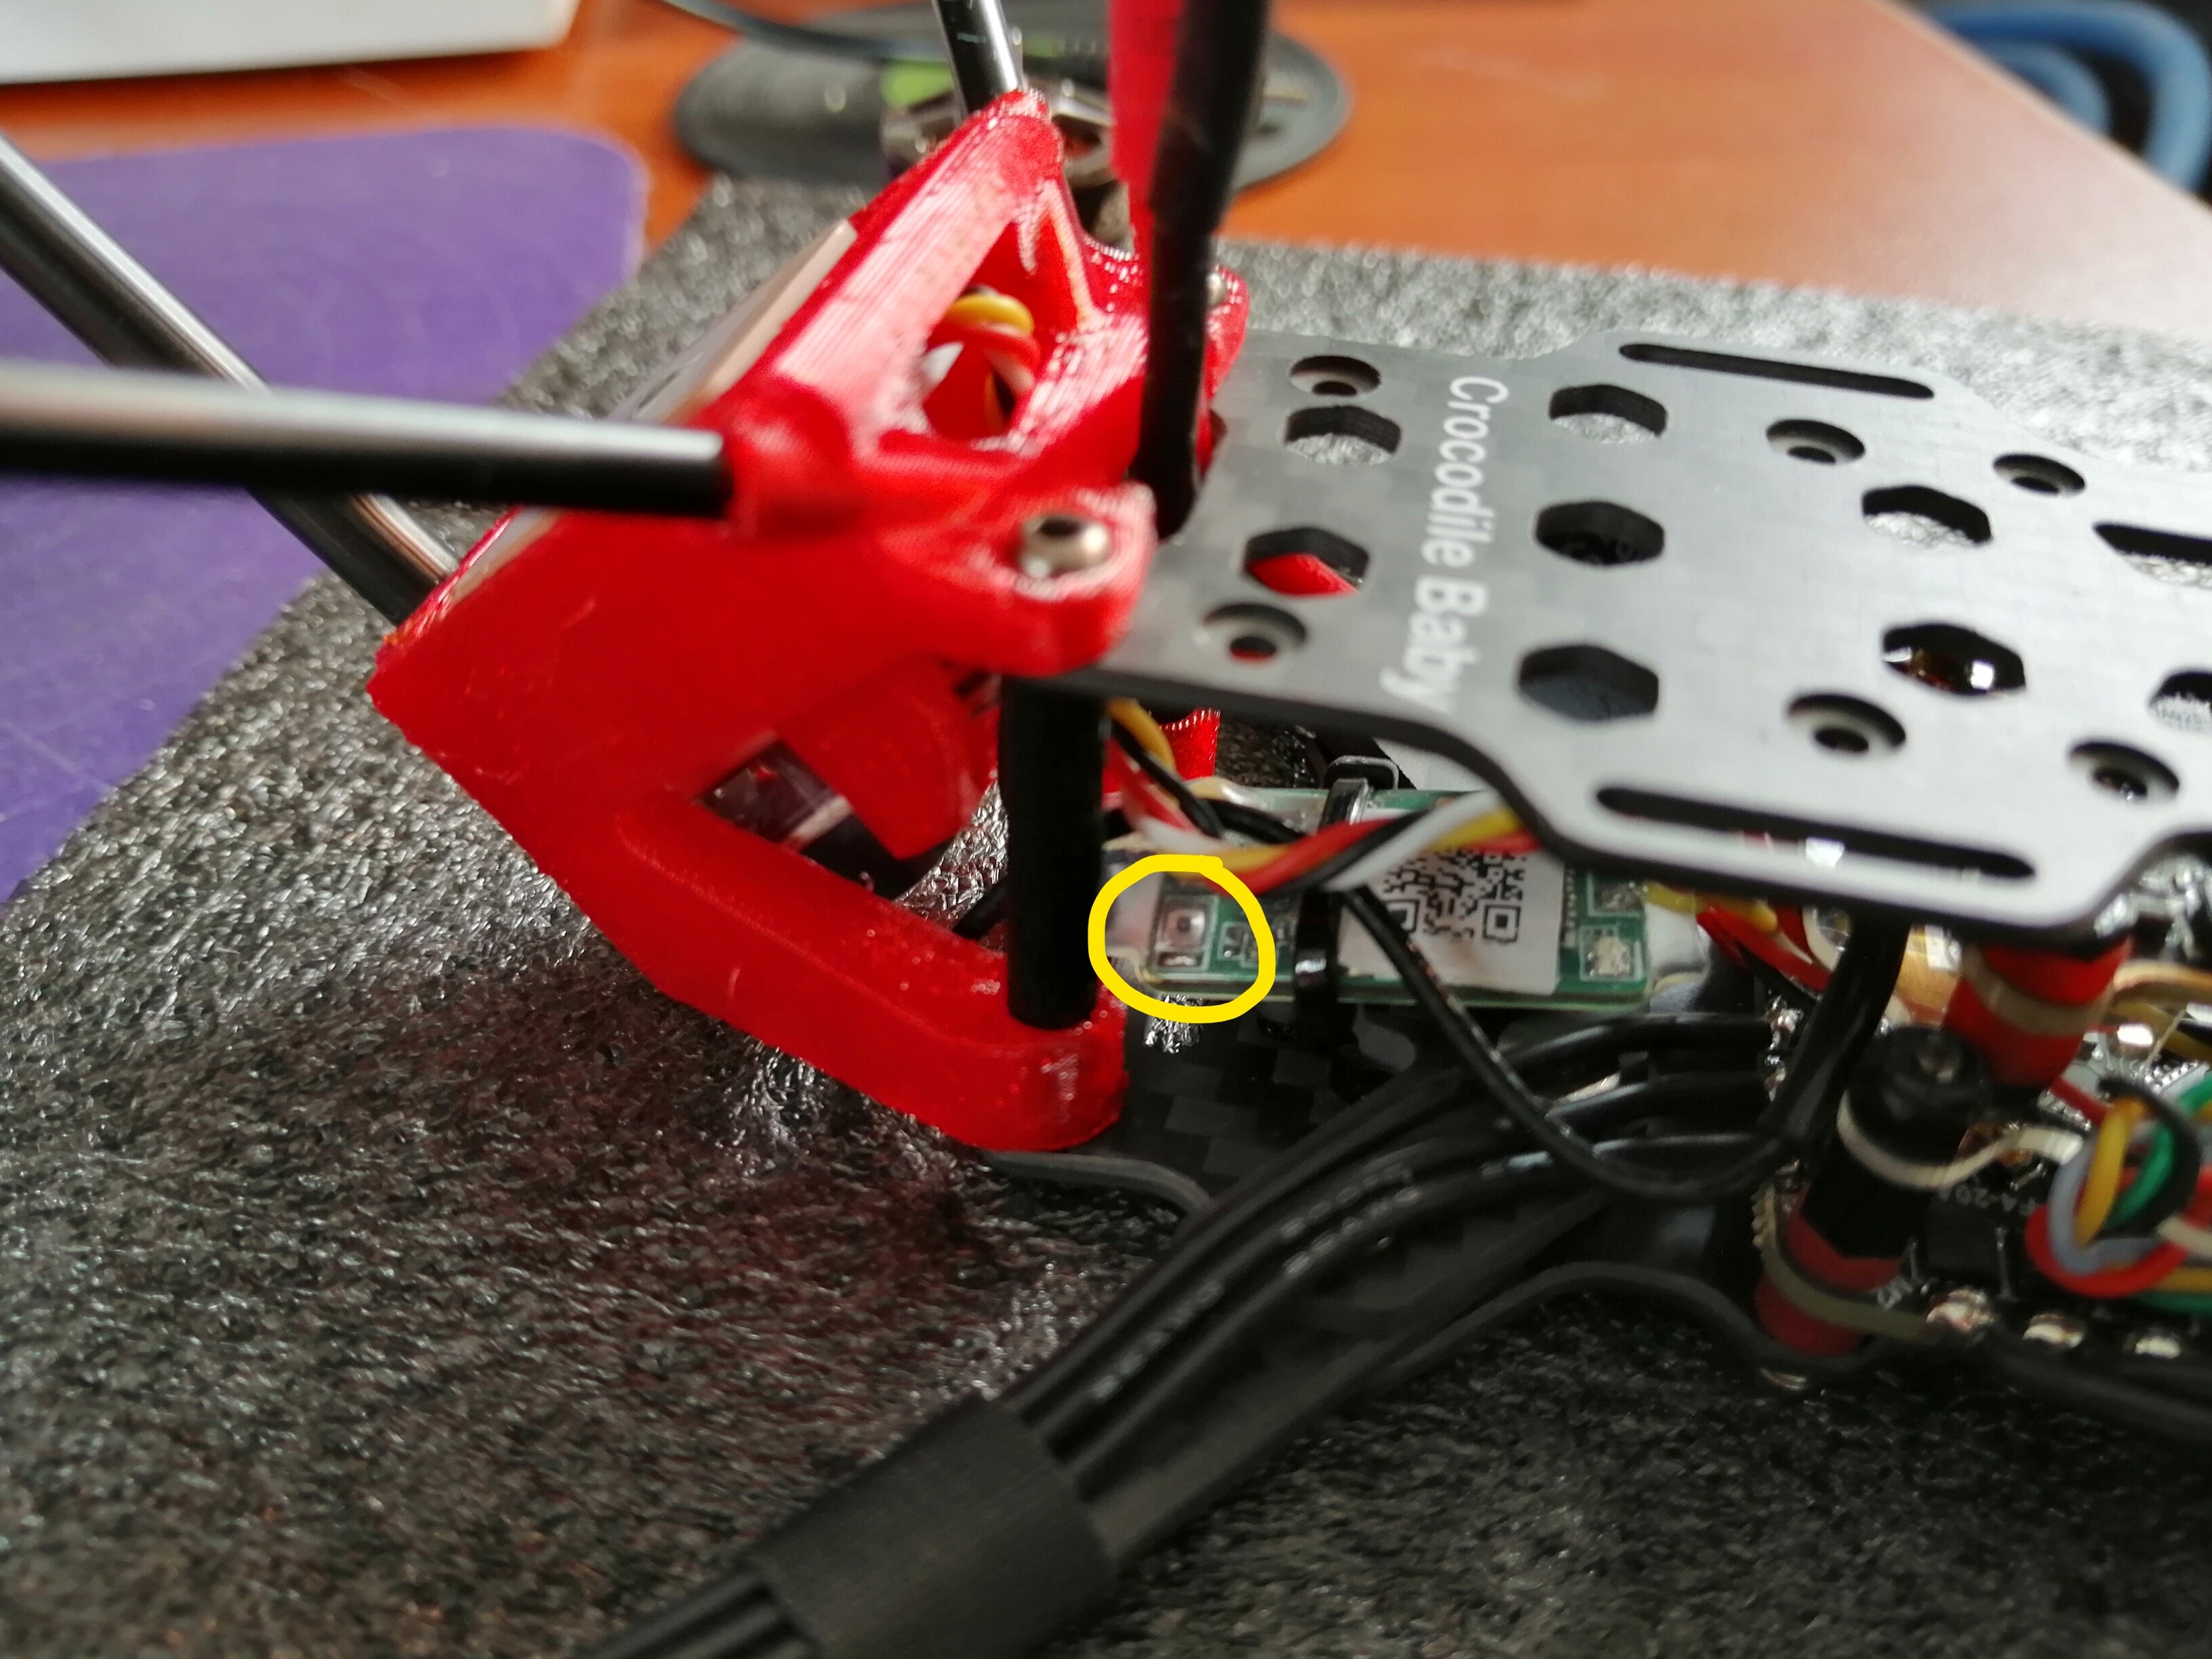
Ah, a crocodile clip (appropriately enough) from my soldering “helping hand” will do. What’s next?

’The LED on the receiver will flash, indicating the binding process is completed.'

Nope, it’s just solid red at the minute. I guess the transmitter may have got bored with trying to bind before I managed to get the receiver powered up. Try activating [Bnd] on the transmitter again. Well, it beeped a few times but nothing else seems to have changed. I’ll try again now I’ve got my hand in powering on the receiver. Un-plug the drone, press the reset button on the self-powered locater/buzzer to shut it up, activate binding on the transmitter again, quickly plug the drone back in…nope, nothing.

OK. So after I replaced the main board in the TX12 I had to rebind the Nanohawk and, unlike the first time, I had to adjust the “Freq tune” to “1” to get it to work. That didn’t seem to help either. Neither did “-1”. There seems to be no limit to the value you can put in this setting and life’s too short for that sort of experiment, so that’s pretty much where I’m at as of now.

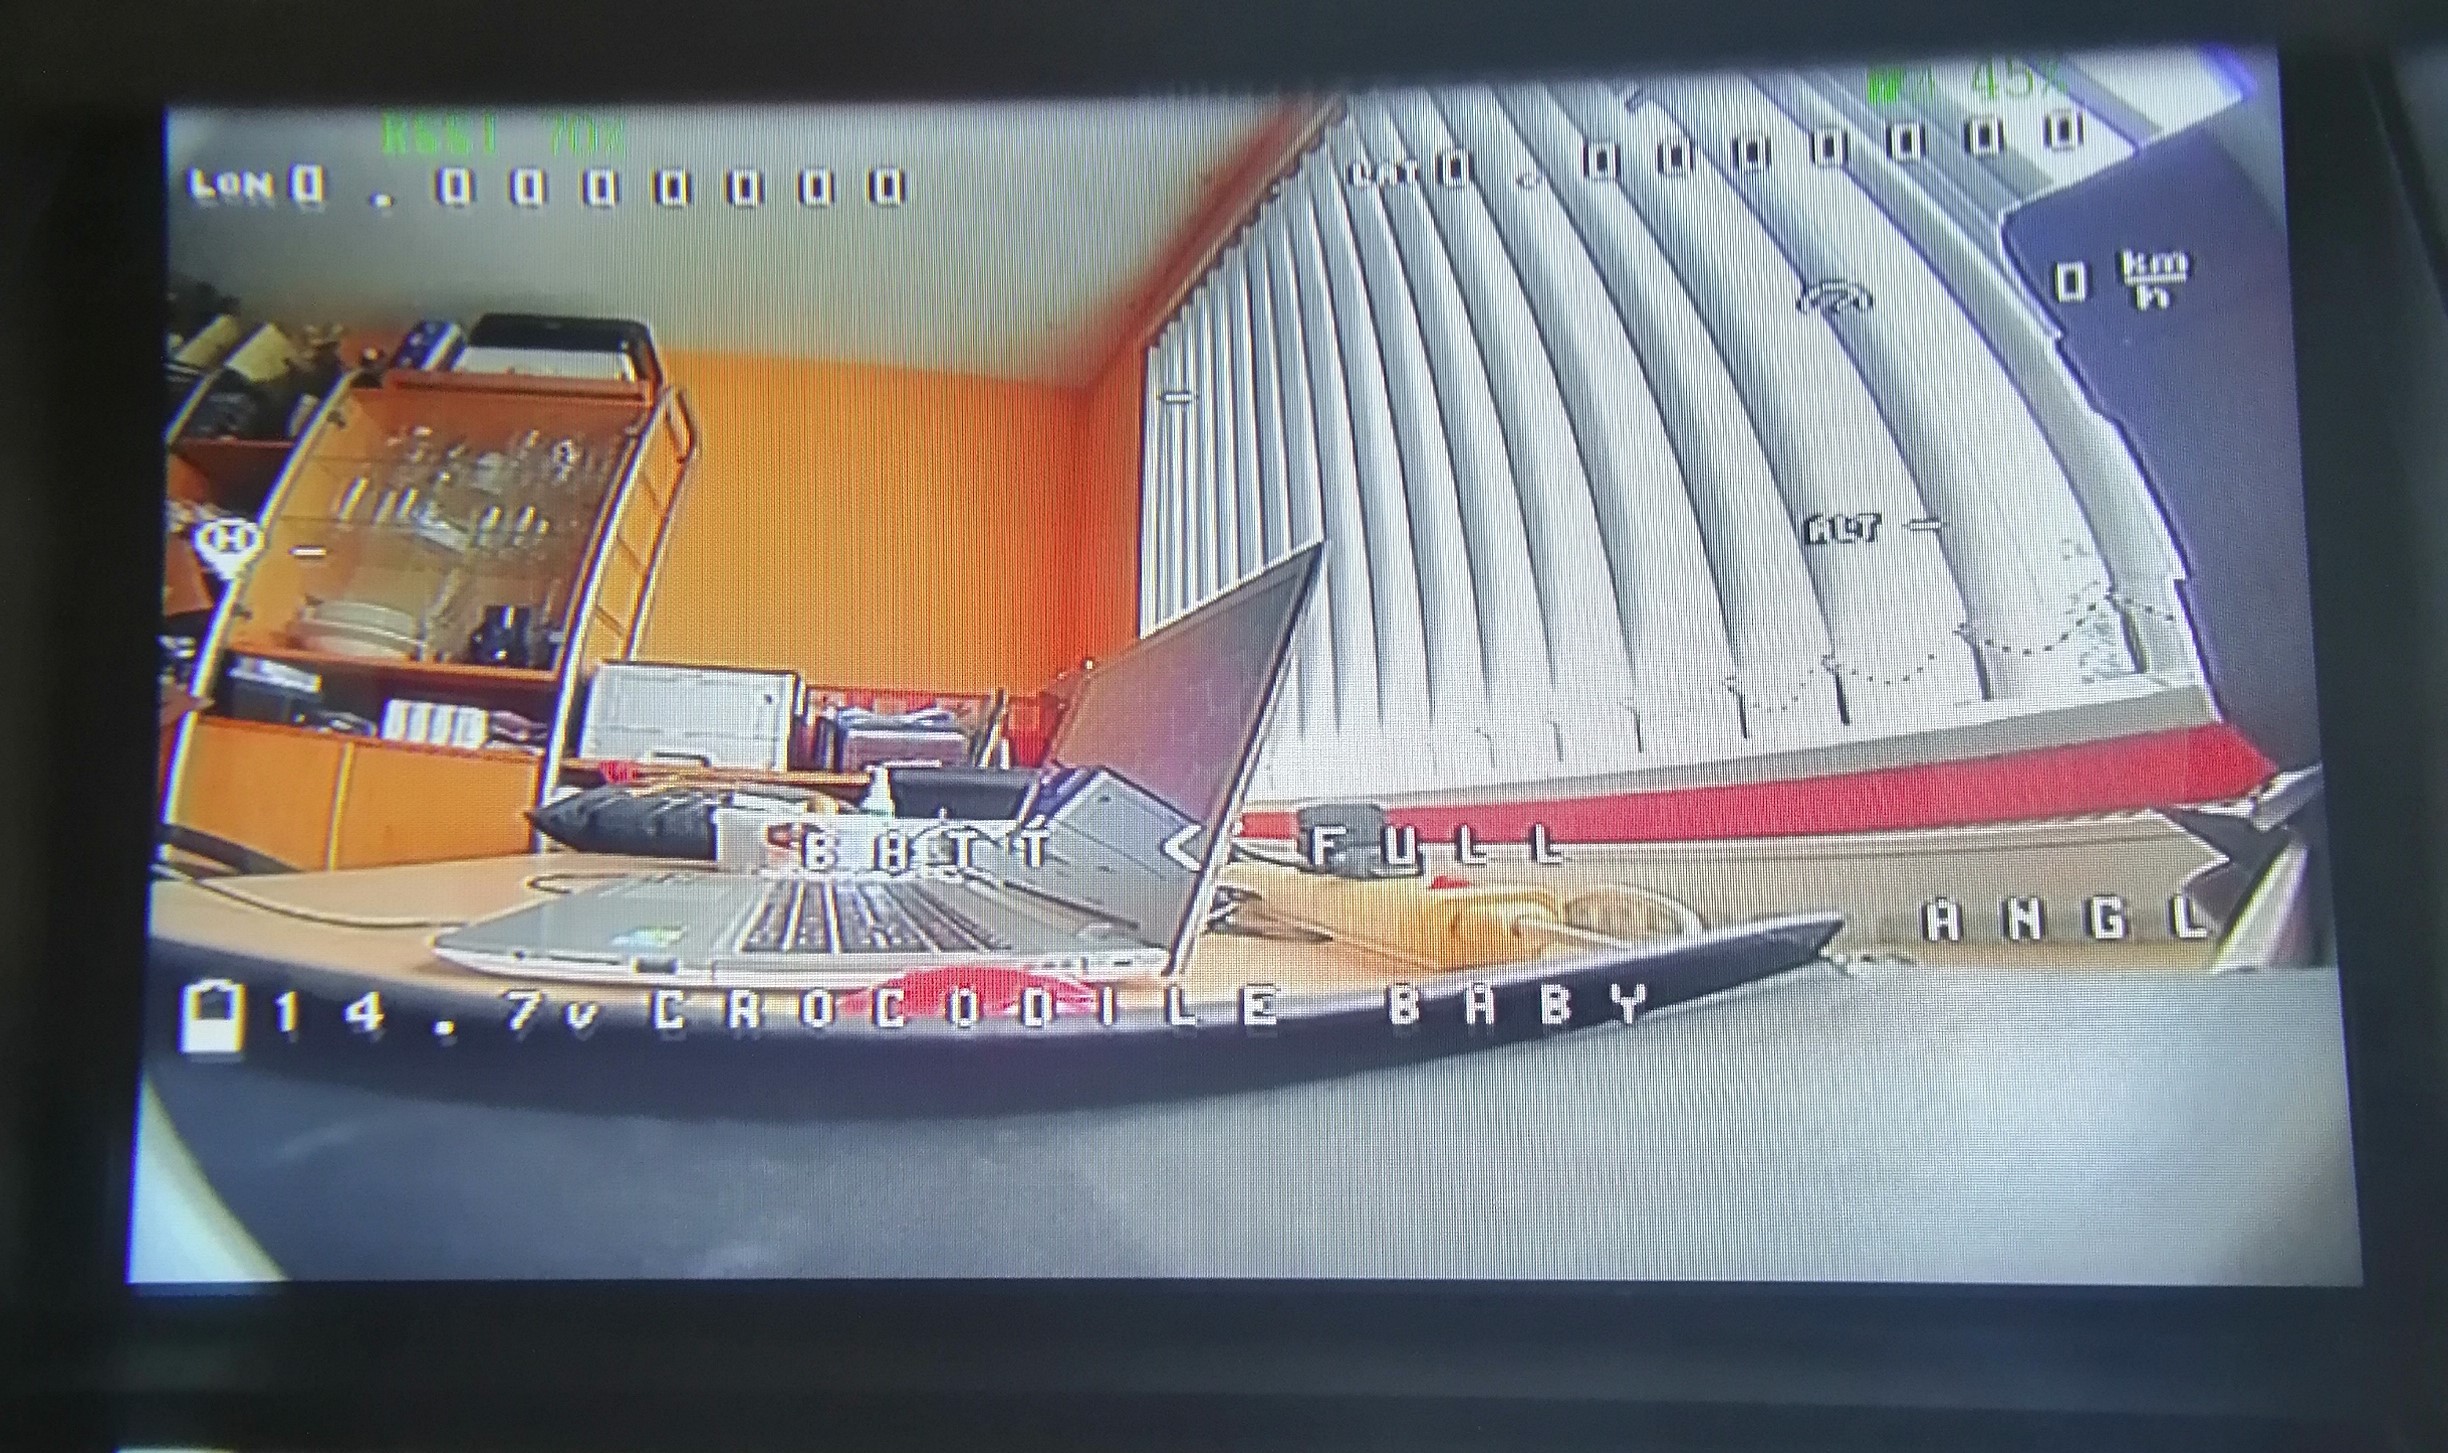
On a side note, video transmission is working. :slight_smile:

I haven’t really started doing any research into the binding issue yet, but if anyone has any thoughts I’m happy to hear them. :slight_smile:

2 Likes

I’ve got a ViFLY shortsaver V2 that will help with the binding procedure as it has an on/off button built in so you connect it to the drone and then connect the battery to it. This makes plugging the battery in while holding the bind button down easy because you just press the button on the shortsaver to power up the drone rather than having to hold the bind button down and plug in the battery.

Secondly regarding the model on the radio I only have one model setup on my radio and all my drones use that one model. That is because all my drones are running crossfire.

If your Nanohawk is also FRsky then just rename the model FRSky and use that one model for all your FRSky receivers :+1:t2:

1 Like

Here’s the thing. Maybe. Josh Bardwell did indeed teach me something with this.

And he says kid of the same thing - bind a bunch of drones to a single model.

However, I also found this, which I’m really hoping is not the issue.

I found someone in the comments section suggesting that “FrSky X2” on OpenTX might fix this. I’ve tried, and as far as I can tell, it hasn’t.

Not only this, but the motor test from BetaFlight no longer works, it seems to be suggesting the power is a 2S and that damn beeper has a mind f its own.

I’m going to transfer back to my desktop machine and check everything is the same.

If you can’t sort it, bring it with you to the Big Club Meet and we’ll take a look at it and see if we can get it in the air :ok_hand:t2:

Where you sourced the receiver will dictate which binding option you’ll need to use.

The D16 protocol options are separated to regions. If it’s a receiver for the European market you’ll need to use the D16 LBT option. If the receiver was intended for outside Europe use then you’ll need to use the non-LBT option. LBT stands for "Listen Before Transmit. It was made mandatory in Europe in 2015, meaning any RC radio device manufactured for European use after this date had to be LBT compliant.

The options you show on the Taranis screen is to do with the PWM servo outputs on receivers such as the X8R (8 PWM outputs) This way you had the choice of assigning either the first 8 channels or the last 8 channels to these PWM output pins. The 8 that are not assigned could be used for separate mixing functions in the radio, if using two separate 8 channel receivers you could allocate 16 PWM outputs.

If what I’ve just imparted has caused even more confusion then do as @DeanoG60 suggested and take it along to the Big Club Meet and you’ll be up in the air scaring the crap out of yourself in no time at all.

1 Like

Are you coming along to the big meet @Nidge ?

Unfortunately not :cry: Karl very generously offered to do the round trip of picking me up and dropping me off if I thought the drive would be too much me. But with my health currently as is I’d still be an insurance liability on the flight line. My pain levels have been through the roof the last few weeks and unfortunately my doctors think it would be politically incorrect to prescribe me something that works for the fear I may have too much fun with it.

2 Likes

Bastards!

1 Like

Well the whole drone came pre-built from Banggood.

I definitely will.

1 Like

I know FRSky can be a pain in the ass with their firmware as well…

Well, it looks like my battery may be goosed, too.

I thought I’d check BetaFlight’s reported voltage, and my multi-meter agrees with its ~7.6V. If I measure at the 5-pin connector I get 1.67V, 3.90V, 5.88V and 7.54V

But the charger, when it checks, seems to think it’s a 2S, which is also what BetaFlight was saying.

Anyway, it’s the only “suitable” battery I currently have, so it looks like I’m heading into a stall with this for the time being.

Also, and I thought this was a bit odd at the time, the battery seemed to be at full charge when I got it, but I see the box has “shipped at 30% charge” printed on it, but I definitely recall testing it with the meter and reading the full 14.8V.

14.8Volt is the nominal value, a 4S when fully charged would be 16.8Volt. As you’ve managed to discharge it to an average of 1.6Volt per cell I’d say it has expired. Betaflight only measures the total voltage of the pack, as it measured 7.6Volt it assumed it was a 2S, a 2S battery has a nominal voltage of 7.4Volt and max value of 8.4Volt.

We have spare lipos :+1:

Have I killed it with my ignorance?

image

Sorry mate, I forgotten about this. You should of reminded me. And I’d of had a look for you. Have you got it sorted yet?

Hope you enjoyed the sim :+1:t2: :grin:

1 Like

No worries. :slight_smile:

I suspect I’m dealing with this:

And it looks like the options are:

  1. Re-flash the receiver to the earlier firmware - cheap but requires taking the quad apart and runs the risk of me screwing something up terminally along the way.
  2. Buy a FrSky transmitter - costly, but low tech.
  3. Buy a Crossfire receiver and transmitter module - costly and also requires taking the quad apart,etc…

I’m loathe to throw more money at this when I’m not even sure it’s a hobby that’s going to stick, but I also don’t relish the thought of all that fiddly soldering. :laughing:

2 Likes

Alright. Got some bits through the post today.

The props are for the Nanohawk as it keeps throwing them when I crash, and I lose them.

The 5S extender is to butcher into a flashing cable.

However, I also have some of these on the way because I would still rather avoid any soldering if possible.

It’s very well installed, so it’s going to be a faff whatever. Does anyone know if it’s even possible to flash it while it’s still installed?

As long as you can plug in the USB cable, yes you can.
even if you can’t reach the ‘boot’ switch you can put it in DFU mode from the configurator BEFORE you flash it, whilst in there (CLI) it is a good idea to do a DUMP ALL in case you need to refer back.
:slightly_smiling_face:

Don’t Fuck Up mode? :laughing:

Honestly, as a noob, I haven’t really grasped any of that. From the little research I’ve done it didn’t look like flashing the FrSky receiver was something you could do via BetaFlight. Every video I’ve seen is done on the chip in isolation using OpenTX to ‘flash external module’ with the transmitter.